Een doosveer omzetten in een platformbed

Laat me eerst zeggen dat het omzetten van een doosveer in een platformbed niet zo moeilijk is als je zou denken.
When we bought our first vacation rental in Kissimmee all the bedrooms had regular beds, meaning they all had box springs. Box Springs zijn oké als ze nieuw zijn, Maar na een paar jaar, Ze beginnen te piepen.
Converting the bed to a platform bed was a fantastic alternative to a box spring, the bed is much quieter and has a sleeker, more modern look to it.
Wanneer onze matrassen hun leeftijd beginnen te tonen, We converteren het standaardbed naar een platformbed door de doosveer te verwijderen. Vervang vervolgens de matras door een 14″ Novaform Comfort Grande King Memory Foam Matras.
We houden van dit platformontwerp omdat er geen voeten op de steunen in het midden van het bed staan. Het geeft het bed gewoon een mooie schone look. Zowat elk kingsize bedframe dat je vindt, heeft die voeten en we hebben ze zeker niet.
Dat hebben we gedaan met al onze vakantieverhuur. We hebben nu ongeveer 10 keer boxveren naar platformbedden gebouwd. Omdat dit de laatste box -veer was die te doen was, Het was logisch om te documenteren hoe ik de doosveer naar een platformbed heb omgezet en er een bericht over heb geschreven. 🙂
Opmerking: U kunt op een van de onderstaande afbeeldingen klikken om de foto te vergroten om er een betere kijk op te krijgen.
Openbaring: Sommige van de onderstaande links zijn gelieerde links. Als u besluit een van deze producten te kopen, We verdienen een kleine commissie zonder extra kosten voor u. We raden deze producten alleen aan omdat we er ervaring mee hebben en ze gebruiken voor onze eigen projecten. Als Amazon Associates, We verdienen aan kwalificerende aankopen.
Zet een doosveer om in een platformbed moeilijk?
Zoals ik al zei, Het is eigenlijk veel eenvoudiger dan je zou denken. Het kost me ongeveer 3 - 4 uur van begin tot eind.
Als je enigszins handig bent en elektrisch gereedschap hebt, Je zult dit project doorlopen.
Hier is een curve -bal. Dit verandert van een bed in een platformbedproject werkt niet als je een van die rollende metalen frames hebt.
Dat zijn een heel ander blik wormen!
Ik heb dat een paar keer gedaan, Maar het is veel meer betrokken. Je vervangt eigenlijk het rollende metalen frame door een houten bedframe. Zoals ik al zei, veel meer betrokken, Misschien zal ik daar later ook een bericht over doen.

De boodschappenlijst
Tools -lijst
Hier is een lijst met de tools die we bij dit project hebben gebruikt.
Affiliate links hieronder kunnen vergelijkbaar zijn met vergelijkbare items wanneer exacte items niet online kunnen worden gevonden.
boorbits
een hamer
een niveau
A 4′ rechte rand
een speed square
Een potlood of marker
Een schuurmachine (Als je de lamellen glad wilt schuren)
Benodigdhedenlijst
Dit zijn de benodigdheden die bij dit project worden gebruikt.
Affiliate links hieronder kunnen vergelijkbaar zijn met vergelijkbare items wanneer exacte items niet online kunnen worden gevonden.
4 – 2×4
2 – 2×2
1 – 1/2″ (of 15/32″ In onze dagen) multiplex
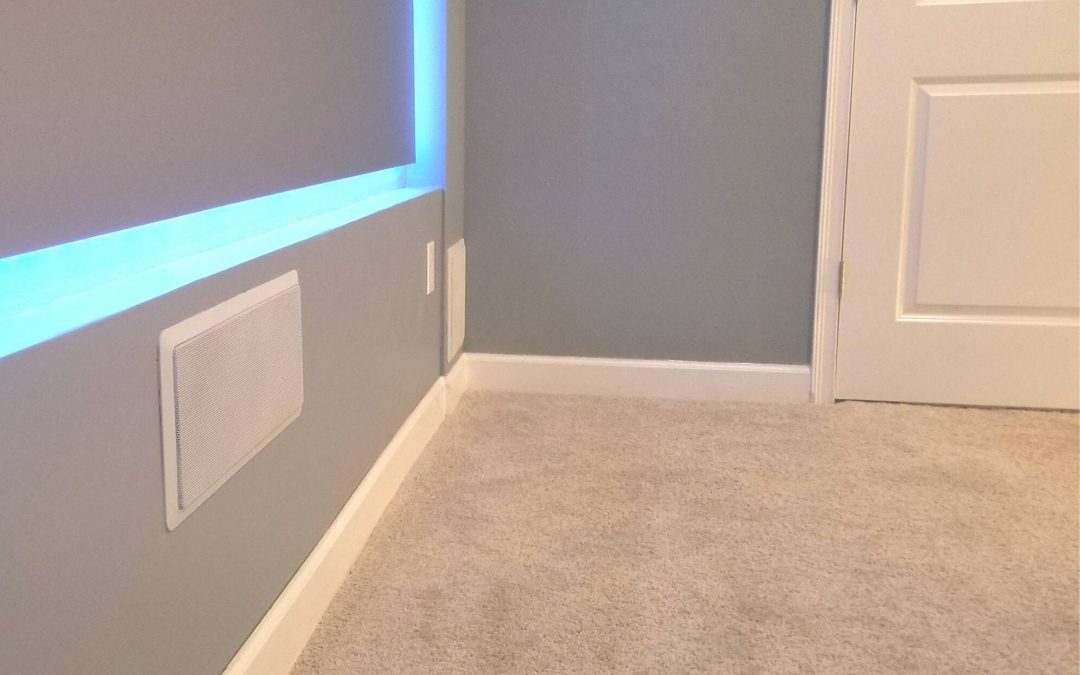
Stap 1- Het verwijderen van de oude box -veersteunen
De bestaande steunen zijn meestal metalen staven of houten lamellen die over de breedte van het bedframe gaan.
U kunt ze uit het frame verwijderen, omdat u uw nieuwe steunen gebruikt om het platform vast te houden.
Voor mijn voorbeeld, Het zijn de metalen staven waar de rode pijlen op op de foto wijzen.

Stap 2 – Links installeren & Juist platform ondersteunt
De eerste steunen die we zullen installeren, zijn de linker- en rechtersteunen, We zullen de 2 × 2's gebruiken voor die steunen.
Tip: De zijsteunen worden gelijmd en vervolgens geschroefd aan de zijbanken van het zijbed.
We willen dat het platform gelijk is met de zijkanten bedplanken. Dus de steunen zijn 1/2″ Onder de bovenkant van de zijbedborden, de dikte van het triplex.
Zorg er bij het meten van de lengte van uw 2x2s voor dat u aan beide uiteinden voldoende ruimte achterlaat om het bed later uit elkaar te laten.
Doe deze stap voor de linker- en rechterkant.


Stap 3 – De bovenkant installeren & Bodem platform ondersteunt
Nu de linker- en rechtersteunen aanwezig zijn, Het is tijd om het hoofd en de voetsteunen te doen.
Voor die steunen zullen we 2x4s gebruiken.
De toppen van de 2x4s zijn gelijk met de bovenkant van de zijsteunen van stap 2.
Opnieuw, Zorg ervoor dat u de ruimte aan beide uiteinden laat voor de hardware van het bord. Dus je kunt het bed later nog steeds uit elkaar halen als je dat moet.


Stap 4 – Het installeren van het middelste platformondersteuning
Nu zullen we de twee middelste steunen installeren, Ook met 2x4s.
Met behulp van de metalen 2 × 4 beugels, We verbinden ze met het hoofdeinde en het voetbord 2x4s.
Space Out the Middle ondersteunt gelijkmatig. De eenvoudigste manier om dat te doen is door de lengte van de bodem te delen of bovenaan steunen door 3.
Laten we zeggen dat de onderste ondersteuning 75 ″ lang is. Dan zou de afstand 25 ″ voor elk zijn (75 ″ / 3 = 25 ″).
Nu, gebruik dat voorbeeld opnieuw, Je zou 25 ″ van de ene rand en 25 ″ van de andere rand markeren. Dat is de plaatsing voor elk van uw middelste steunen. Gemakkelijke peasy ?
Met behulp van de metalen balk hangers, Verbind elk uiteinde van de middelste ondersteuning met het kop- en voetplatformondersteuning. Zorg ervoor dat de bovenkant van de middelste ondersteuning gelijk is met de kop- en voetsteunen.
Gebruik de 2″ schroeven in de hanger gaten die gelijk zijn met de kopvoetsteunen.
En de 3 1/2″ schroeven in de hanger gaten die zich aan de zijkanten van de middelste ondersteuning bevinden. De schroeven gaan diagonaal gooide beide 2x4s en gaf dat gewricht veel sterkte.


Stap 5 – Het platform lamellen maken
De latten zijn gemaakt door de 1/2 ″ multiplex lengte in 3 ″ strips te scheuren. De strips hoeven niet perfect te zijn. U kunt zelfs de persoon bij Lowes of Home Depot in strips voor u laten snijden.
Als u de thuisverbeteringswinkel kunt krijgen om de lamellen voor u te snijden, Dat is de gemakkelijkste optie.
Ze zullen het waarschijnlijk niet goed doen, Maar het zou een stuk sneller en gemakkelijker voor je zijn.
Als je ze het niet kunt laten doen, kun je het zelf doen. Het is echt niet zo moeilijk, Het kost gewoon een beetje tijd.
Dit bedframe had 14 platformlatten nodig.
Een alternatief voor het snijden van je eigen latten
Het snijden van de latten is behoorlijk tijdrovend en het kan meer tijd kosten dan je moet wijden aan dit project. Als dat het geval is, kunt u altijd het bunkie -bord bestellen om te installeren in plaats van de latten. Houd er rekening mee dat het bunkie -bord alleen het lamellengedeelte van dit project vervangt. U moet nog steeds de steunen installeren, De bunkie kan het gewicht niet aan en buigen of breken in het midden van het gewicht.

Dit is hoe ik de platformslatten snijd
Ik sneed het multiplex op de oprit met het plat op schroot 2 × 4 stuks. Ik zette toen het mes van de cirkelzaag in om nauwelijks verder te gaan dan de diepte van het triplex.
Ik gebruikte het speed square om 3 ″ van de rand te markeren langs de lengte van het multiplex. Gebruikte vervolgens de rechte rand om een gesneden lijn te markeren. Met behulp van de cirkelzaag snijd ik op de snijlijn (Nogal sorta).
Had ik al gezegd dat het niet perfect hoeft te zijn? 🙂
Spoel en herhaal steeds opnieuw totdat het hele multiplexblad in strips is gesneden.
Om de lengte van uw latten te achterhalen, Meet de ruimte tussen de twee zijbanken. Snijd ze tot lengte met behulp van een verstekzaag.

Tip: We hebben de goedkoopste 1/2 gebruikt″ multiplexblad dat ze hadden. Als u een mooiere afwerking wilt. Dat hebben we niet gedaan, omdat het veel duurder is en niemand de latten toch echt zal zien. 😉
Stap 6 – De spacers maken voor de latten
De platformstrips worden gelijkmatig uit elkaar geplaatst. De spacers helpen de latten op zijn plaats te houden.
Om de spacers een paar stukjes schroot van de latten te laten nemen en in 1 1/2 te snijden″ stukken met behulp van een verstekzaag.
Voor dit bed had ik 24 spacers nodig.
DROOG PAST ALLES EERST, Voeg vervolgens een beetje lijm toe achter de spacers om ervoor te zorgen dat ze niet met de tijd verschuiven.

Je bent klaar! Je bent klaar met het converteren van een doosveer naar een platformbed!
Yippeee! Je bent klaar met het omzetten van je doosveer in een platformbed! Nu, Je kunt van die krakende doosveren kwijtraken!
Het enige dat overblijft is om een mooie traagschuimmatras uit te kiezen om uw nieuwe platformbed op te zetten. 🙂
Welke traagschuimmatras gebruiken we op onze platformbedden?
De traagschuimmatras die we al jaren kopen en liefhebben, liefde is het is de
14″ Novaform Comfort Grande King Memory Foam Matras
De bovenstaande link is van Amazon. We kopen onze Novaform -matrassen nu al 10 jaar van Costco en zweren erbij.

Vond je het bericht leuk? Was het nuttig? Wat zou je anders doen?
Laat het me weten in de reacties hieronder!
Bedankt!
[et_bloom_inline optin_id=”optin_7″]
Geniet van dit bericht? Pin het en deel het met anderen!