
Here’s A Simple Wainscoting Calculator
To use the Wainscoting calculator, change the numbers below to reflect what you have in your wainscoting project.
This Is The Calculator
I put the Wainscoting calculator up on the top of the page to make it easier to find. The last thing you need is having to go hunting for the calculator on this page when all you want to do is figure out your wainscoting frame width. 🙂
I made the wainscoting wall calculator because I remember searching a loooong time for something similar to it when I started my wainscoting project.
I think the math behind a DIY wainscoting project is the biggest road block for wainscoting, this will hopefully remove a lot of that. 🙂
How to measure for wainscoting and how do you figure out the wainscoting measurements are probably the two biggest questions that came to my mind initially… and I’m sure that I’m not alone (I hope so anyways 😄).
What Makes This Wainscoting Calculator Different?
It’s A Simple Wainscoting Calculator
I’ve seen other picture frame wainscoting calculators out there but they all seem crazy confusing and complicated. I think a lot of them focus on the layout. Many of them even show you a visual of what it would look like… but all the ones I found were so confusing – I ended up using a pen and paper!
This wainscoting wall calculator was created to help with the picture frame molding measurements that change with every wall you do. The height and spacing from the chair molding to your picture frames will be the same throughout your project, but the width of each picture frame molding will change with each wall width.
When you need to calculate the wainscoting frame widths for a new wall – this is the picture frame wainscoting calculator you should use. 🙂
It Uses Tape Measure Fractions
The results from this calculator are in fractions that you can use on your tape measure. The conversion from decimal to simple tape measure fractions is THE MAIN REASON I did that because when I was doing my wainscoting, I spent a whole lotta time figuring out the frame dimensions, and then my answer was in decimal.
Then I spent almost the same amount of time trying to convert the decimal amount to a fraction that I could then use on a tape measure.
It would take me a little time to figure out 16.6 is 16 11/16! LOL This tool replaces all that crazy math. 🙂
My goal with the wainscoting calculator was simple. Give it the numbers you have from your tape measure and it gives you back numbers you can use on your tape measure (did I mention that you can use the results on a tape measure!).
If you’re interested in how the picture frame wainscoting calculator figures out the numbers, here’s a brief breakdown of how I calculated my wainscoting frames using pen and paper during my project.
How To Measure For Wainscoting Width
I took this from the post DIY Wainscoting – Part 1 – Design And Layout to help give you an idea of how I came up with the calculations used by the picture molding calculator.
FYI – The numbers in this example are the same ones that the picture frame wainscoting calculator defaults to.
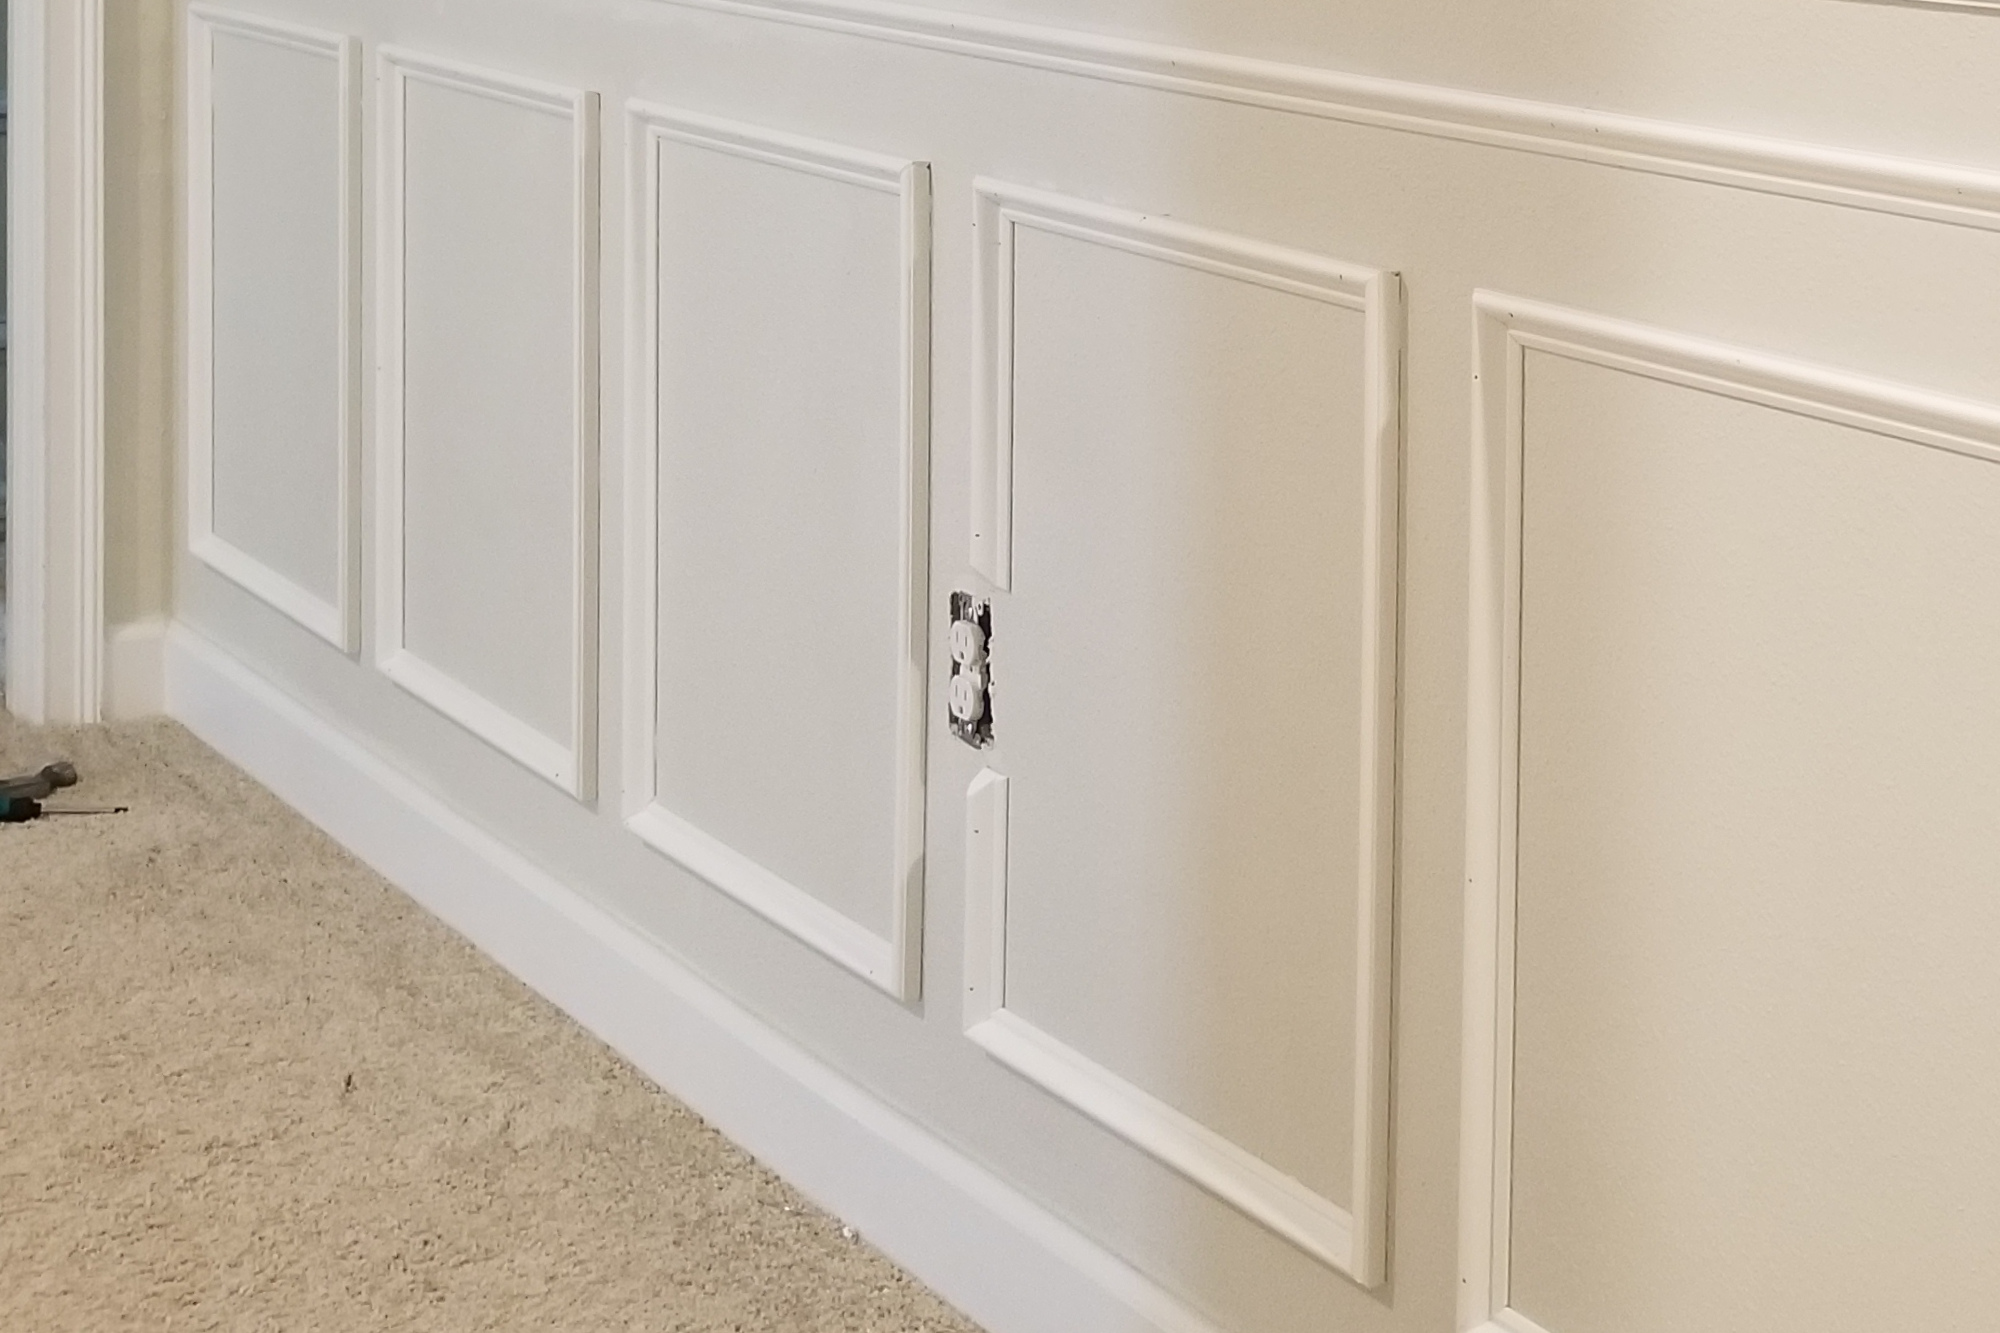
Here’s the example using the 6 Wainscoting frames on the 124 1/2″ wall shown in the picture below.
First, I subtract the left spacing from the total, which for me is 3 1/2″ or 3.5″, take a look at the picture for more of a visual.
That gives me 121″, now divide 121″ by the number of frames you think would fit. In the pictured example I used 6.
121″ / 6 = 20.16″
So each frame + it’s spacing on the right would equal 20.16″ in width (The red arrows).
That means the frames size would be equal to 20.16 minus the spacing on the right.
In this example it would now be 20.16 – 3.5″ = 16.6″ (The blue arrows)
Since I wanted the box molding to be a rectangular shape, 16.6″ worked well. Basically, I try the same formula with an additional frame or minus a frame, and figure out the one that looks best.
In the wainscoting calculator, just change the value in the # of wainscoting frames field and instantly know how wide the wainscoting frames would be.
I used 3.5″ as the spacer for the picture frame molding because it looked good, and it was easier to make spacers since that’s the width of a 2×4. BTW, that space between each picture frame is called the Stile.
For more details on how I came up with the design, check out my other post on how I chose the design and layout for the wainscoting picture frames.
Tip: The Picture Frame Wainscoting Calculator above is basically doing all this math for you. If you want to see the steps it takes, click the Show details button at the bottom of the picture frame molding calculator.

If you want more info about my wainscoting project check out these posts:
DIY Wainscoting – Part 1 – Design And Layout
DIY Wainscoting – Part 2 – Cutting The Frames
Enjoy this post? Pin it and share it with others!


Any chance you could make a metric version of this, trying to multiply and divide everything by 2.54 makes my brain hurt!
Hi Bill, yes! I have a metric version of the calculator here https://ourprojectideas.com/a-simple-metric-wainscoting-calculator/