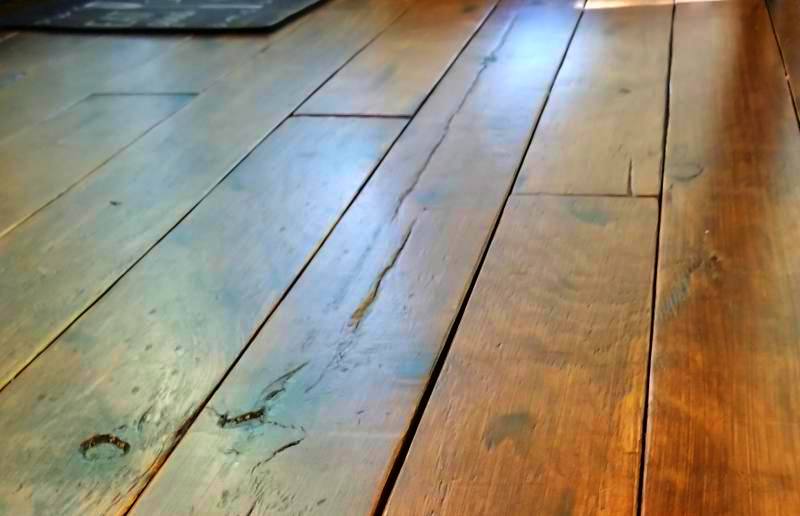
3 Time Saving Tips For DIY Plank Plywood Floors

If you’re planning on making your own wide plank flooring made from plywood, then make sure to take a look at this list – it will save you tons of time… and sanity :).
We wrote detailed articles for each of those projects (see below for links) but we also wanted to write a short article highlighting the biggest time saving tips we have.
Here are the 3 things you need to know for making your own wide plank plywood floors. Following these tips will make your project go smoothly and you’ll end up with better-looking plywood floors.
Disclosure: Some of the links below are affiliate links. If you decide to purchase any of these products, we earn a small commission at no additional cost to you. We recommend these products only because we have experience with them and use them for our own projects. As Amazon Associates, we earn from qualifying purchases.
DIY Plank Plywood Floors Tips
A Bonus Tip First – Cut The Boards Yourself
Yeah, it’s a little different to get the bonus tip first, but a few of the tips piggy back on this one. So it makes sense to share this first.
And I know that cutting the boards yourself sounds like the opposite of a time saver, but let me explain.
There are a few posts out there that recommend having the person at Lowes or Home Depot cut the plywood into planks for you.
I know that sounds like it would save you tons of time, because you’re offloading the cutting on them, but I wouldn’t recommend doing that.
We’ve had home improvement stores cut the plywood for us on other projects in the past.
Although it does save you time – we don’t think it’s worth it. Their cuts are not very accurate, like really inaccurate.
That may be perfectly find for certain projects, but with this project consistent cuts are important.
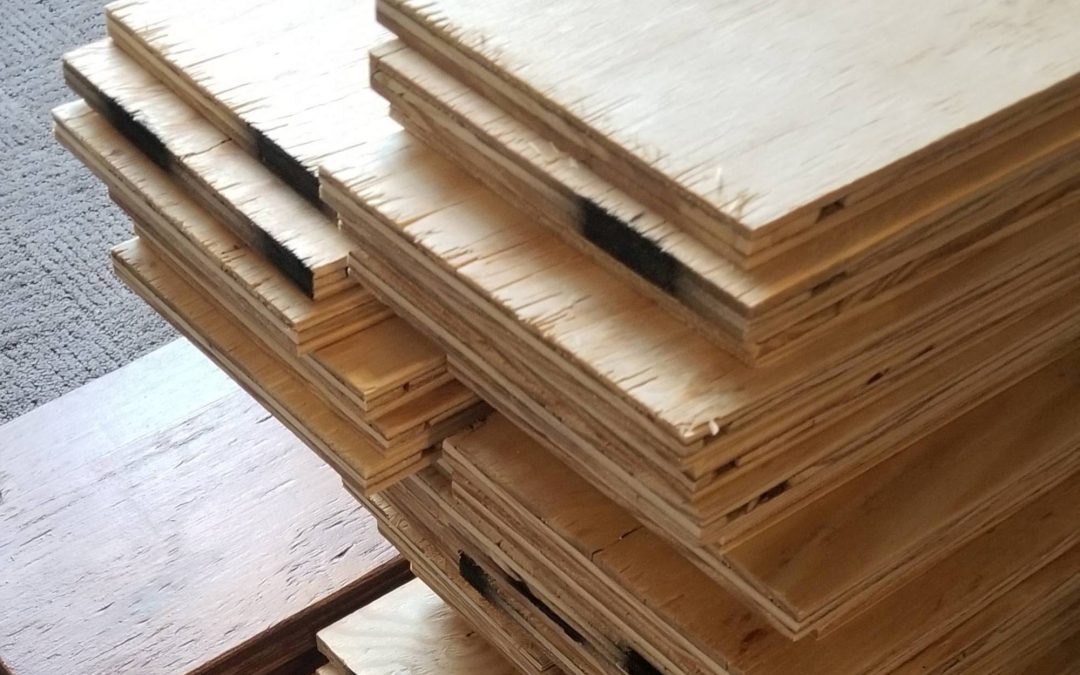
Having boards that are all about the same width allows your project to go smoother, easier and the end result will look much nicer.
#1 Make A Jig
OMG – If I didn’t use a jig I don’t know if I would have ever finished this project. The jig gives you consistent cuts and also allows you to easily rip through the pile of plywood.
The next best tool to use would have been the table saw, but it’s a super distant second to using a jig.
The jig wasn’t hard to make and it didn’t take very much time.
Take a look at the jig details in the dining room flooring article.
There you’ll find out how to make one and how how to attach it to the circular saw.

#2 Don’t Use A Plywood Blade
This deserves another OMG. I tried using a plywood blade to cut the plywood into planks initially (cause you know, it’s plywood) but that was a BIG MISTAKE!
Ignore the plywood blades – instead, use the cross-cut blades.
Like I said in the dining room flooring article, the plywood blade didn’t even make it through two sheets of plywood.
When I used the cross-cut blade, a single blade did the rest of the plywood for the dining room and also the living room!!
If you’re keeping score, the plywood blade barely ripped 2 sheets of plywood into planks and the cross-cut blade did 19 sheets – and it can still do more.
This is hands down the best blade for cutting plywood planks. It cut through the plywood like butter, and also didn’t splinter the wood at all.
(Click the picture to order the same blade we used on Amazon)

#3 Skip Sanding Between Polyurethane Coats
When we did the dining room floor, we lightly sanded the bumps out of the coat of polyurethane with 120 grit sandpaper.
It’s what I’ve always thought you needed to do between coats and it’s also what I read in other plywood flooring blog posts.
With the living room floors, we figured that the bumps would even out a little after multiple coats of the poly were applied.

Besides, the bumps would add a bit more texture making the floors less slippery.
The only concern we had was how it would feel walking barefoot on the floor with more texture. When we ran our hands on the planks we could clearly feel the additional texture, so we were a bit nervous.
Well, it turns out, the additional texture was barely noticeable when walking on the floor barefoot. Phew, that was a relief!
There You Have It
Those are our time saving tips for DIY wide plank plywood floors. These few simple tips will save you HOURS and HOURS of time. Without them, our project would have taken A LOT longer and would have been harder to do.
The first two tips alone will save you from pulling your hair out!
We hope they will help you with your own wide plank plywood flooring.
Let us know what you think!
[et_bloom_inline optin_id=”optin_7″]
Enjoy this post? Pin it and share it with others!