
Creating an end grain flooring inlay was something I was looking forward to for months. We installed plywood wide plank flooring in the dining room and kitchen earlier this year and the living room was next on the list. Here’s a post with details on what we did with the living room floor.
The flooring in the dining room and living room were going to be laid in different directions and a regular threshold separating the two spaces was going to be – well pretty boring.
While initially doing my Pinterest research on flooring, I came across pins with different floor designs created using wood slices.
That gave me the idea of doing an end grain flooring as an inlay. It was the perfect solution!
I couldn’t wait to try this project.
Disclosure: Some of the links below are affiliate links. If you decide to purchase any of these products, we earn a small commission at no additional cost to you. We recommend these products only because we have experience with them and use them for our own projects. As Amazon Associates, we earn from qualifying purchases.
The Shopping List
Tools List
Here’s a list of the tools we used on this project.
Affiliate links below may be to similar items when exact items couldn’t be found online.
Supplies List
These are the supplies used on this project.
Affiliate links below may be to similar items when exact items couldn’t be found online.
Water Based Oil-Modified Poluyrathane – we used 1 gallon
4″ Polyester Synthetic Brush – 4 brushes to apply the poly
Liquid Nails
What Is End Grain Flooring?
End grain flooring is basically branches and logs cut into slices, then placed in a pattern, in our case, it’s the shape of a river. The slices are glued into place and grout is applied to fill in the spaces between the slices. Then a protective finish is applied and you have yourself an end grain floor!
I call it a wood river, but I’ve seen it called a bunch of different names. Wood slice flooring, end grain flooring, log end flooring, cordwood floor and even cross-cut tree slice flooring to name a few.
Figuring Out The End Grain Flooring Inlay Layout
The beauty of doing a floor inlay is that there is no limit to the design you make. It can be as simple or ornate as you want.
Since our house is in the Poconos, in a wilderness setting, we figured a river made of wood would go with the house and its surrounding nature.
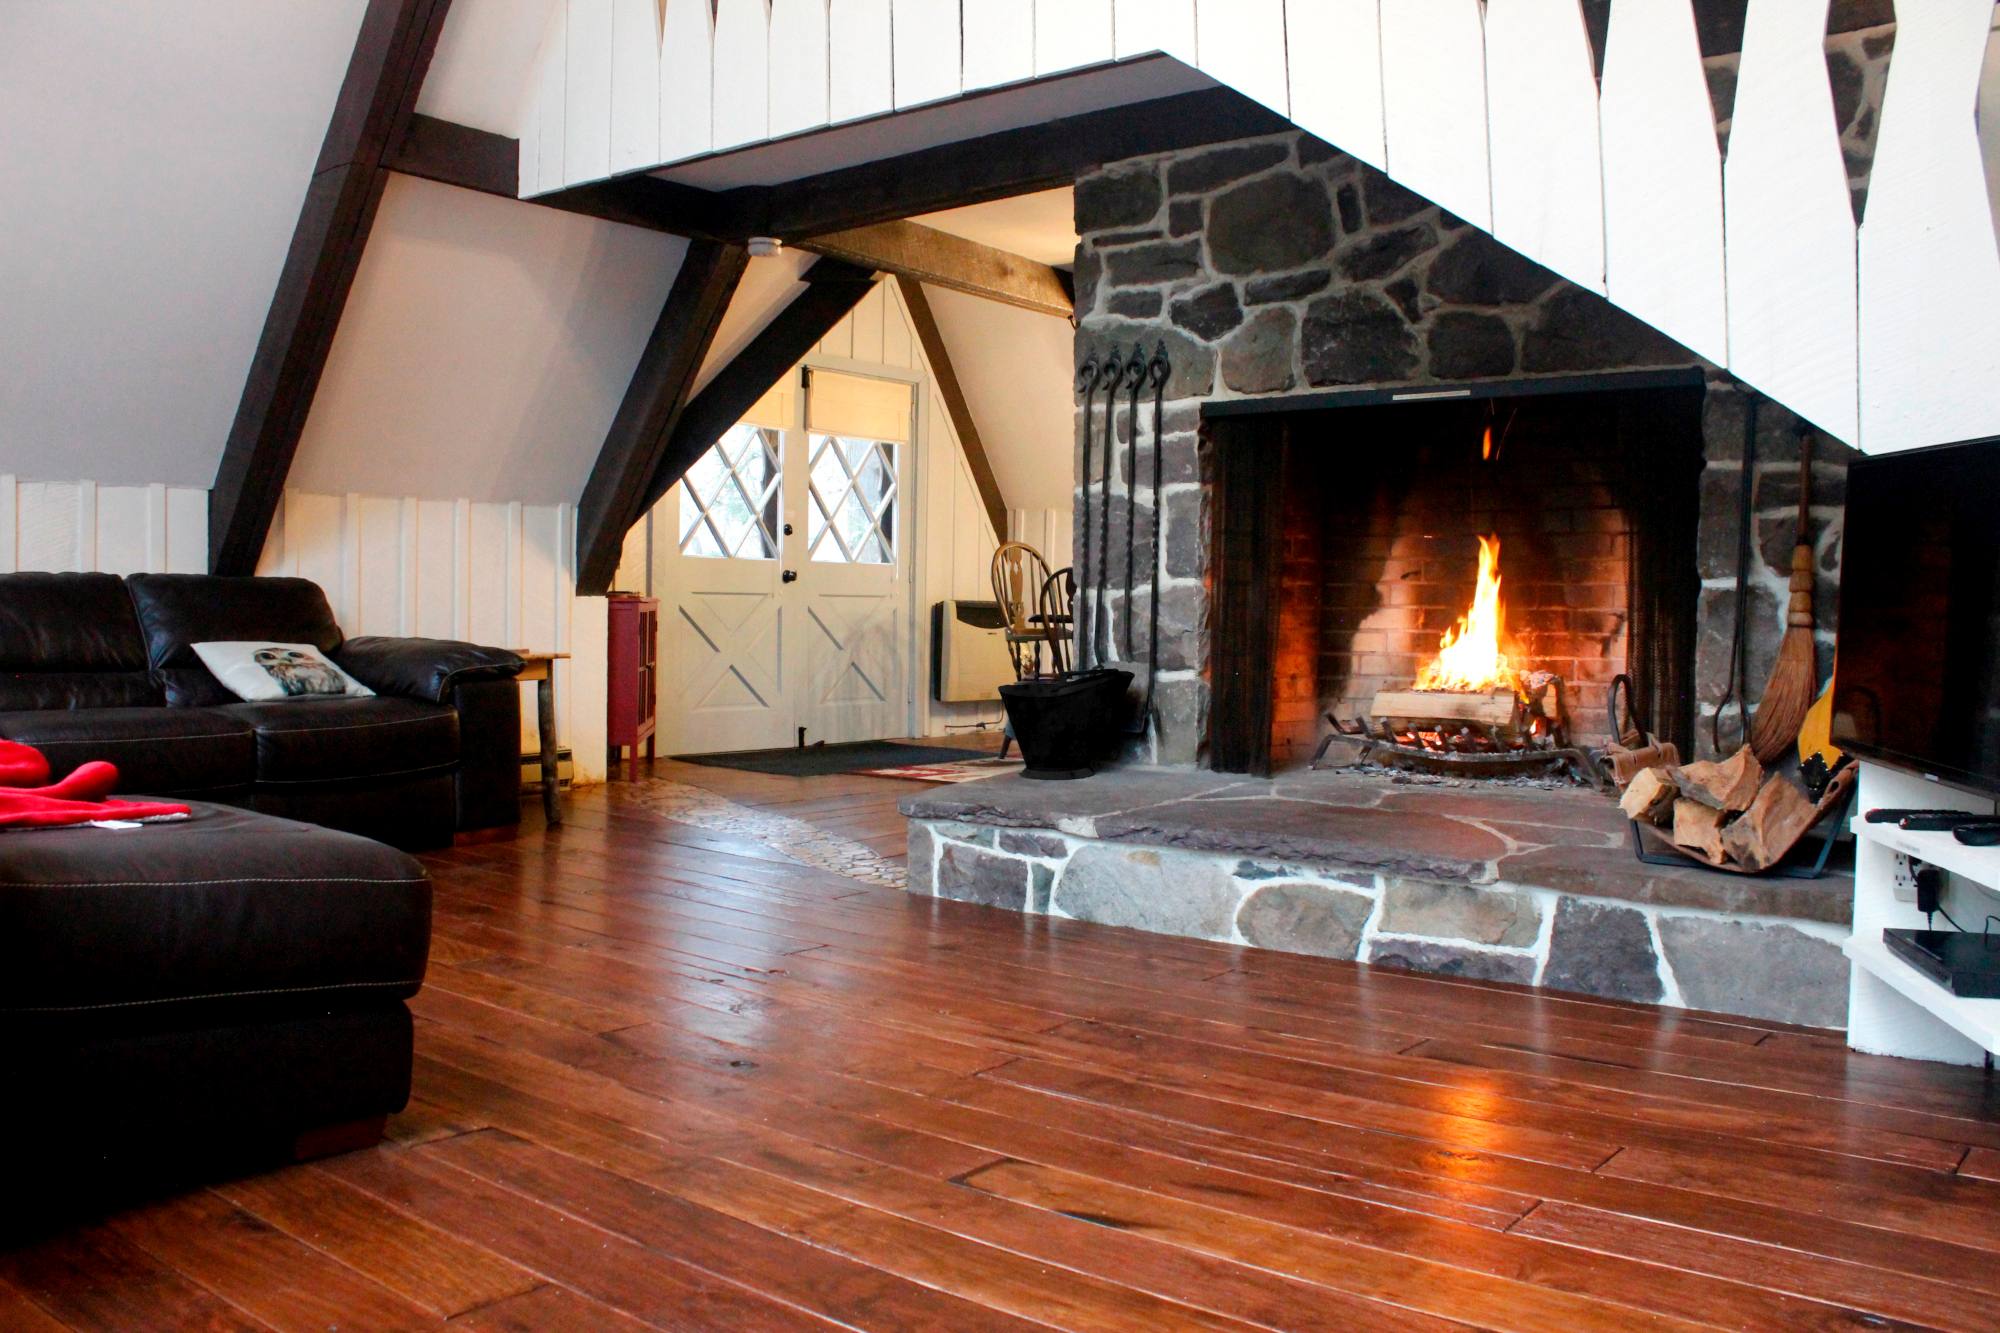
The end grain flooring inlay would separate the dining room from the living room. Starting in the corner of the dining room and making it’s way to the corner of the living room fireplace.
We wanted the flooring inlay to start off wider on one side and have it gently curving its way across the space.
We had the idea when we did the dining room earlier in the year and that’s also when I started cutting the wood slices for the river and traced out the shape of the wood slice flooring accent.
We were going to do the living room floors and the inlay a few months later, so that gave the wood slices time to dry.


Cutting The Wood Slices
Now that the general shape of the end grain flooring inlay was in place, the next step was to fill it in with wood slices. I got a bunch of branches that had fallen on our property and started cutting them to the width I thought I needed… more on that later.
I cut enough pieces of wood to fill in the inlay, with a bunch of various branch thicknesses. I cut them in May to have them dry up a few months before installing them in the fall.
The flooring was 1/2″ thick and the floors are uneven so I cut the wood slices a bit thicker… at least that’s what I thought….that was a big mistake. It’s important to cut them to the right size right off the bat.
I used a miter saw to cut the slices, it went pretty quick considering how many slices were needed.
Important Tip: When cutting the wood pieces try to cut them as close to the final thickness as possible.
I didn’t do that with this project and it took me days to get the slices down to the right size.
I cut the slices 3/4″ and most of the wood slices needed to be about 1/2″… a big mistake.
That extra 1/4″ was a struggle to remove.


Drying The Wood Slices
I had cut most of the wood slices months ago so those were dry when I was ready to install them.
But I guess I was able to get the wood slices tighter together when I was actually doing the project… so I needed more wood slices.
I found this article on drying the wood slices.
http://theplywood.com/drying-wood-in-oven
Using the oven on low heat (200 F), the wood slices were dry in a couple of hours so it worked really well.
Cutting The End Grain Flooring Inlay Into The Floor Boards
The original plan was to cut each floorboard individually using a rotozip. I was going to cut them outside since the rotozip causes a lot of dust.
Instead, I ended up cutting the floorboards in place using the Oscillating Multi-Tool. That worked really well and it didn’t make very much dust.
After the boards were cut I went over the cut with the belt sander to soften the curves and round off the edge of the boards. That way there aren’t splinters. 🙂


Placing The Wood Slices In The Inlay
When placing the slices inlay, make sure to mix up the different sizes. That way it looks more organic and natural.
I secured the wood pieces in place with liquid nails. It just takes a dollop on the back of each piece and applying a little pressure to get it to set.

Seal The Wood Slices Before Applying The Grout
I sealed the wood slices before applying the grout by applying a coat of the polyurethane. Otherwise the grout will darken the wood slices. You’ll be sanding everything down later but sealing the slices makes it easier to get them back to the lighter color.
Mixing The Sawdust Grout
I found an article from Bob Villa that talks about the grout that can be used with the wood slices. It’s called sawdust grout.
https://www.bobvila.com/articles/quick-tip-sawdust-grout/
Sawdust grout is a combination of 2 parts sawdust to 1 part polyurethane.
I used a water based, oil-modified fast drying polyurethane for the sawdust grout mix and the finish.
The polyurethane dries quickly and it’s orderless.
It’s the same one we used on the plywood wide plank floor boards in the living dining room and kitchen.

Applying The Sawdust Grout
Using latex gloves grab a small glob of Grout and push it into the spaces between the wood slices.


Sanding The End Grain Flooring Inlay
I used a belt sander to sand down the wood pieces.
Of course, that was only after I fixed my huge mistake of cutting the wood slices the wrong thickness.
The sand paper I used was 36 grit. I wanted something that gave the wood pieces a rough texture so they wouldn’t be slippery.
Because sanding is a pretty messy task, I tented off the area, that way the dust didn’t go all over the house.


This is what the wood slices and the sawdust grout looked like after the sanding was done.
I sanded the wood slice inlay to the height of the flooring on either side of it. I also used the sander to knock off the edges of each of the wood slices, removing any hard edges that may be uncomfortable to walk on.

Adding The Polyurathane Finish
The polyurethane was the same one I used on the wood board flooring and in the sawdust grout mix.
I put three coats of finish on the end grain flooring inlay.
Although the poly is colorless, it did give the wood slices a little bit of a yellow tint.
The sawdust grout also darken quite a bit when I applied the poly on top of it.

[et_bloom_inline optin_id=”optin_7″]
More Pics Of The End Grain Flooring Inlay


What Do You Think?
We love the way the end grain flooring inlay turned out. It’s so much more character than a simple threshold would have given.
What do you think? Do you like the way it turned out? What would you do differently? We’d love to hear your feedback.
Enjoy this post? Pin it and share it with others!


I am in love! Thank you for the detailed instructions, and for making all the mistakes you have saved me from! Just so in love…. I will be doing this very soon!
Hi Amy,
LOL, yeah please avoid the mistakes I made. 🙂
Taking my mistakes out of the equation, this project would have taken a third of the time.
Dear Steve,
Your end grain flooring was very interesting. Kudos to you both. As you said, the result is far better than a standard threshold.
Creating the grout from sawdust and urethane was news to me. In all my projects I have used sawdust mixed with a waterproof glue such as Titebond III.
It’s been 3 years since you installed this floor. Has it stood up well? Has there been any shrinkage and cracking?
Knowing what you do now, would you have changed your methods?
Best regards, Ted Chabane
Hi Ted, thanks for the kudos! 🙂
It has stood up very well, no shrinkage or cracking. And keep in mind this is in a vacation rental, so that’s saying something!
What would I have changed… one things for sure, as I said in the article I would definitely be more careful about cutting them to the right thickness right off the bat.
Maybe one thing I would do differently is make the inlay more curvy. I think it would have looked even nicer had I exaggerated the curves in it more.
As far as the method of creating it, so far so good I don’t think there is anything I’d do differently. 🙂
Love the look of the inlay, we are thinking doing more plywood flooring in our home we might add an inlay too. My wife and I did our bedroom in plywood flooring in 2017, it’s held up real well. Getting the gel stain is a great idea and taking a knife to the knots and sanding them really looks great. Thanks for making a very clear description of the process. “well done”
Thanks Brad! The inlay definitely adds a completely unique look to the house. It worked out really well. Take a look at Pinterest, that’s where I found inspiration for the inlay. There’s all kinds of great pins on there that’ll spark your inspiration. 🙂
I love this idea. We are slowly starting a kitchen remodel and will be removing a wall to have a more open space into the living room. Since we are doing majority of the work ourselves this flooring would be ideal for our budget!
Can you tell me how the floor has held up since installing it? With 4 kids and large dogs I want to make sure the floor will withstand normal wear and tear of a country family!
Thanks Heather!
The floors have held up very nicely! Remember this is in a vacation rental (where guests may not be as careful as we would be) and we also allow pets! So the floors get their fair share of abuse. lol
Also remember, I wasn’t trying to get the floors to look perfect – that’s why I distressed the planks before finishing them. Any dings and scratches they get add to that old, gnarly, country feel I’m doing for. 🙂