
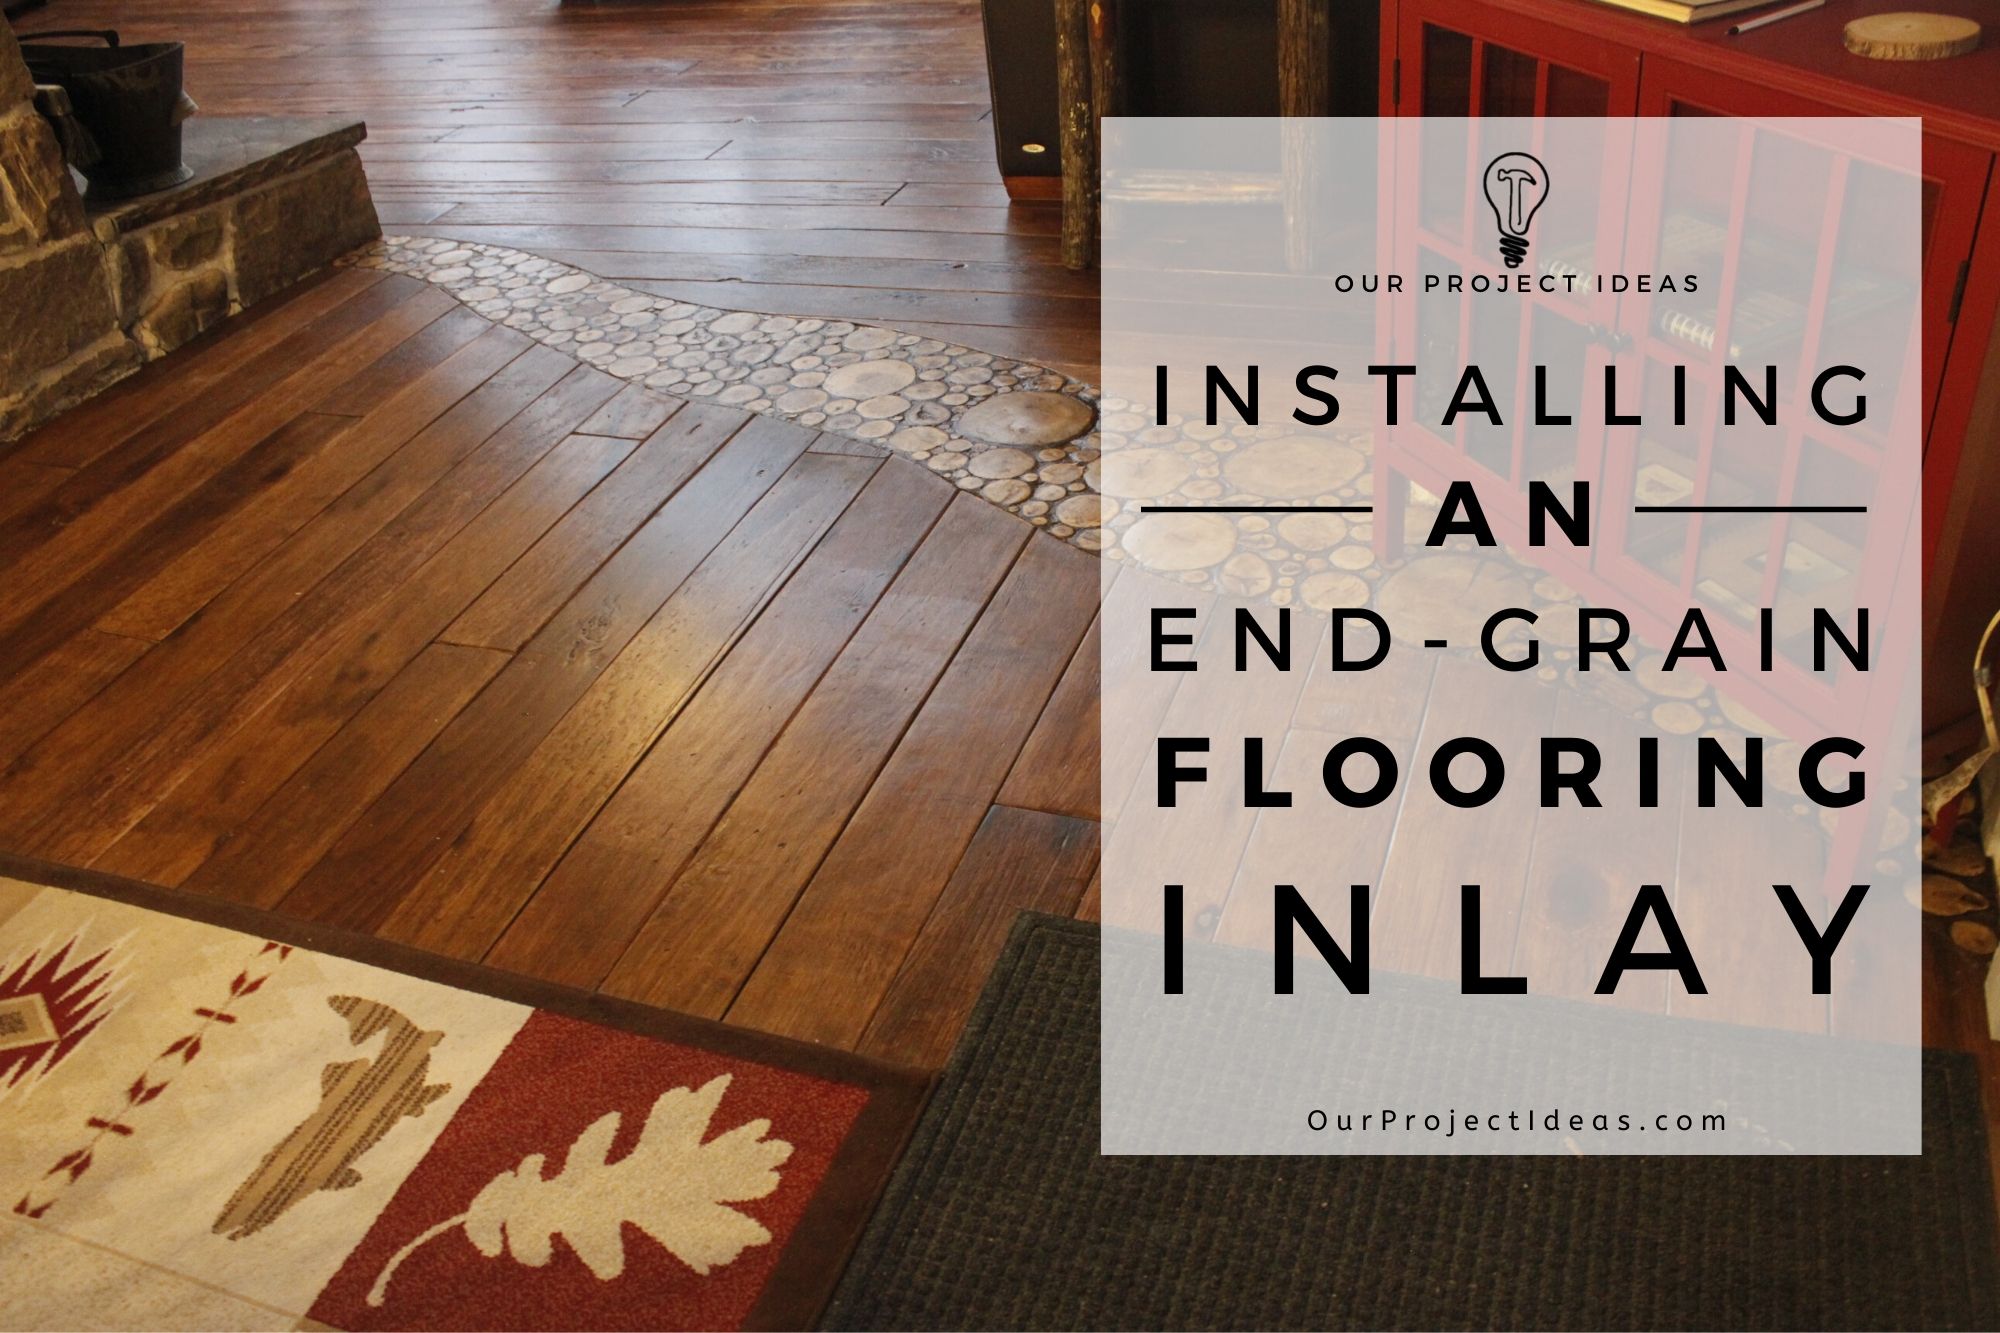
Het maken van een eindnerfvloerinleg was iets waar ik maanden naar uitkeek. Wij geïnstalleerde multiplex brede plankenvloer in de eetkamer en keuken eerder dit jaar en de woonkamer was de volgende op de lijst. Hier is een bericht met details over wat Dat hebben we gedaan met de vloer van de woonkamer.
De vloer in de eetkamer en de woonkamer zou in verschillende richtingen worden gelegd en er zou een regelmatige drempel komen die de twee ruimtes scheidde. – tja behoorlijk saai.
Terwijl ik aanvankelijk mijn Pinterest-onderzoek naar vloeren deed, Ik kwam pins tegen met verschillende vloerontwerpen, gemaakt met plakjes hout.
Dat bracht mij op het idee om een kopskorrelvloer als inleg te maken. Het was de perfecte oplossing!
Ik kon niet wachten om dit project te proberen.
Openbaring: Sommige van de onderstaande links zijn gelieerde links. Als u besluit een van deze producten te kopen, We verdienen een kleine commissie zonder extra kosten voor u. We raden deze producten alleen aan omdat we er ervaring mee hebben en ze gebruiken voor onze eigen projecten. Als Amazon Associates, We verdienen aan kwalificerende aankopen.
Inhoudsopgave
De boodschappenlijst
Tools -lijst
Hier is een lijst met de tools die we bij dit project hebben gebruikt.
Affiliate links hieronder kunnen vergelijkbaar zijn met vergelijkbare items wanneer exacte items niet online kunnen worden gevonden.
Benodigdhedenlijst
Dit zijn de benodigdheden die bij dit project worden gebruikt.
Affiliate links hieronder kunnen vergelijkbaar zijn met vergelijkbare items wanneer exacte items niet online kunnen worden gevonden.
Op water gebaseerde olie-gemodificeerde poluyrathaan – wij gebruikten 1 gallon
4″ Polyester synthetische borstel – 4 borstels om de poly aan te brengen
Vloeibare nagels
Update: The end grain inlay has aged nicely. If you try one, the part we would stress most is sealing the wood slices before you grout and giving the finished inlay plenty of polyurethane. That is what keeps the sawdust grout and the end grain looking good for the long haul.
Wat is eindgraanvloeren?
Kopse vloerbedekking bestaat in feite uit takken en boomstammen die in plakjes zijn gesneden, vervolgens in een patroon geplaatst, in ons geval, het heeft de vorm van een rivier. De plakjes worden op hun plaats gelijmd en er wordt grout aangebracht om de ruimtes tussen de plakjes op te vullen. Vervolgens wordt er een beschermende afwerking aangebracht en heb je een kopsvloer!
Ik noem het een houtrivier, maar ik heb gezien dat het een aantal verschillende namen heeft. Houten vloerbedekking, Eind korrelvloeren, houten eindvloer, cordwood vloer en zelfs dwars gesneden boomschijfvloeren om er maar een paar te noemen.
Uitzoeken van de inleglay-out van de kopse vloer
Het mooie van een vloerinleg is dat er geen grenzen zijn aan het ontwerp dat je maakt. Het kan zo eenvoudig of sierlijk zijn als je wilt.
Omdat ons huis in de Poconos ligt, in een wildernisomgeving, we dachten dat een rivier van hout bij het huis en de omliggende natuur zou passen.
De inleg van de kopskorrelvloer zou de eetkamer van de woonkamer scheiden. Beginnend in de hoek van de eetkamer en doorlopend naar de hoek van de open haard in de woonkamer.
We wilden dat de vloerinleg aan één kant breder zou beginnen en zich een weg door de ruimte zou banen.
We kwamen op het idee toen we eerder dit jaar de eetkamer deden en toen begon ik de houtplakken voor de rivier te zagen en de vorm van het houten vloeraccent te tekenen..
Een paar maanden later zouden we de woonkamervloeren en het inlegwerk doen, zodat de houtplakken de tijd kregen om te drogen.

Het Snijden Van De Houten Plakken
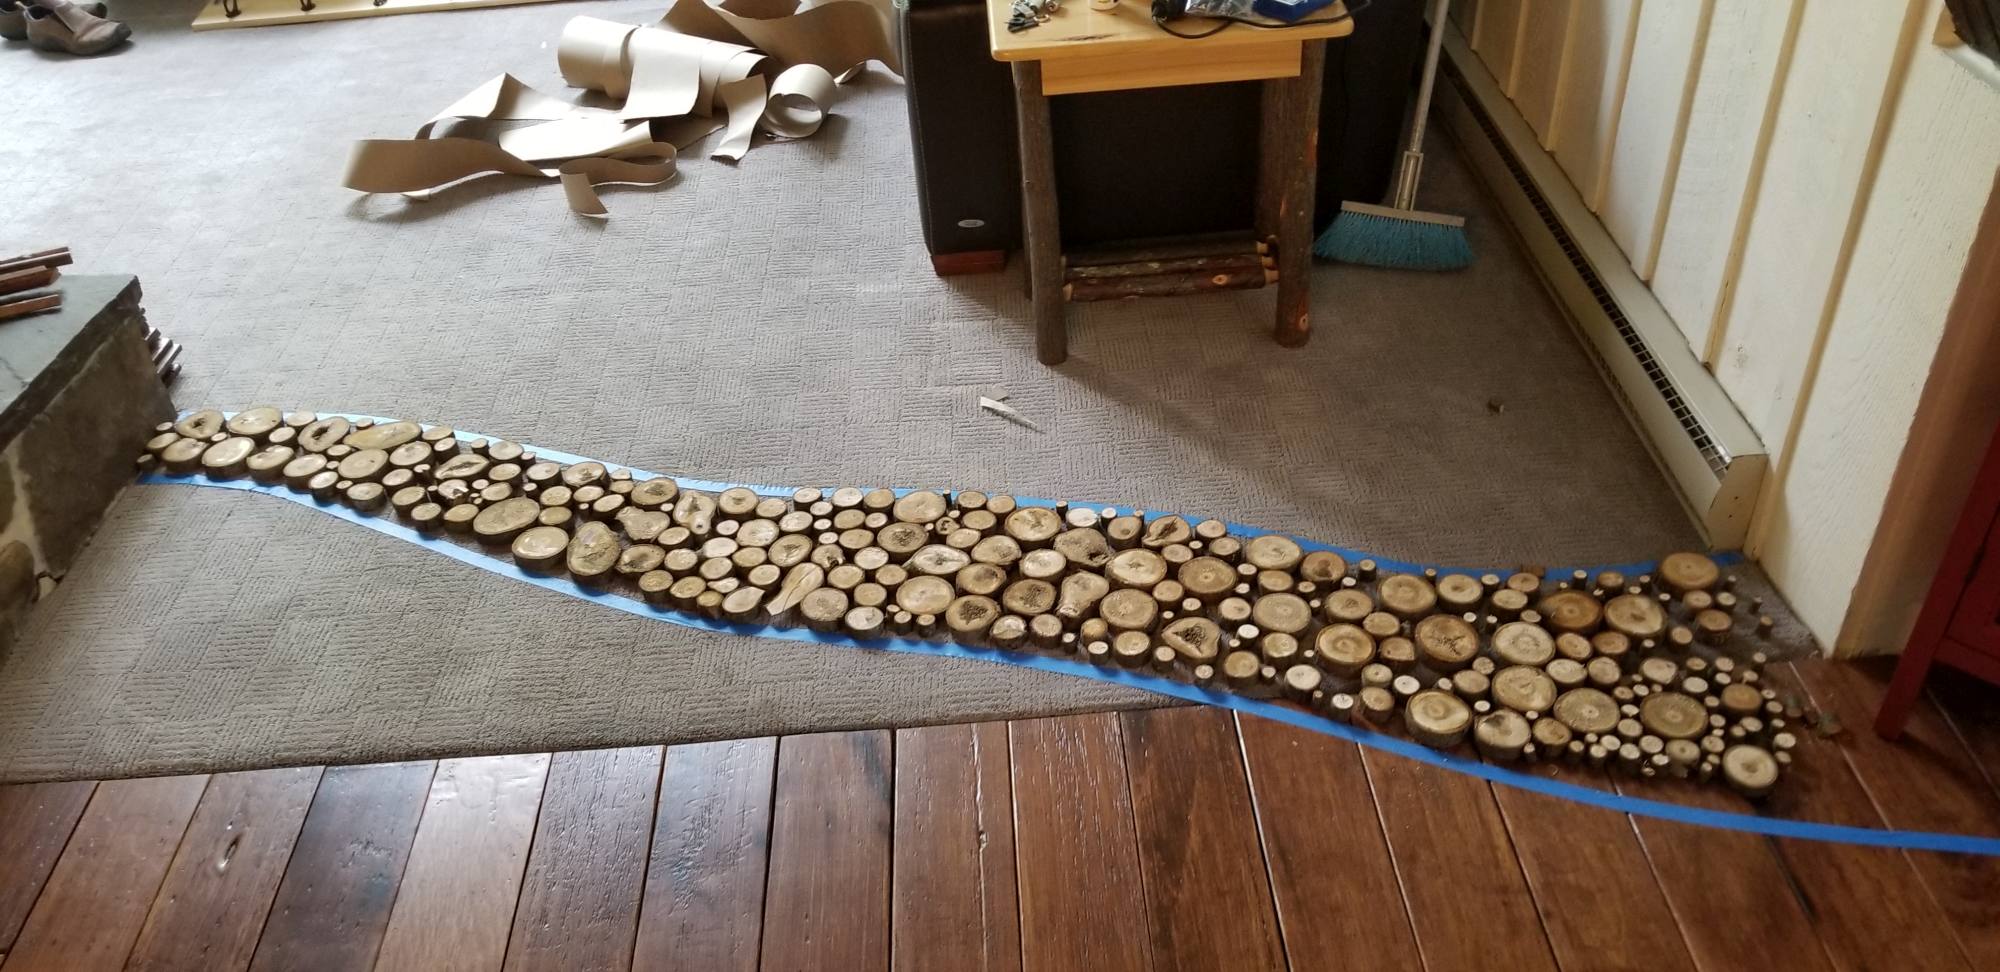
Nu de algemene vorm van de eindnerfvloerinleg op zijn plaats was, de volgende stap was om het te vullen met plakjes hout. Ik pakte een bos takken die op ons terrein waren gevallen en begon ze in de breedte te knippen die ik dacht nodig te hebben… daarover later meer.
Ik heb genoeg stukken hout gesneden om de inleg te vullen, met een bos van verschillende takdiktes. Ik heb ze in mei geknipt om ze een paar maanden te laten drogen voordat ik ze in de herfst installeerde.
De vloer was 1/2″ dik en de vloeren zijn ongelijk, dus ik heb de houtplakken wat dikker gesneden… tenminste dat dacht ik….dat was een grote vergissing. Het is belangrijk om ze meteen op de juiste maat te knippen.
Voor het snijden van de plakjes heb ik een verstekzaag gebruikt, het ging vrij snel als je bedenkt hoeveel plakjes er nodig waren.
Belangrijke tip: Probeer bij het zagen van de stukken hout ze zo dicht mogelijk bij de uiteindelijke dikte te zagen.
Bij dit project heb ik dat niet gedaan en het kostte me dagen om de plakjes op de juiste maat te krijgen.
Ik heb de plakjes 3/4 gesneden″ en de meeste houtplakken moesten ongeveer 1/2 zijn″… een grote fout.
Dat extra 1/4″ was een strijd om te verwijderen.

Het drogen van de houtplakken
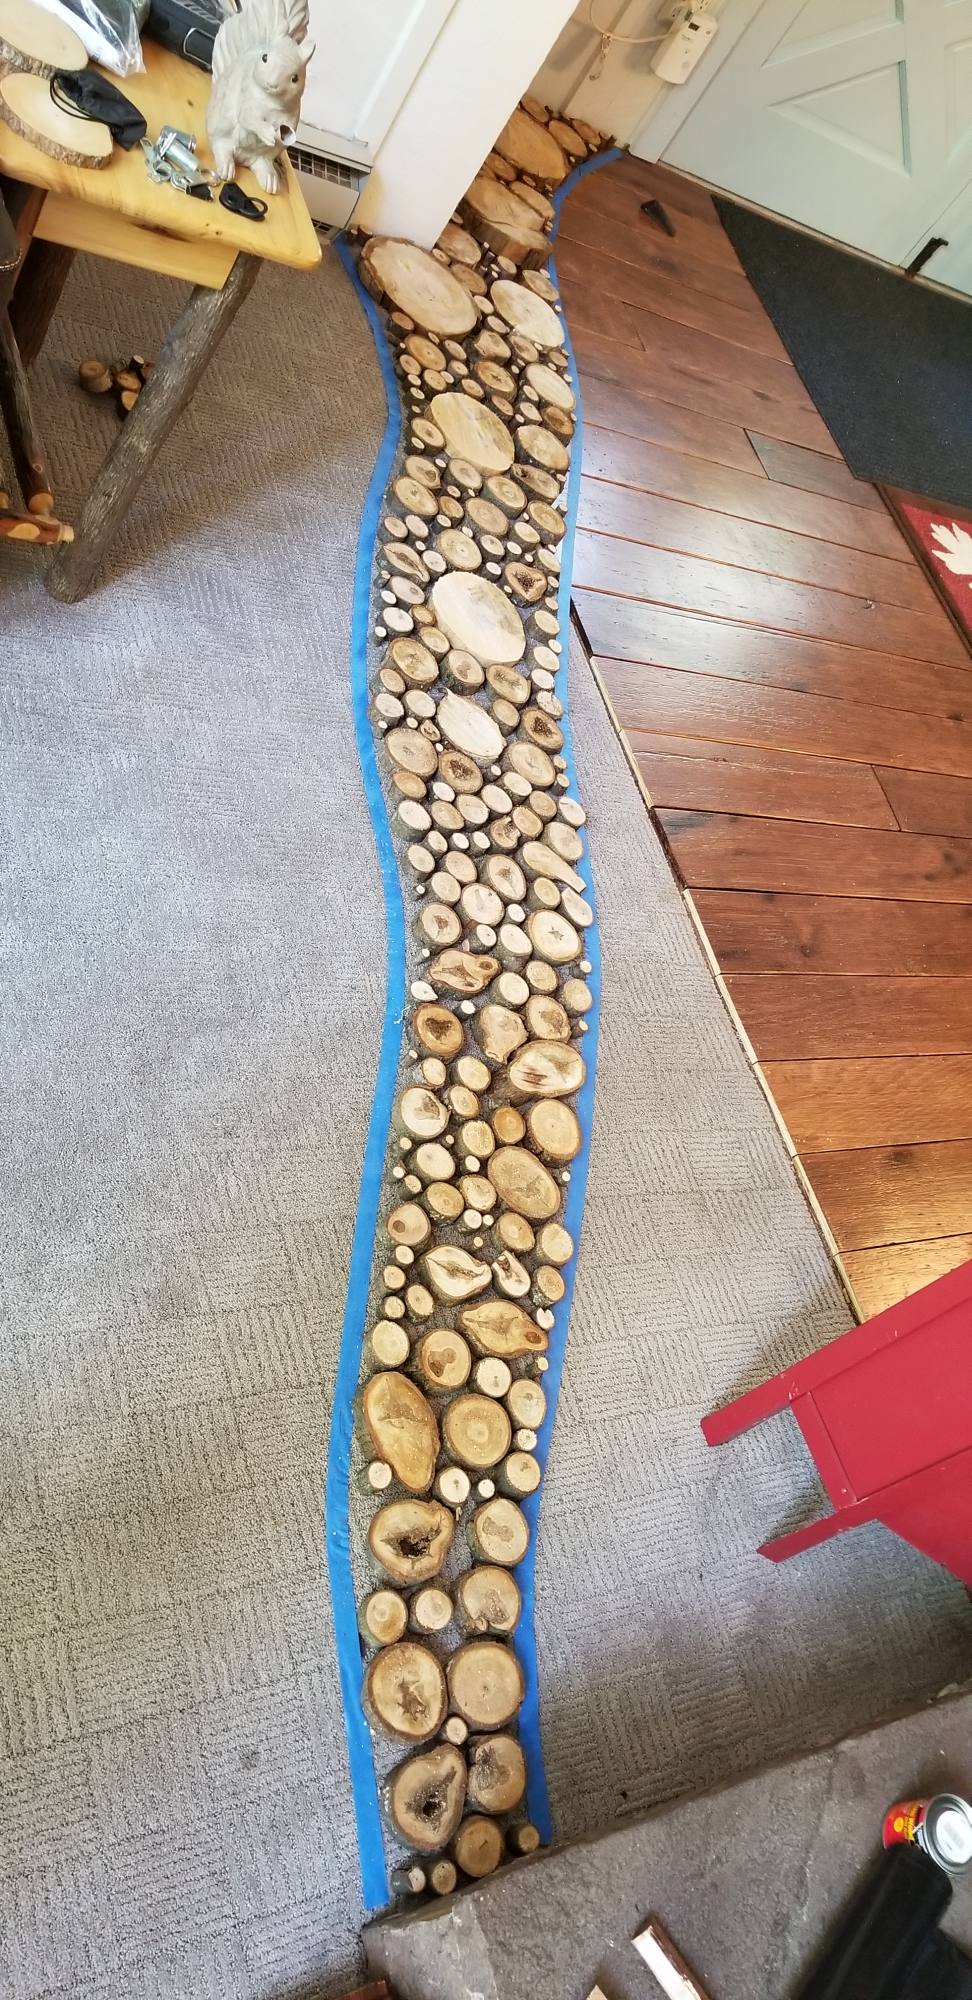
Ik had de meeste houtplakken maanden geleden afgesneden, dus die waren droog toen ik klaar was om ze te installeren.
Maar ik denk dat ik de houtplakken dichter bij elkaar heb kunnen krijgen toen ik het project daadwerkelijk deed… dus ik had meer houtplakken nodig.
Ik vond dit artikel over het drogen van de houtplakken.
http://theplywood.com/drying-wood-in-oven
Gebruik de oven op laag vuur (200 F), de houtplakken waren binnen een paar uur droog, dus het werkte heel goed.
Het inleggen van de kopse vloerbedekking in de vloerplanken snijden
Het oorspronkelijke plan was om elke vloerplaat afzonderlijk te zagen met behulp van een rotozip. Ik wilde ze buiten knippen omdat de rotozip veel stof veroorzaakt.
In plaats van, Uiteindelijk heb ik de vloerplanken op hun plaats gezaagd met behulp van de oscillerende multitool. Dat werkte heel goed en het maakte niet veel stof.
Nadat de planken waren gesneden, ging ik met de bandschuurmachine over de snede heen om de rondingen te verzachten en de rand van de planken af te ronden. Zo ontstaan er geen splinters. 🙂


Het plaatsen van de houtplakken in de inleg
Bij het plaatsen van de plakjes inleg, Zorg ervoor dat u de verschillende maten door elkaar haalt. Zo ziet het er organischer en natuurlijker uit.
Ik heb de stukken hout op hun plaats vastgezet met vloeibare spijkers. Er is slechts een klodder op de achterkant van elk stuk nodig en een beetje druk wordt uitgeoefend om het te laten uitharden.

Sluit de houtplakken af voordat u de voeg aanbrengt
Ik heb de houtplakken afgedicht voordat ik de voeg aanbracht door een laag polyurethaan aan te brengen. Anders zal de voeg de houtplakken donkerder maken. Je gaat alles later schuren, maar door de plakjes af te dichten, kun je ze gemakkelijker terug naar de lichtere kleur krijgen.
Het Mengen Van De Zaagselmortel
Ik heb een artikel van Bob Villa gevonden waarin wordt gesproken over de voeg die kan worden gebruikt met de houtplakken. Het heet zaagselspecie.
https://www.bobvila.com/articles/quick-tip-sawdust-grout/
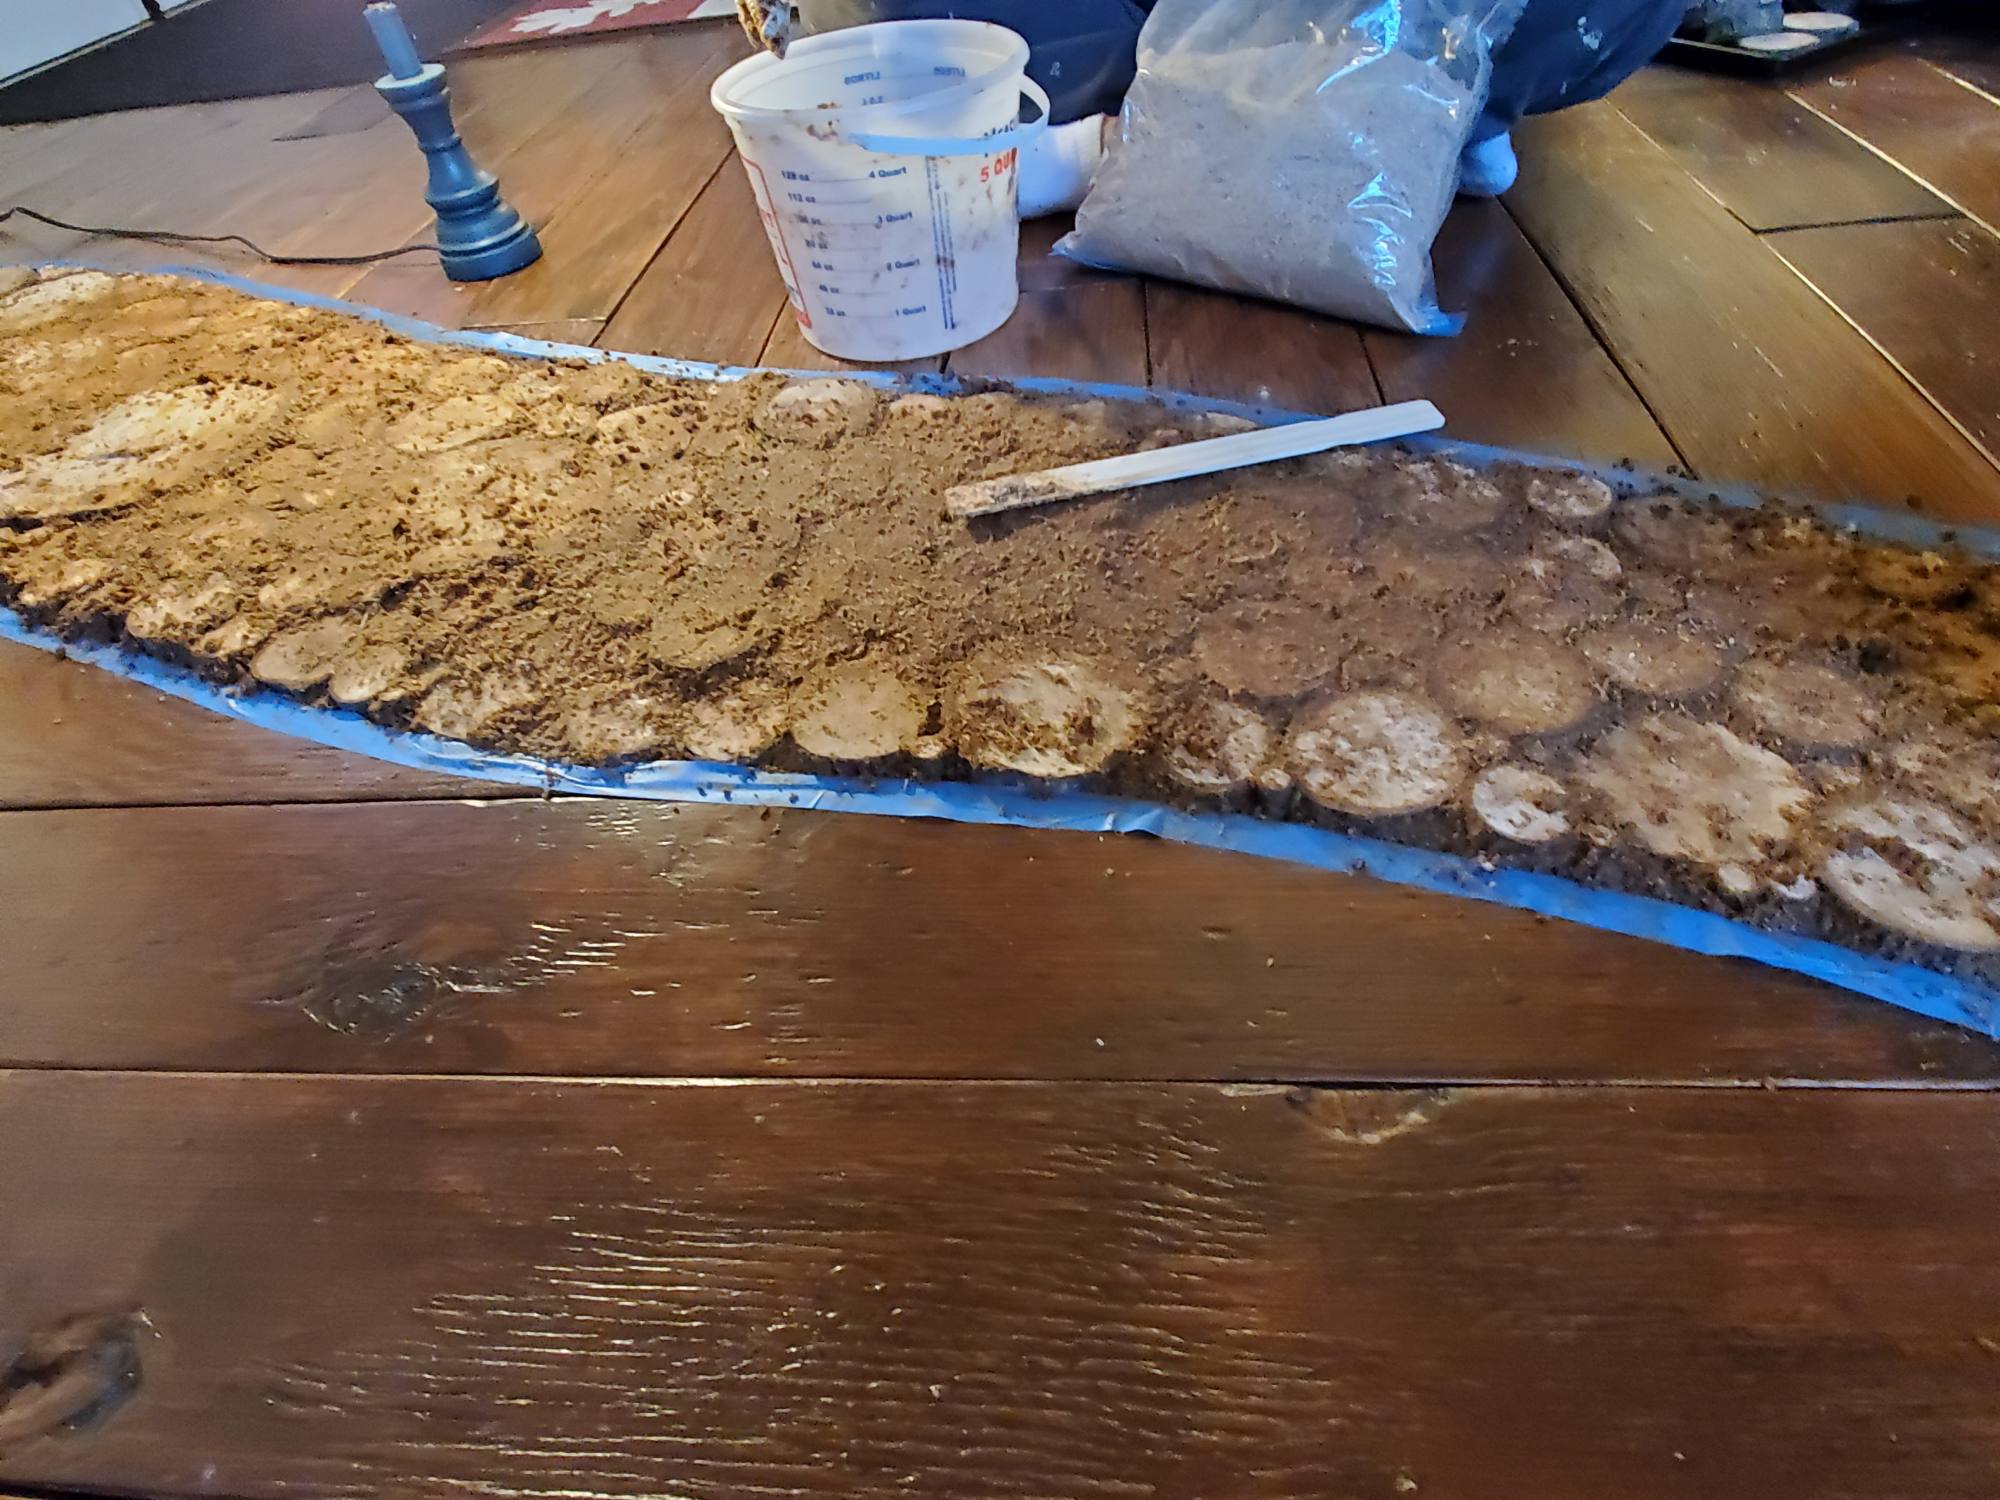
Zaagselvoeg is een combinatie van 2 delen zaagsel op 1 deel polyurethaan.
Ik heb een op waterbasis gebruikt, olie-gemodificeerd sneldrogend polyurethaan voor het zaagselvoegmengsel en de afwerking.
Het polyurethaan droogt snel en het is ordeloos.
Het is dezelfde die we gebruikten op de multiplex brede plankenvloerplanken in de woon-eetkamer en keuken.

Het aanbrengen van de zaagselmortel
Pak met latexhandschoenen een kleine klodder grout en duw deze in de ruimtes tussen de houtplakken.

De kopse vloerinleg schuren
Ik heb een bandschuurmachine gebruikt om de stukken hout te schuren.
Natuurlijk, dat was pas nadat ik mijn grote fout van het snijden van de houtplakken van de verkeerde dikte.
Het schuurpapier dat ik gebruikte was 36 korrel. Ik wilde iets dat de stukken hout een ruwe textuur gaf, zodat ze niet glad zouden zijn.
Omdat schuren een behoorlijk rommelige klus is, Ik heb het gebied afgesloten, Zo ging het stof niet door het hele huis.


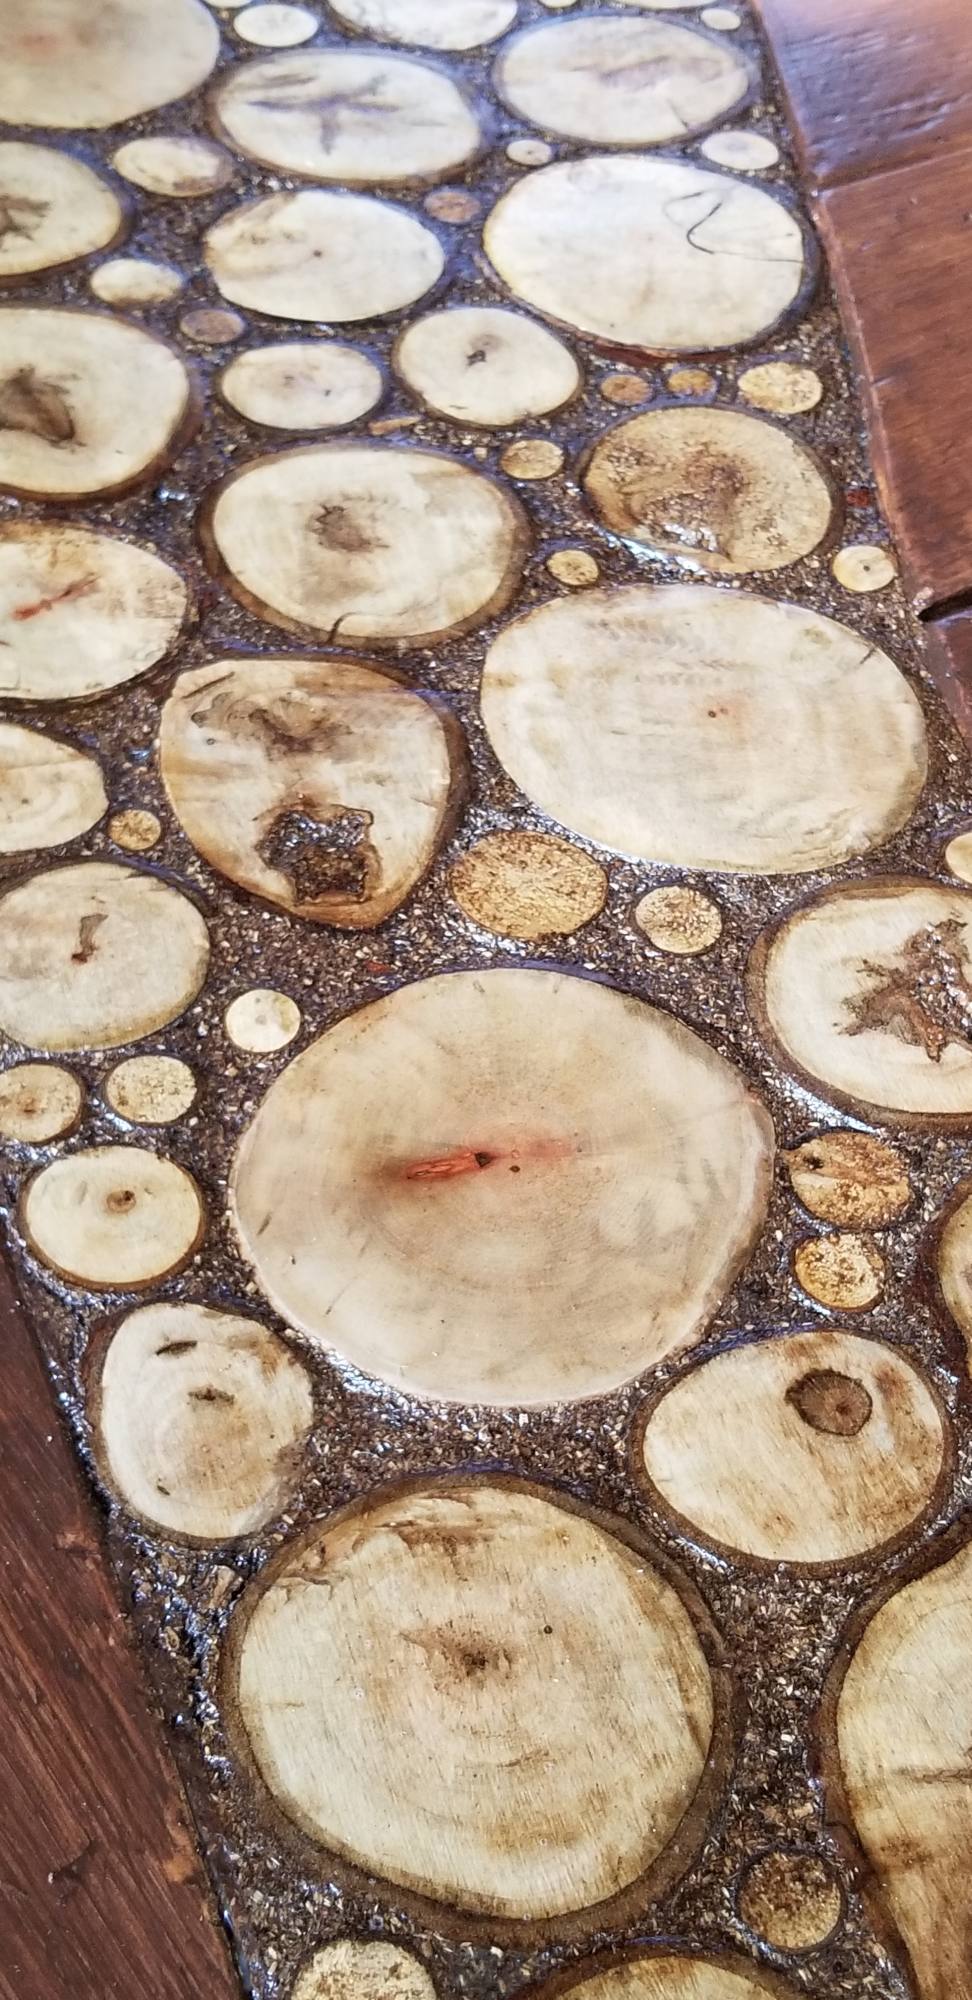
Zo zagen de houtsneden en het zaagselvoeg eruit nadat het schuren was gedaan.
Ik heb de inleg van de houten plakjes geschuurd tot de hoogte van de vloer aan weerszijden ervan. Ik heb ook de schuurmachine gebruikt om de randen van elk van de houtplakken eraf te slaan, het verwijderen van harde randen die oncomfortabel kunnen zijn om op te lopen.

Adding The Polyurethane Finish
Het polyurethaan was hetzelfde als dat ik gebruikte op de houten vloer en in het zaagselvoegmengsel.
Ik heb drie lagen afwerking aangebracht op de inleg van de eindnerfvloer.
Hoewel de poly kleurloos is, het gaf de houtplakken wel een beetje een gele tint.
De zaagselvoeg werd ook behoorlijk donker toen ik de poly erop aanbracht.
[et_bloom_inline optin_id=”optin_7″]
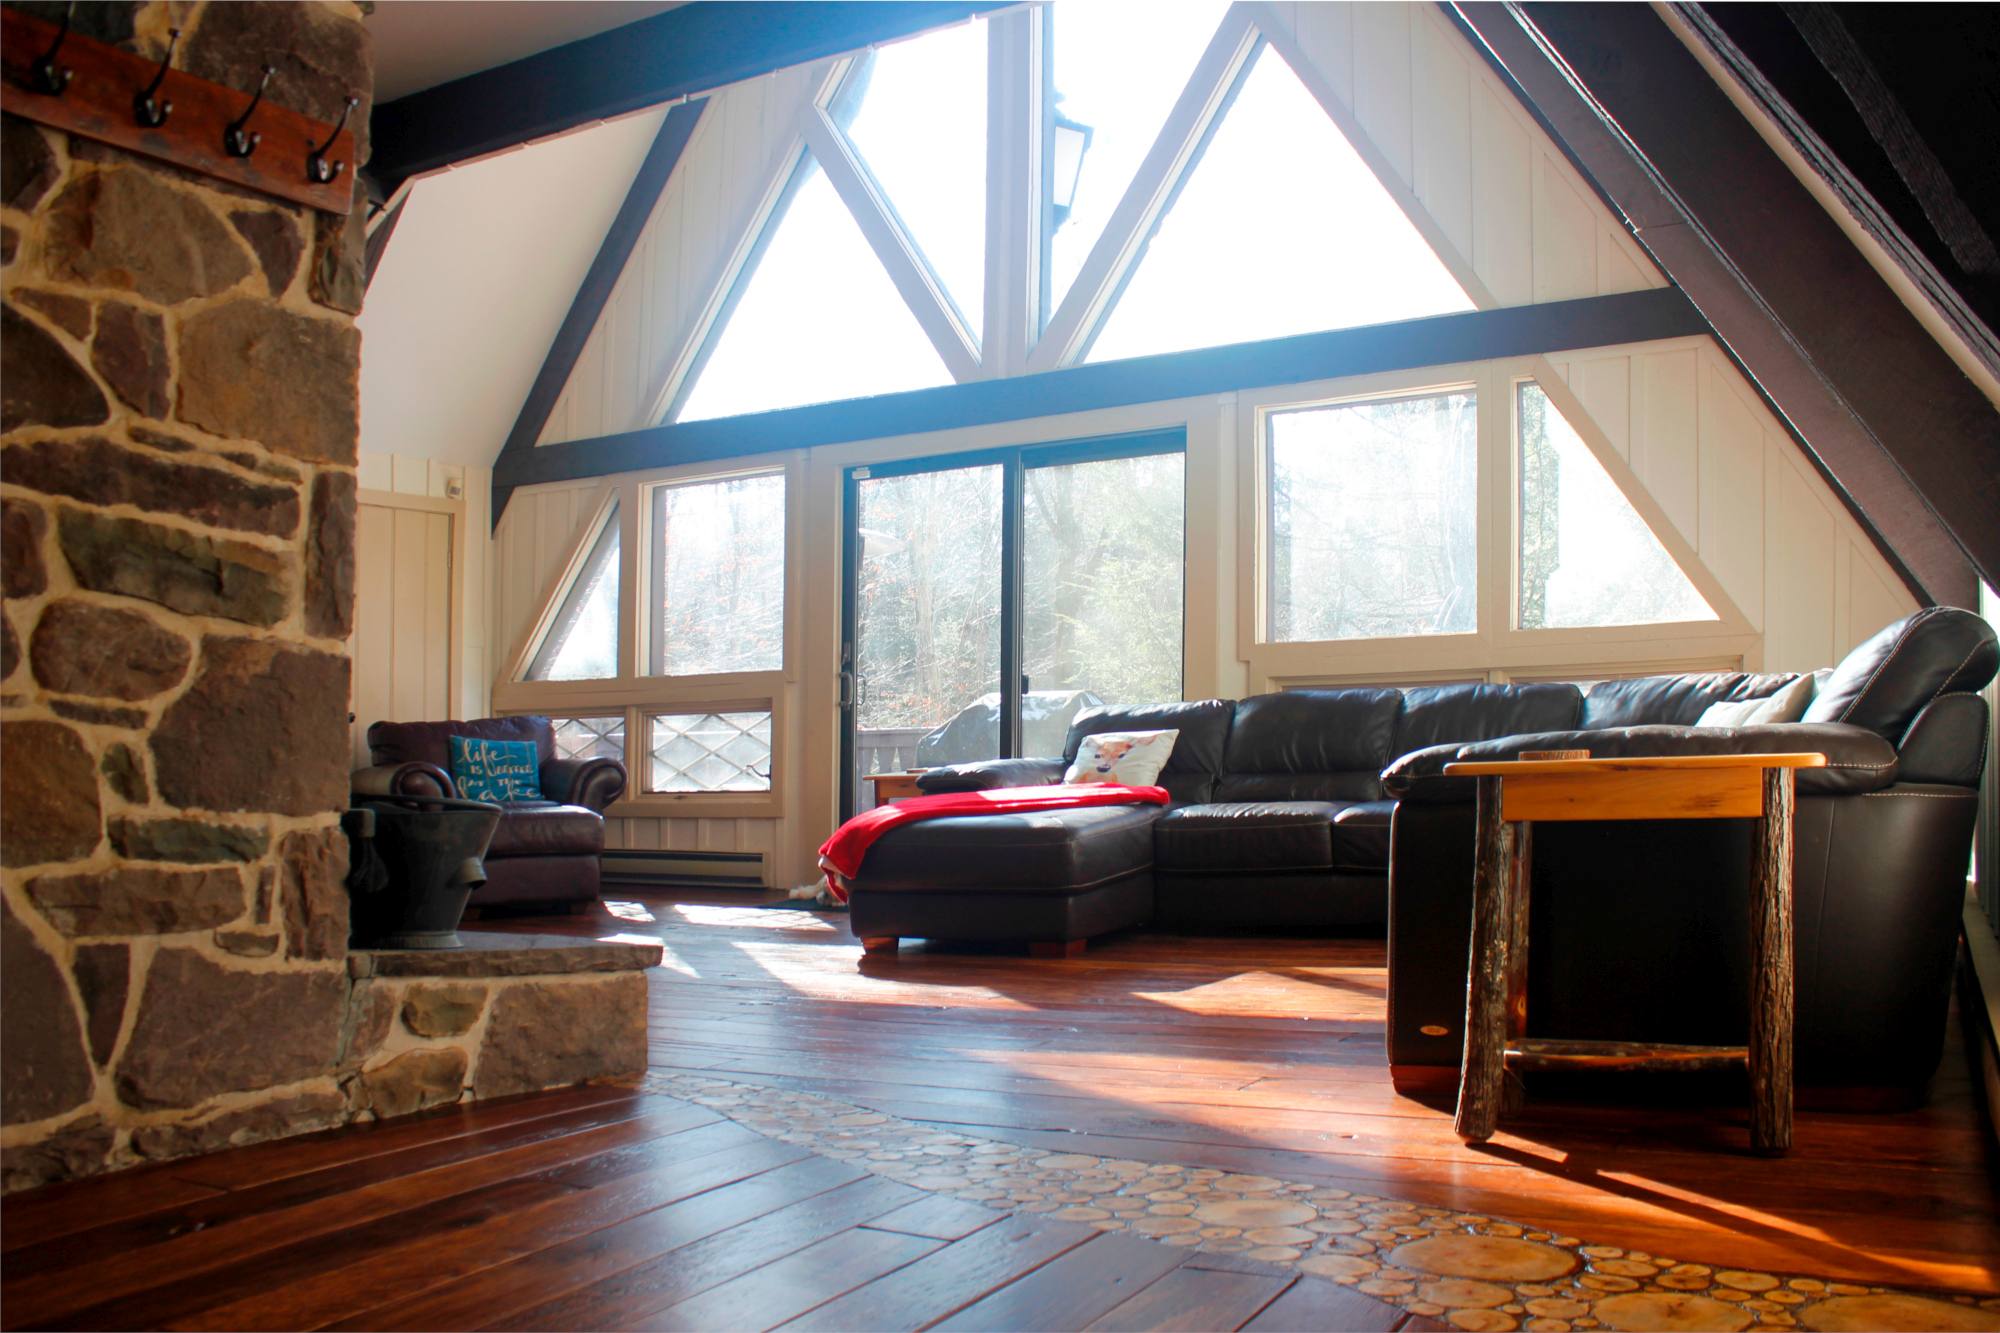
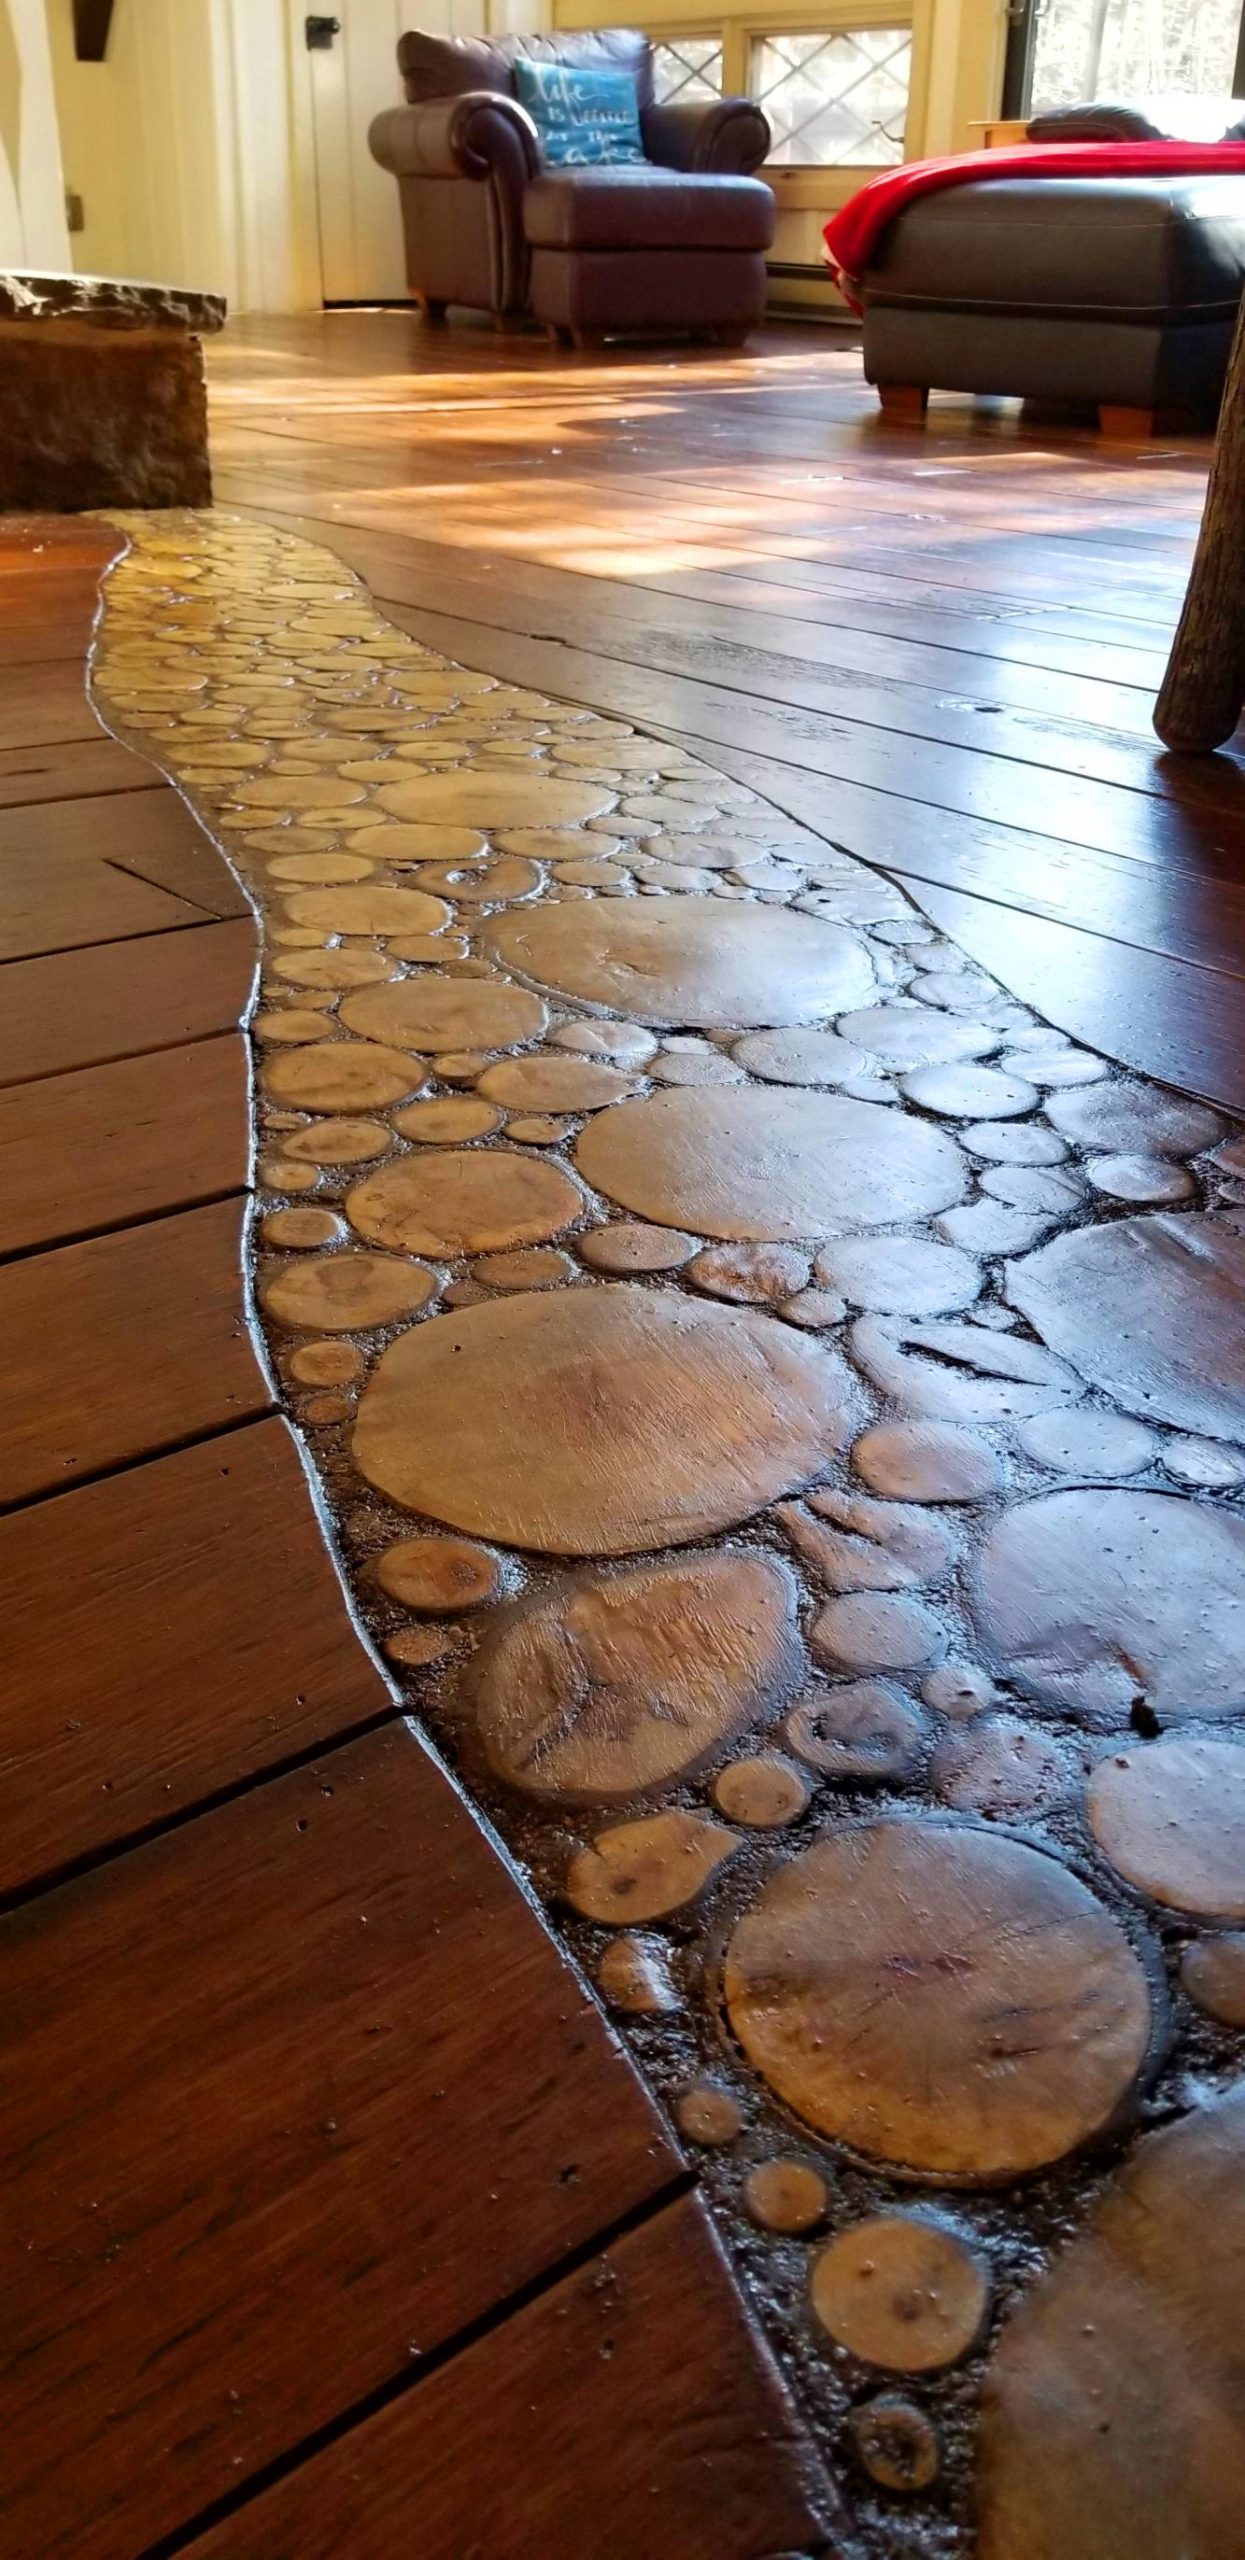
Meer foto's van de inleg van de kopse vloer



Wat denk je?
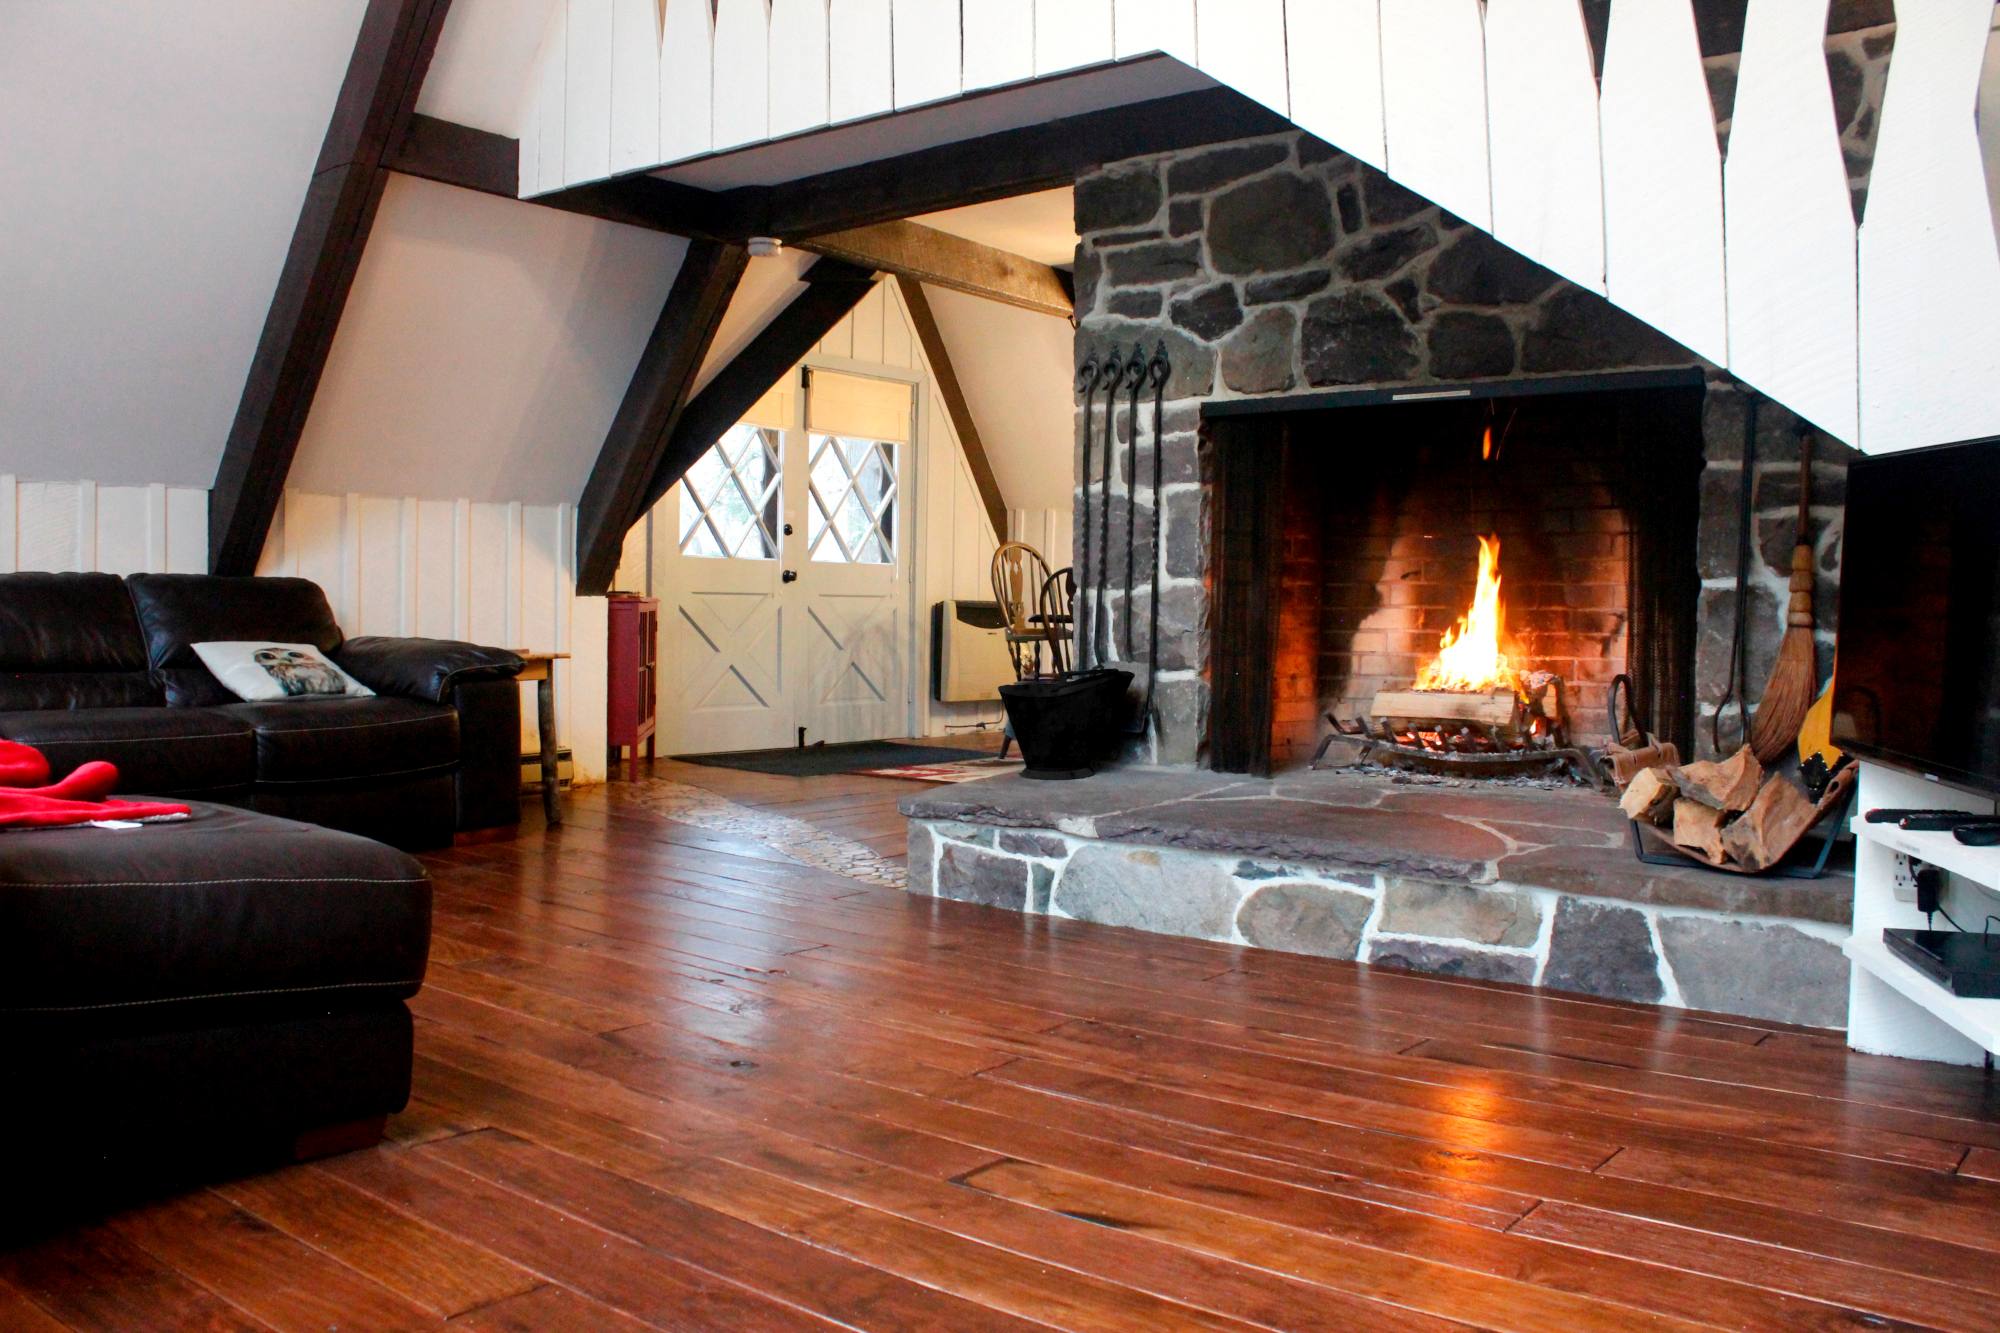
We zijn dol op de manier waarop de inleg van de eindnerfvloer is geworden. Het is zoveel meer karakter dan een simpele drempel zou hebben gegeven.
Wat denk je? Vind je het leuk hoe het is geworden?? Wat zou je anders doen? We horen graag uw feedback.
Geniet van dit bericht? Pin het en deel het met anderen!







Ik ben verliefd! Bedankt voor de gedetailleerde instructies, en voor het maken van alle fouten waarvan je mij hebt gered! Gewoon zo verliefd…. Ik zal dit zeer binnenkort doen!
Hoi Amy,
LOL, Ja, vermijd alsjeblieft de fouten die ik heb gemaakt. 🙂
Mijn fouten buiten beschouwing gelaten, dit project zou een derde van de tijd hebben gekost.
Beste Steve,
Je eindnerfvloer was erg interessant. Een pluim voor jullie allebei. Zoals je zei, het resultaat is veel beter dan een standaarddrempel.
Het maken van de voeg uit zaagsel en urethaan was nieuws voor mij. In al mijn projecten heb ik zaagsel gemengd met een waterdichte lijm zoals Titebond III gebruikt.
Het is 3 jaar geleden dat u deze vloer heeft gelegd. Heeft het goed stand gehouden? Is er sprake van krimp en barsten??
Weten wat je nu doet, zou jij je methoden hebben veranderd??
Hartelijke groeten, Ted Chabane
Hallo Ted, bedankt voor de complimenten! 🙂
Het heeft zich heel goed staande gehouden, geen krimp of barsten. En houd er rekening mee dat dit in een vakantiewoning is, dus dat wil wat zeggen!
Wat zou ik veranderd hebben… één ding is zeker, zoals ik in het artikel zei, zou ik zeker voorzichtiger zijn als ik ze meteen op de juiste dikte zou snijden.
Misschien is er één ding dat ik anders zou doen: de inlay ronder maken. Ik denk dat het er nog mooier uit zou hebben gezien als ik de rondingen erin nog meer had overdreven.
Wat betreft de methode om het te maken, tot nu toe gaat het goed. Ik denk niet dat ik iets anders zou doen. 🙂
Ik hou van het uiterlijk van de inleg, We denken erover om meer multiplexvloeren in ons huis aan te brengen en misschien ook een inlegwerk toe te voegen. Mijn vrouw en ik hebben onze slaapkamer in 2017 voorzien van multiplexvloeren, het wordt heel goed volgehouden. Het is een geweldig idee om de gelvlek te krijgen en een mes naar de knopen te brengen en ze te schuren ziet er echt geweldig uit. Bedankt voor uw zeer duidelijke beschrijving van het proces. “goed gedaan”
Bedankt Brad! De inleg geeft absoluut een geheel unieke uitstraling aan het huis. Het werkte heel goed. Kijk eens op Pinterest, daar vond ik inspiratie voor de inlay. Er staan allerlei geweldige pins op die je inspiratie zullen opwekken. 🙂
Ik hou van dit idee. We beginnen langzaam aan een keukenrenovatie en gaan een muur verwijderen om een meer open ruimte in de woonkamer te creëren. Omdat we het grootste deel van het werk zelf doen, zou deze vloer ideaal zijn voor ons budget!
Kunt u mij vertellen hoe de vloer zich heeft gehouden sinds de installatie ervan?? Met vier kinderen en grote honden wil ik er zeker van zijn dat de vloer bestand is tegen de normale slijtage van een plattelandsgezin!
Bedankt Heide!
De vloeren hebben zich heel mooi gehouden! Onthoud dat dit in een vakantiewoning is (waar gasten misschien niet zo voorzichtig zijn als wij zouden zijn) en huisdieren zijn ook toegestaan! De vloeren krijgen dus een behoorlijk deel van het misbruik. lol
Onthoud ook, Ik probeerde niet om de vloeren er perfect uit te laten zien – daarom heb ik de planken verweerd voordat ik ze afwerkte. Alle deuken en krassen die ze krijgen, dragen bij aan dat oude, knoestig, land waar ik voor doe. 🙂