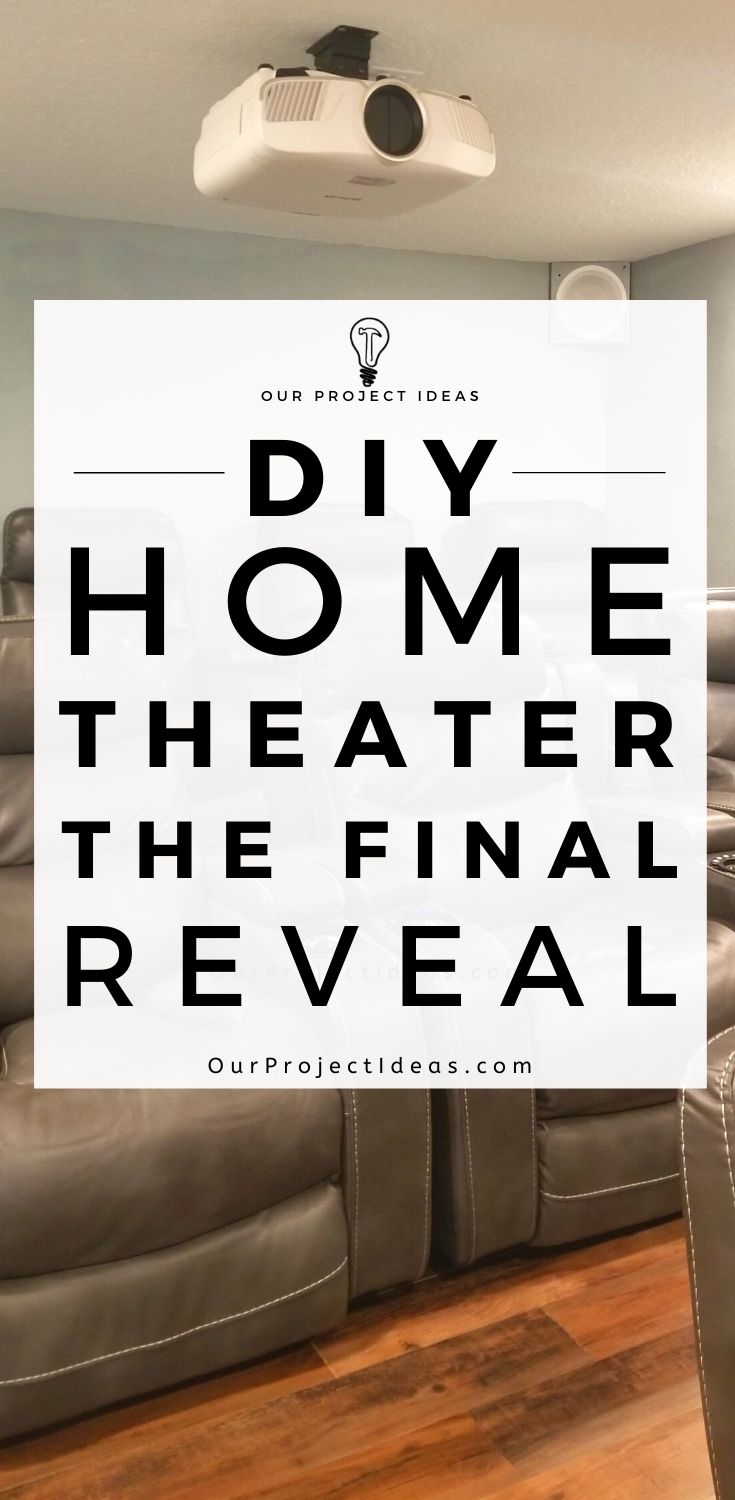
Ci sono voluti un bel po 'di ricerca e impegno per portare a termine il teatro ed è finito!
In realtà, il teatro è stato terminato qualche tempo fa, ma mi sono reso conto che non abbiamo mai avuto la rivelazione insieme ad altre foto del teatro finito.
Quindi eccolo qui, la rivelazione finale dell'home theater!
Rivelazione: Alcuni dei link qui sotto sono link di affiliazione. Se si decide di acquistare uno di questi prodotti, guadagniamo una piccola commissione senza costi aggiuntivi per te. Si consiglia di questi prodotti solo perché abbiamo esperienza con loro e li usiamo per i nostri progetti. Come Amazon Associates, guadagniamo dagli acquisti idonei.
La rivelazione finale dell'home theater
Questo è stato un progetto piuttosto grande, ci sono volute un sacco di ricerche, calcoli e scelte per arrivare al prodotto finale. Abbiamo deciso di fare tutto il lavoro da soli, il che ci ha fatto risparmiare un sacco di soldi e ci dà anche un senso di realizzazione. 🙂
Amiamo, Amore, adoro il nostro teatro e lo uso regolarmente. Per la maggior parte non c’è molto che vorremmo cambiare.
Ci sono un paio di cose, di cui parlerò alla fine del post.
L'inizio (più o meno)
Abbiamo avviato il progetto home theater prima di avere l'idea di avviare un blog, e a quanto pare non abbiamo fatto un buon lavoro nello scattare foto.
Comunque, ecco alcune foto del lavoro in corso.
Disposizione dei posti a sedere del teatro domestico
Prima che la stanza fosse trasformata in un home theater, era una lavagna pulita per noi su cui lavorare. Era una normale stanza rettangolare senza armadi.
Puoi avere un'idea di com'era prima nella foto qui sotto.
Abbiamo ordinato i posti a sedere prima di fare qualsiasi altra cosa. C'era una vendita quindi abbiamo premuto il grilletto.
Abbiamo ordinato i posti a sedere in base alle misurazioni che avevano online. Inutile dire che eravamo un po’ nervosi perché le misurazioni sarebbero state errate… per fortuna tutto ha funzionato. 🙂
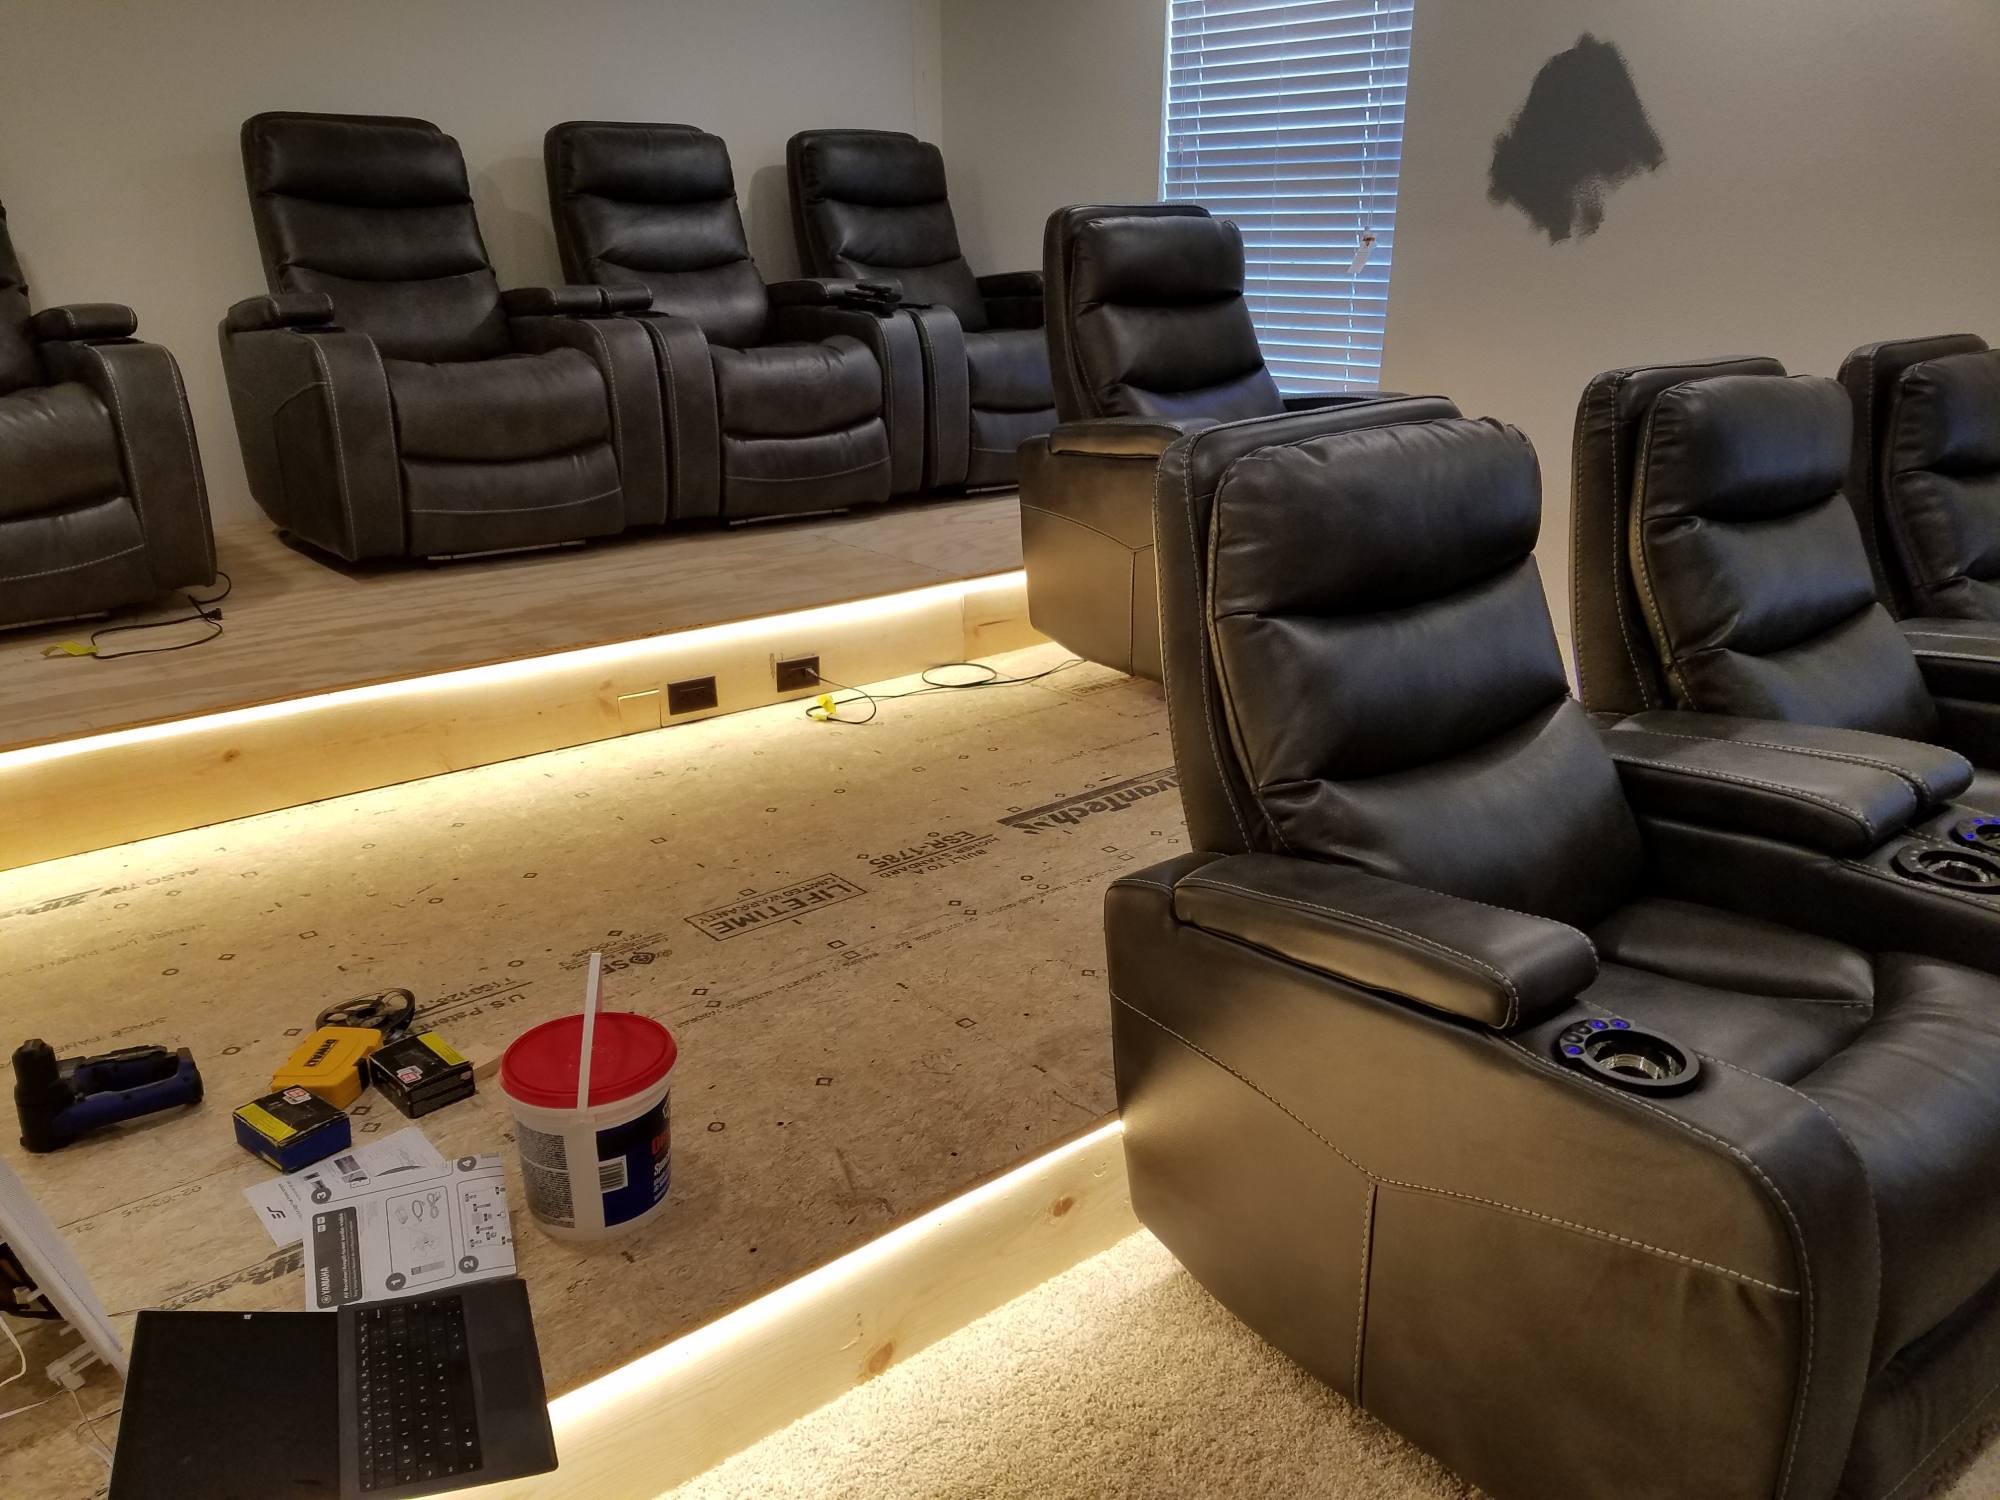
Una volta definito il layout ho iniziato a lavorare sul sala teatrale montante a.k.a. la piattaforma home theater.
E prima che andassi troppo avanti nel rialzi per sedili home theater costruzione Ho testato l'altezza delle alzate con le sedie per assicurarmi che le cose fossero ancora allineate come volevo.
Sono io nell'ultima foto che provo il altezza del montante dell'home theater con le sedie a posto.


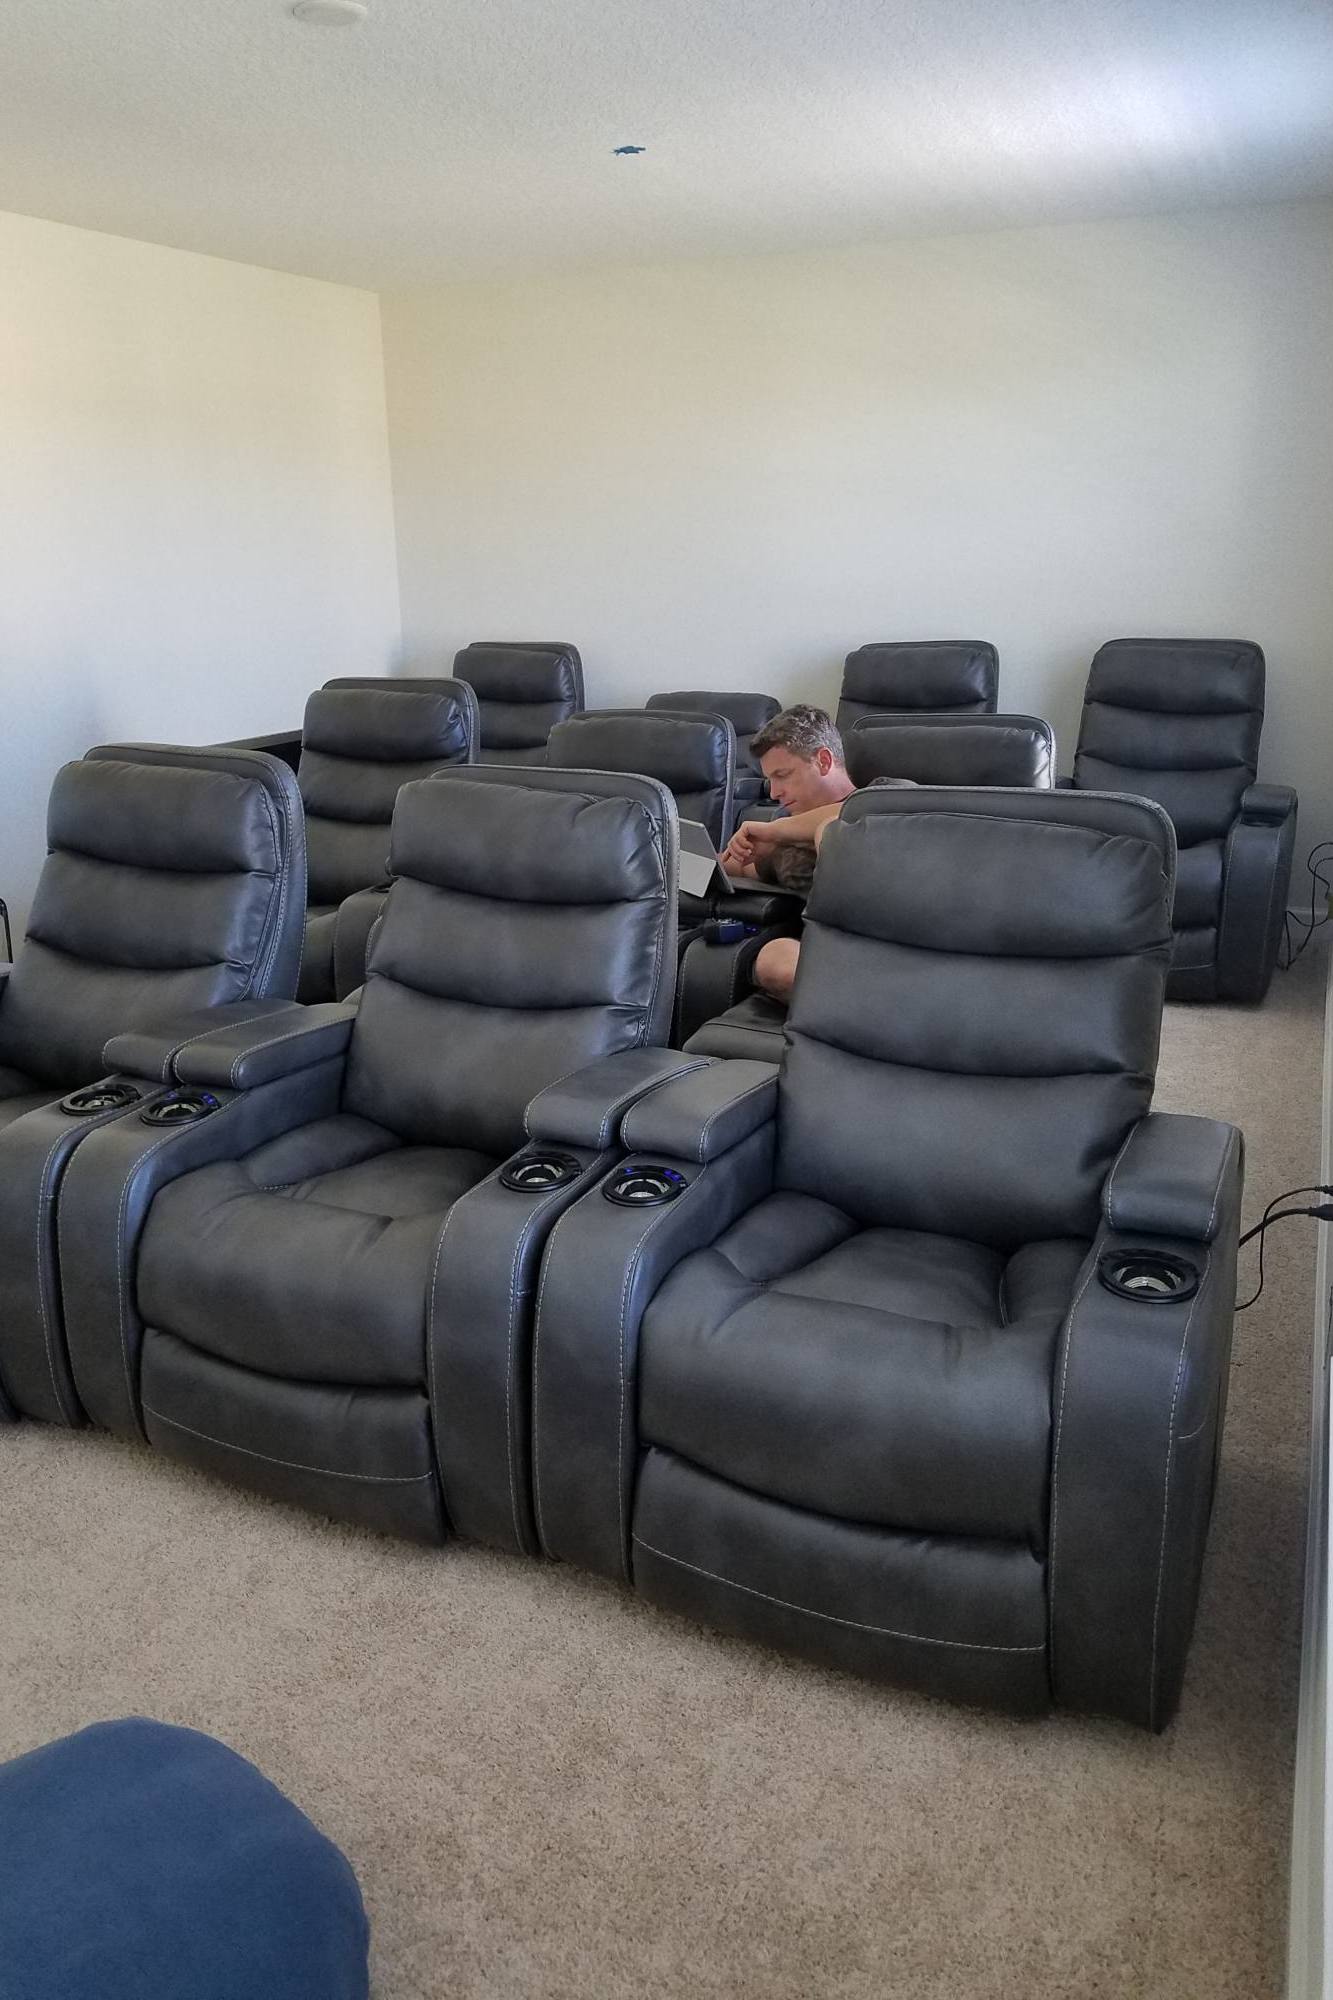
Lavorando sull'alzata del teatro
Ora che l'altezza del riser è stata risolta, ho potuto finire il riser.
Prima di aggiungere il pavimento in compensato ai montanti dovevo spostare la linea del cavo da questa stanza all'armadio del corridoio, dove avrebbero vissuto tutte le attrezzature del teatro.
Avevo anche bisogno di aggiungere prese per alimentare le poltrone reclinabili e la luce a LED per le scale montanti.
Ne ho messi due sul fondo della parete di fondo, e due al centro di ogni gradino.

Tempo per le cose buone – Il proiettore, Schermo e altoparlanti
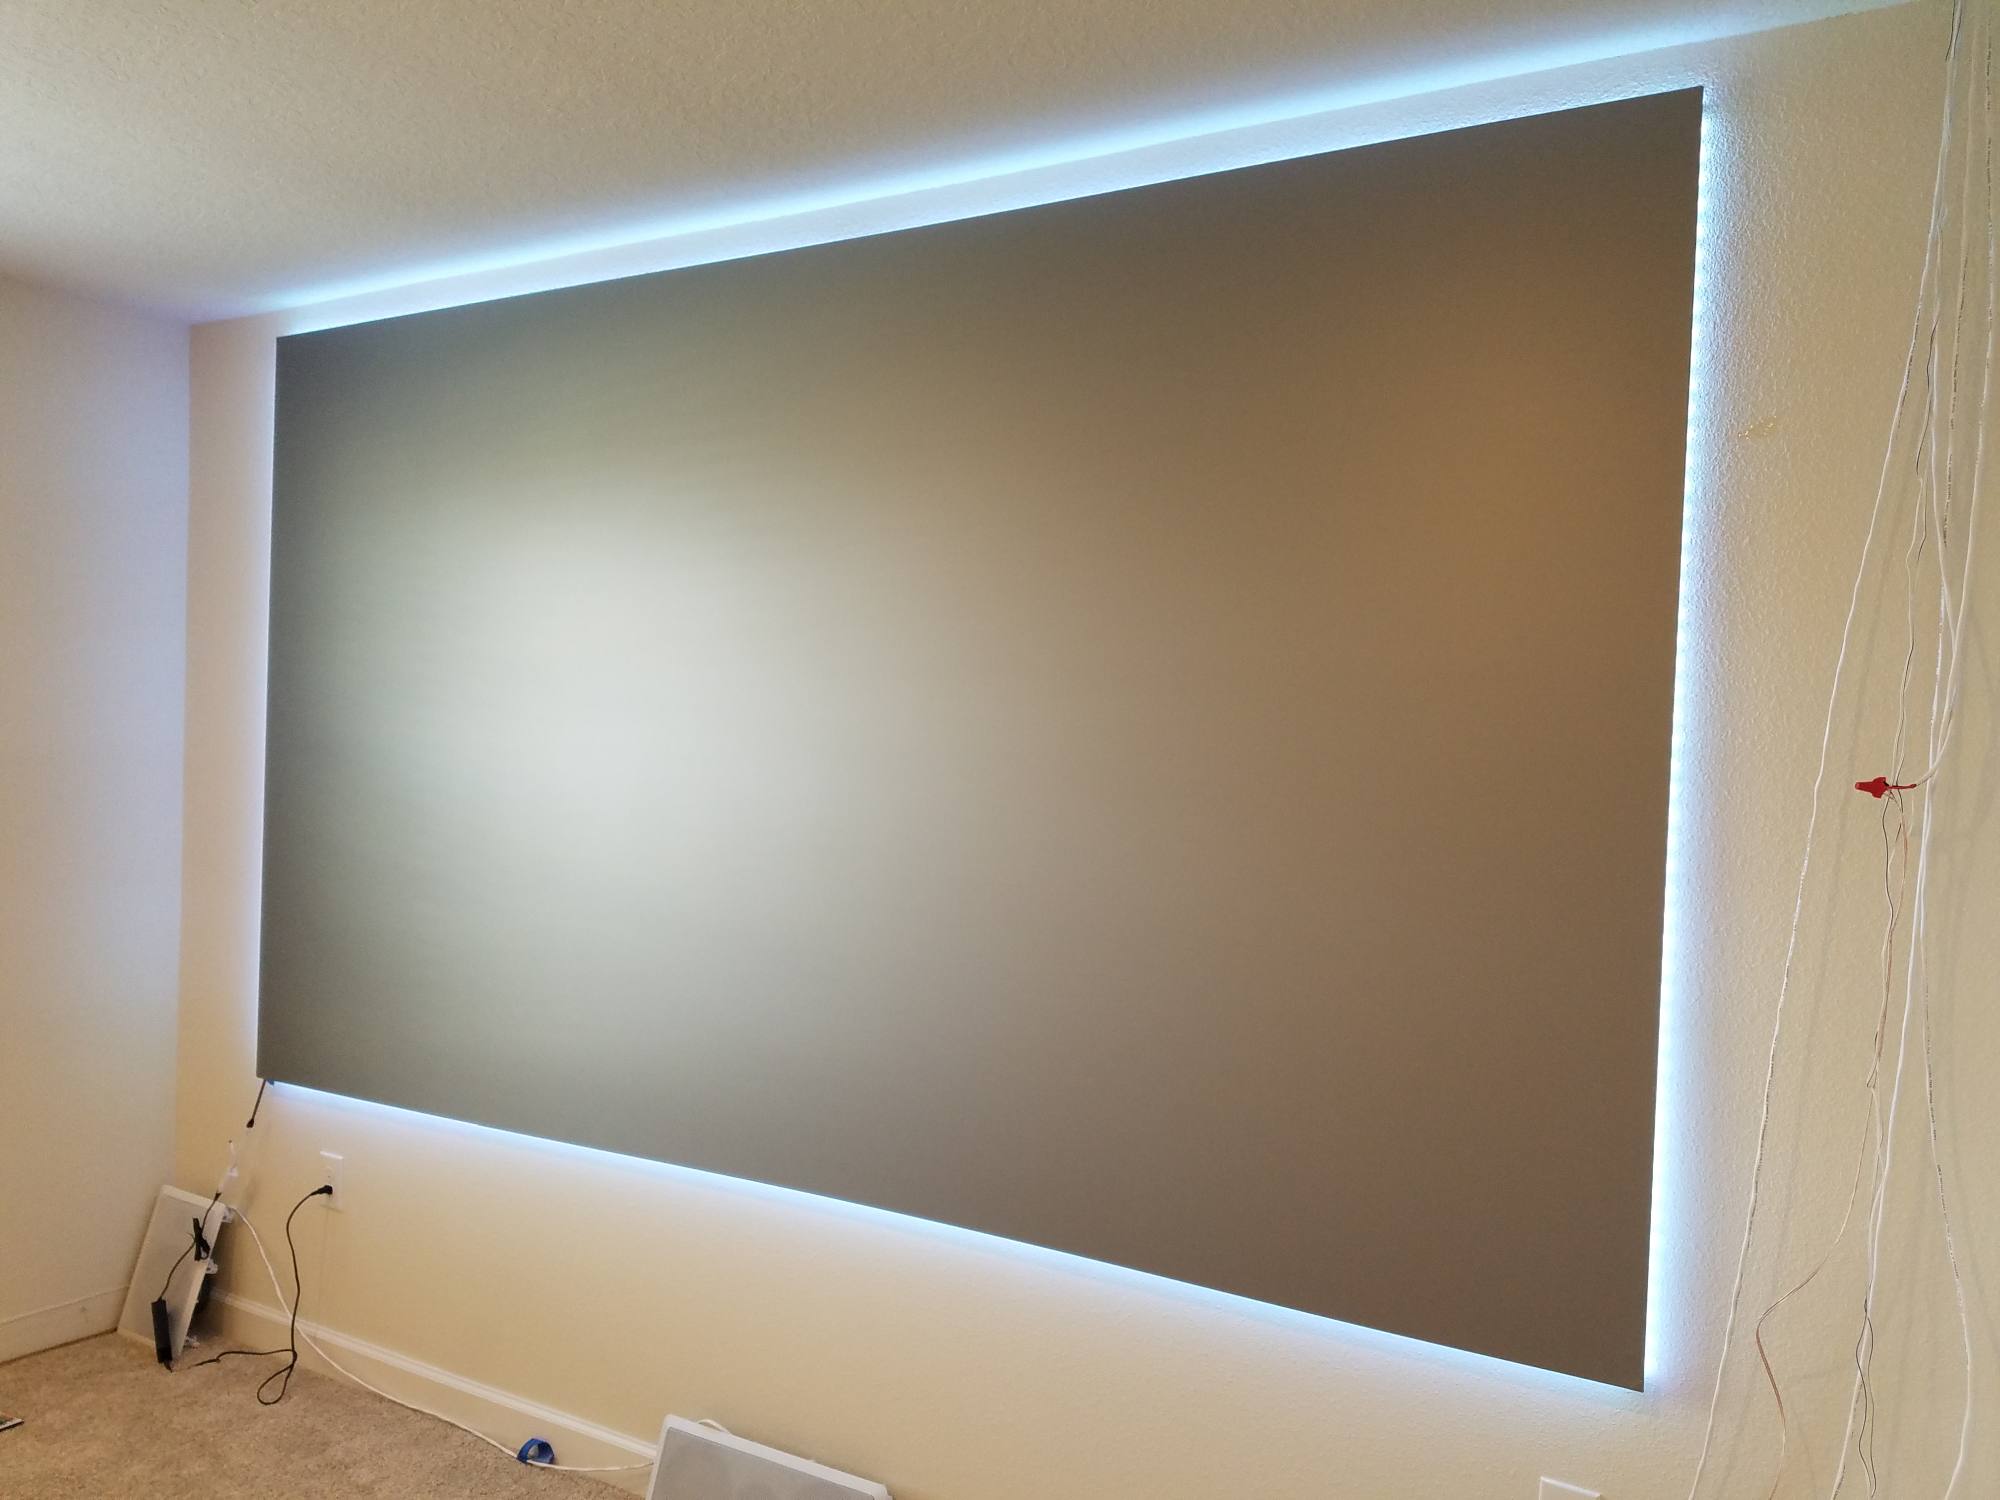
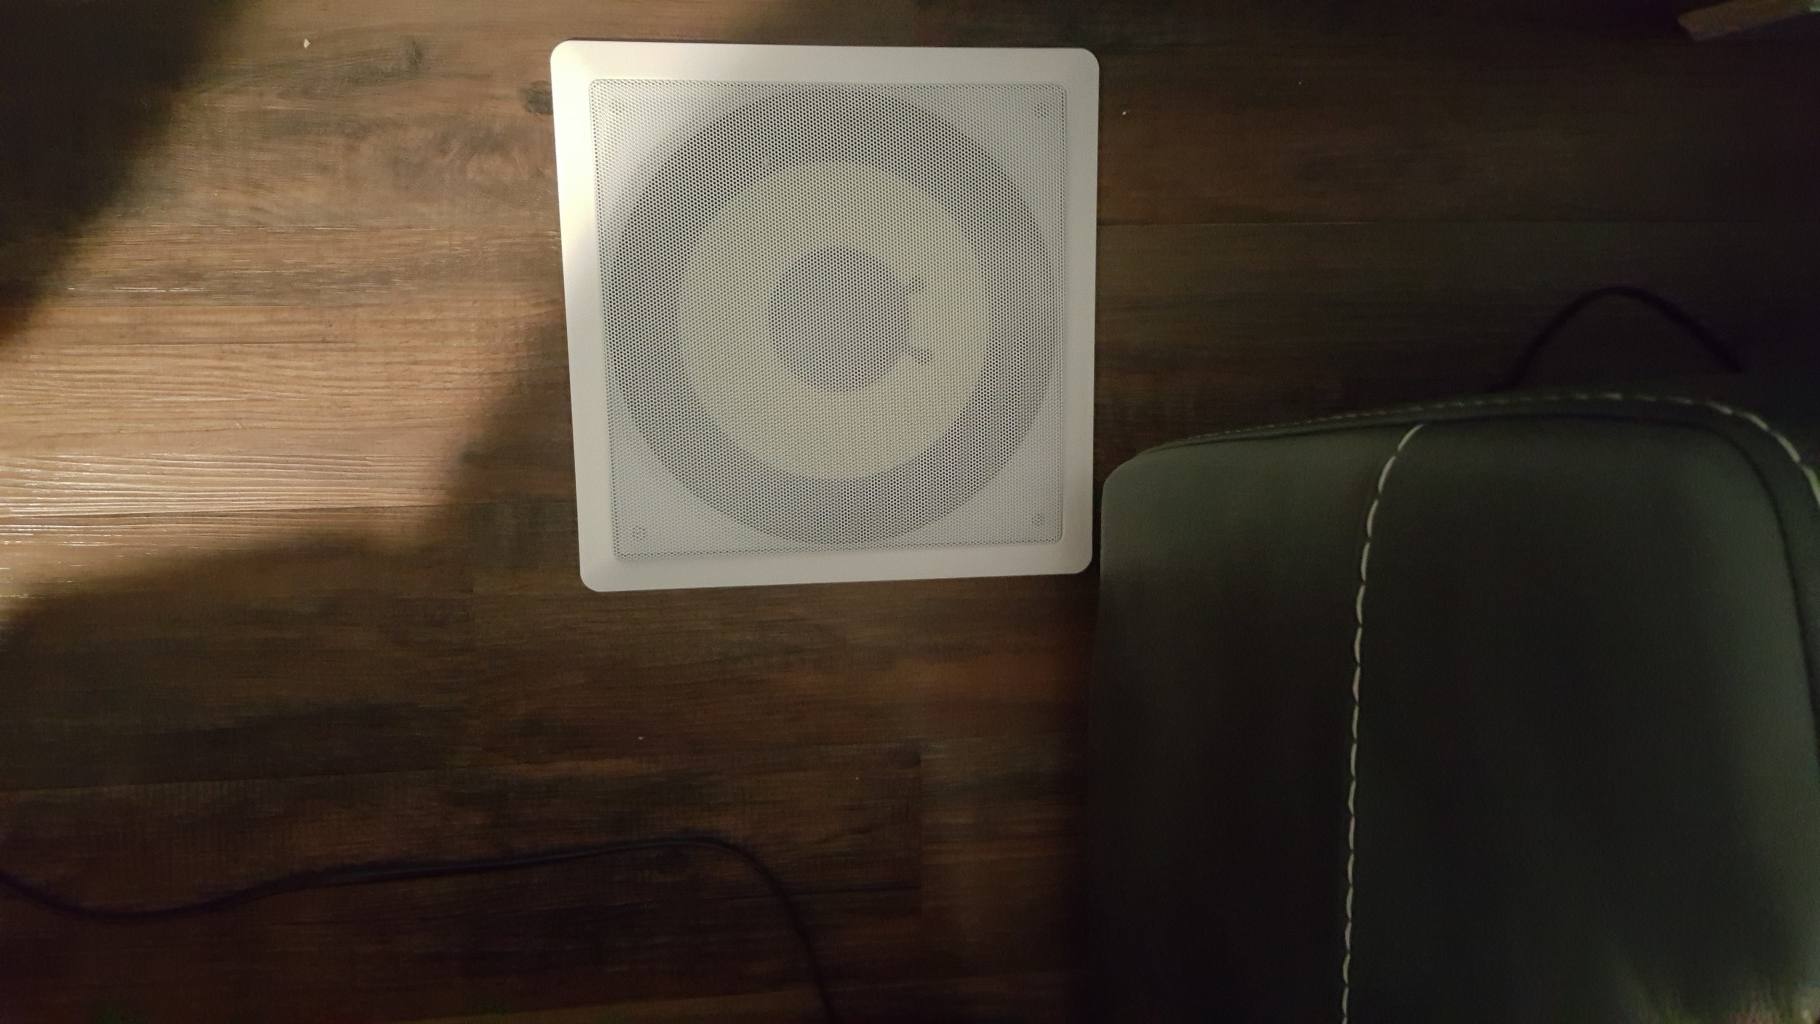
Questa parte ha richiesto molte ricerche e calcoli. Dai un'occhiata a questi post per i dettagli su proiettore, schermo, remoto, sistema home theater e Altoparlanti.
Una volta fatti tutti i calcoli ho provato tutto prima di fare dei buchi nei muri.
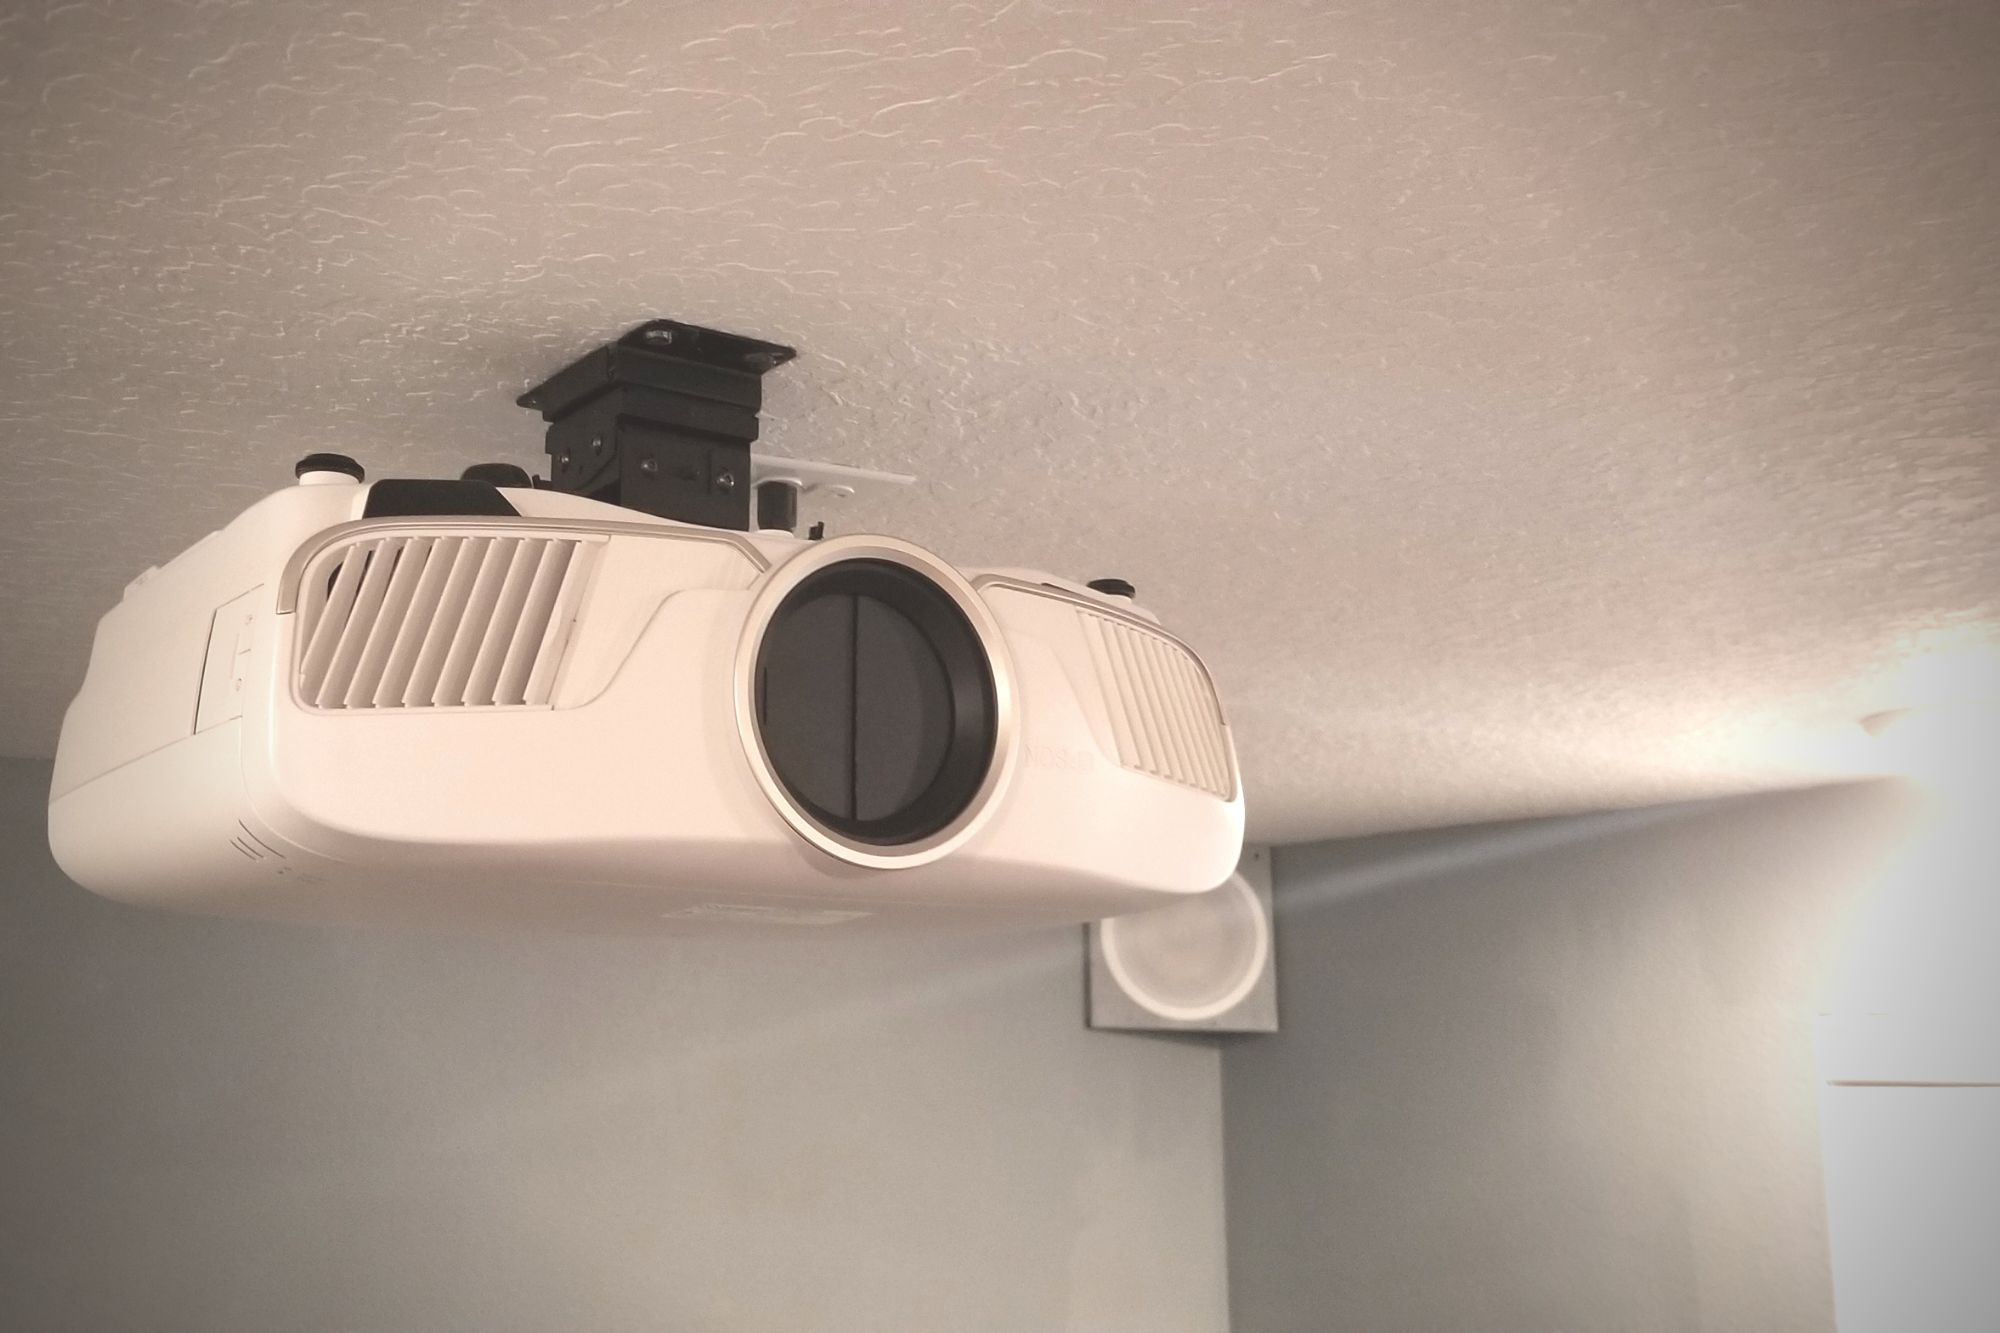
Dopo aver testato la posizione del proiettore, L'ho montato al soffitto e ho collegato una presa elettrica proprio accanto ad esso.


Il tratto di casa, Il cartello e la pittura dell'ingresso dell'Home Theatre
Il cartello d'ingresso non è stata una parte molto difficile del progetto. La parte più difficile è stata trovare le lettere della giusta dimensione da mettere sopra le porte.
Ci è voluto un po' di tempo per trovare le lettere della giusta dimensione da usare, Sono riuscito a trovarli su Target.
Una volta trovate le lettere giuste I:
- Rimossa la modanatura della porta superiore esistente
- Tagliare un pezzo di 3/4″ compensato per riempire lo spazio tra la parte superiore della porta e il soffitto
- Aggiunta una modanatura a corona attorno alla parte superiore del compensato e un piccolo pezzo di modanatura sul fondo del compensato per conferirgli un aspetto più rifinito.
- Poi ho centrato le lettere e ho dipinto, voilà!


L'Home Theatre finito
Ecco alcune foto dell'home theater finito.
Adoro il modo in cui è venuto fuori il teatro, è anche meglio di quanto mi aspettassi.
Ci sono ancora alcune cose che devo ancora fare, come creare una casa per il telecomando, qualcosa come un ripostiglio o uno scaffale dove può essere caricato.




Cosa avrei fatto diversamente
Se dovessimo rifare tutto da capo, ci sono alcune cose che avrei fatto diversamente. Complessivamente, sarebbe lo stesso home theater – con alcune modifiche.
Le luci delle scale
Le luci che ho comprato erano a basso voltaggio, il che significa che hanno un trasformatore, e questo significa che non sono dimmerabili.
Alla fine, Uso raramente le luci delle scale perché sono troppo forti. Se lo facessi di nuovo, comprerei luci a voltaggio normale dimmerabili.
Il ripetitore IR
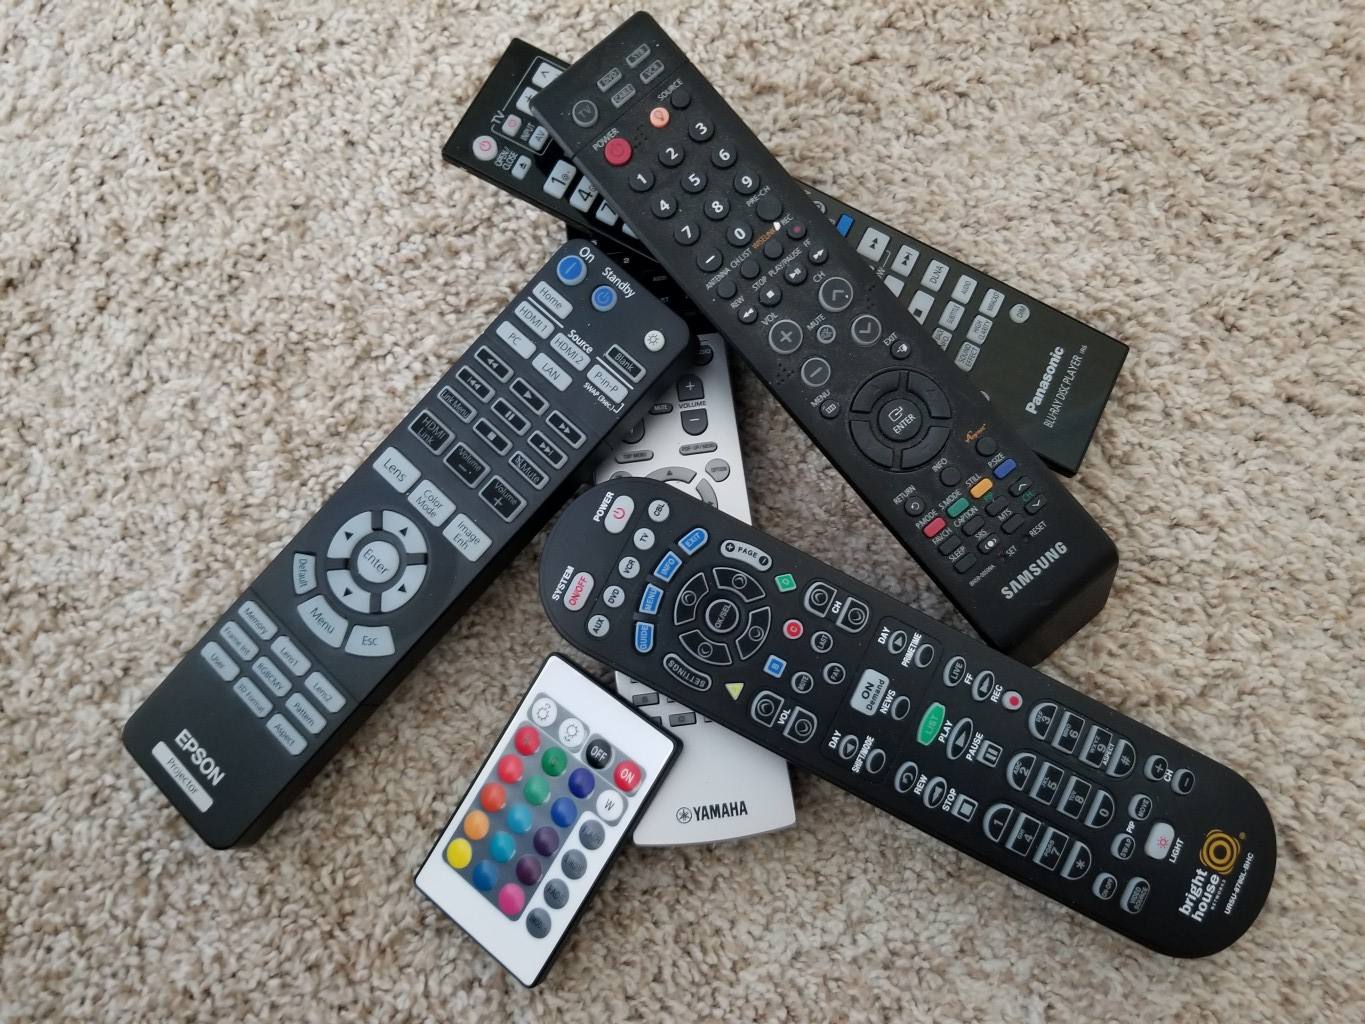
Il ripetitore IR ha funzionato benissimo, ma risulta che il telecomando Logitech che ho acquistato per sostituire tutti i telecomandi utilizza un segnale radio per comunicare con l'hub (che è nell'armadio con l'attrezzatura) quindi non ho più bisogno del ripetitore IR.
Ottenere contenuti in streaming 4K HDR
Inizialmente la mia idea era quella di procurarmi un lettore DVD 4K con streaming 4K. Il primo lettore DVD che ho acquistato supportava Netflix 4K ma l'app Vudu su di esso non supportava l'HDR.
Stavo costruendo una libreria di film su Vudu e volevo averla in HDR se fosse possibile. Quindi sono andato alla ricerca di un lettore DVD 4K che supportasse Vudu in HDR.
Ne ho trovato uno e ha funzionato benissimo, ma era un po' caro e i menu erano un po' lenti per accedere alle app di streaming. Ho twittato le macro su Logitech e l'ho fatto funzionare correttamente, ma lento. Come lettore DVD era veramente buono, e le app di streaming erano lì – solo lento per navigare nei menu.
Quindi per qualche motivo, Sono andato a comprare un Roku.
Santa vacca, è stato un punto di svolta!
Supportava tutto in 4K, HDR tutto, ed è stato velocissimo!
Se dovessi rifarlo, prenderei il lettore DVD 4K più economico per riprodurre i DVD Ultra-HD e utilizzerei Roku per qualsiasi app di streaming.
L'intera lista della spesa
Ecco un elenco di tutto ciò che stiamo attualmente utilizzando nel nostro home theater.
Puoi fare clic sull'immagine per acquistare lo stesso per te.
Proiettore

Schermo del proiettore

Il kit di retroilluminazione del proiettore

L'amplificatore

Il telecomando

L'amplificatore passivo

Anno Ultra

gli altoparlanti

[et_bloom_inline optin_id=”optin_7″]
Home Theater fai da te – Finito!
Ecco qua, foto dell'home theater, durante la costruzione e dopo il completamento dell'home theater fai-da-te.
Spero che troverai alcune idee e informazioni nel nostro progetto che ti aiuteranno con il tuo.
Cosa faresti di diverso nel tuo home theater?? Fatemi sapere nei commenti qui sotto!
Godetevi questo post? Appuntalo e condividilo con gli altri!