Design home theater fai-da-te - La rivelazione finale
Ci sono voluti un bel po 'di ricerca e impegno per portare a termine il teatro ed è finito!
In realtà, il teatro è stato terminato qualche tempo fa, ma mi sono reso conto che non abbiamo mai avuto la rivelazione insieme ad altre foto del teatro finito.
Quindi eccolo qui, la rivelazione finale dell'home theater!
Rivelazione: Alcuni dei link qui sotto sono link di affiliazione. Se si decide di acquistare uno di questi prodotti, guadagniamo una piccola commissione senza costi aggiuntivi per te. Si consiglia di questi prodotti solo perché abbiamo esperienza con loro e li usiamo per i nostri progetti. Come Amazon Associates, guadagniamo dagli acquisti idonei.
Questo è stato un progetto piuttosto grande, it took loads of research, calculations and choices to get to the final product. We decided to do all the work ourselves, which saved us a ton of money and also gives us a sense of accomplishment. 🙂
We love, love, love our theater and use it regularly. For the most part there isn’t much we would change.
There are a couple of things, which I’ll cover at the end of the post.
Abbiamo avviato il progetto home theater prima di avere l'idea di avviare un blog, e a quanto pare non abbiamo fatto un buon lavoro nello scattare foto.
Comunque, here are a few pics of the work in progress.
Prima che la stanza fosse trasformata in un home theater, era una lavagna pulita per noi su cui lavorare. Era una normale stanza rettangolare senza armadi.
Puoi avere un'idea di com'era prima nella foto qui sotto.
Abbiamo ordinato i posti a sedere prima di fare qualsiasi altra cosa. There was a sale so we pulled the trigger.
We ordered the seating based on the measurements that they had online. Needless to say we were a bit nervous that the measurements would have been off… luckily everything worked out. 🙂
Once the layout was ironed out I started work on the theater room riser a.k.a. the home theater platform.
And before I got too far into the home theater seating risers construction I tested the height of the risers with the chairs to make sure things were still lining up the way I wanted it to.
That’s me in the last pic testing the home theater riser height with the chairs in place.
Now that the riser height was ironed out I could finish the riser.
Before I added the plywood flooring to the risers I needed to I relocate the cable line from this room out into the hallway closet, where all the theater equipment was going to live.
I also needed to add outlets to power the recliners and the LED light for the riser stairs.
I put two on the bottom of the back wall, and two in the center of each step.
This part took a lot of research and calculating. Check out these posts for details on the proiettore, screen, remote, home theater system e Altoparlanti.
Once all the calculations were done I tried everything out before making any holes in the walls.
After testing the projector location, I mounted it to the ceiling and ran an electrical outlet right next to it.
The entrance sign was not a very hard part of the project. The hardest part was finding the right sized letters to put above the doors.
It did take a while to find the right-sized letters to use, I was able to find these at Target.
Once I found the right letters I:
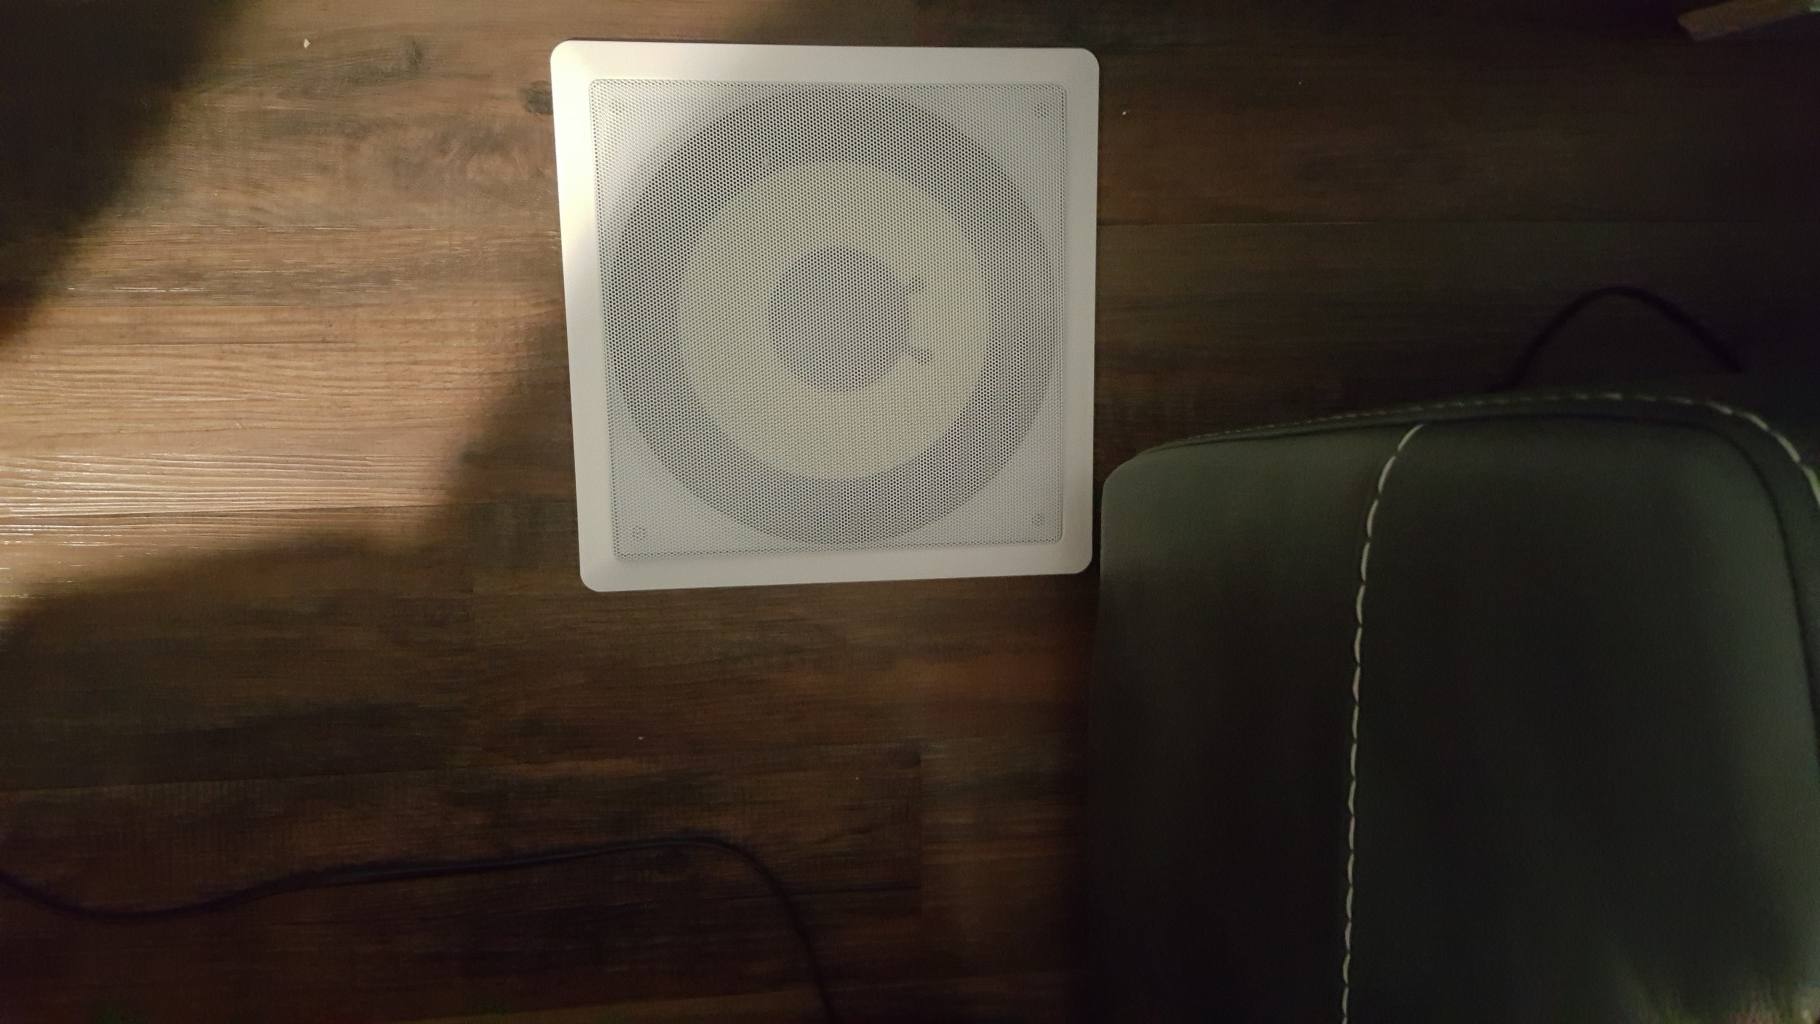
Here are a bunch of pictures of the finished home theater.
I love the way the theater came out, it’s even better than I was expecting.
There are a few more things I still need to do, like making a home for the remote control, something like a cubby hole or shelf where it can be charged.
If we had to do it all over again, there are a few things I would have done differently. Overall, it would be the same home theater – with a few tweaks.
Alla fine, I rarely use the lights in the stairs because they are too bright. If I did this again I would buy regular voltage lights that are dimmable.
I was building up a movie library on Vudu and wanted to have it in HDR if that was a possibility. So I went on a quest looking for a 4K DVD player that supported Vudu in HDR.
I found one and it worked great, but it was a bit pricy and the menus were kinda slow to get to the streaming apps. I tweeted the macros on the Logitech and got it to work correctly, but slow. As a DVD player it was really good, and the streaming apps were there – just slow to navigate the menus.
Then for some reason, I went and bought a Roku.
Holy cow, that was a game-changer!
It supported 4K everything, HDR everything, and was lightning fast!
If I had to do this again I’d get the cheaper 4K DVD player to play the Ultra-HD DVDs and use the Roku for any Streaming apps.
Here’s a list of everything that we are currently using in our home theater.
You can click on the picture to buy the same one for yourself.
[et_bloom_inline optin_id=”optin_7″]
There you have it, pics of the home theater, during the construction and after the DIY home theater was finished.
I hope you find some ideas and tidbits of info in our project that will help you with yours.
What would you do differently in your home theater? Fatemi sapere nei commenti qui sotto!
The Amazon affiliate tracking id replacer tool updates the tracking id in your Amazon Affiliate…
There are already wainscoting calculators out there but they're too complicated. This wainscoting calculator uses…
In questo post esamineremo come verniciare i mobili in laminato. We did this project…
Let me first say that converting a box spring into a platform bed is not…