
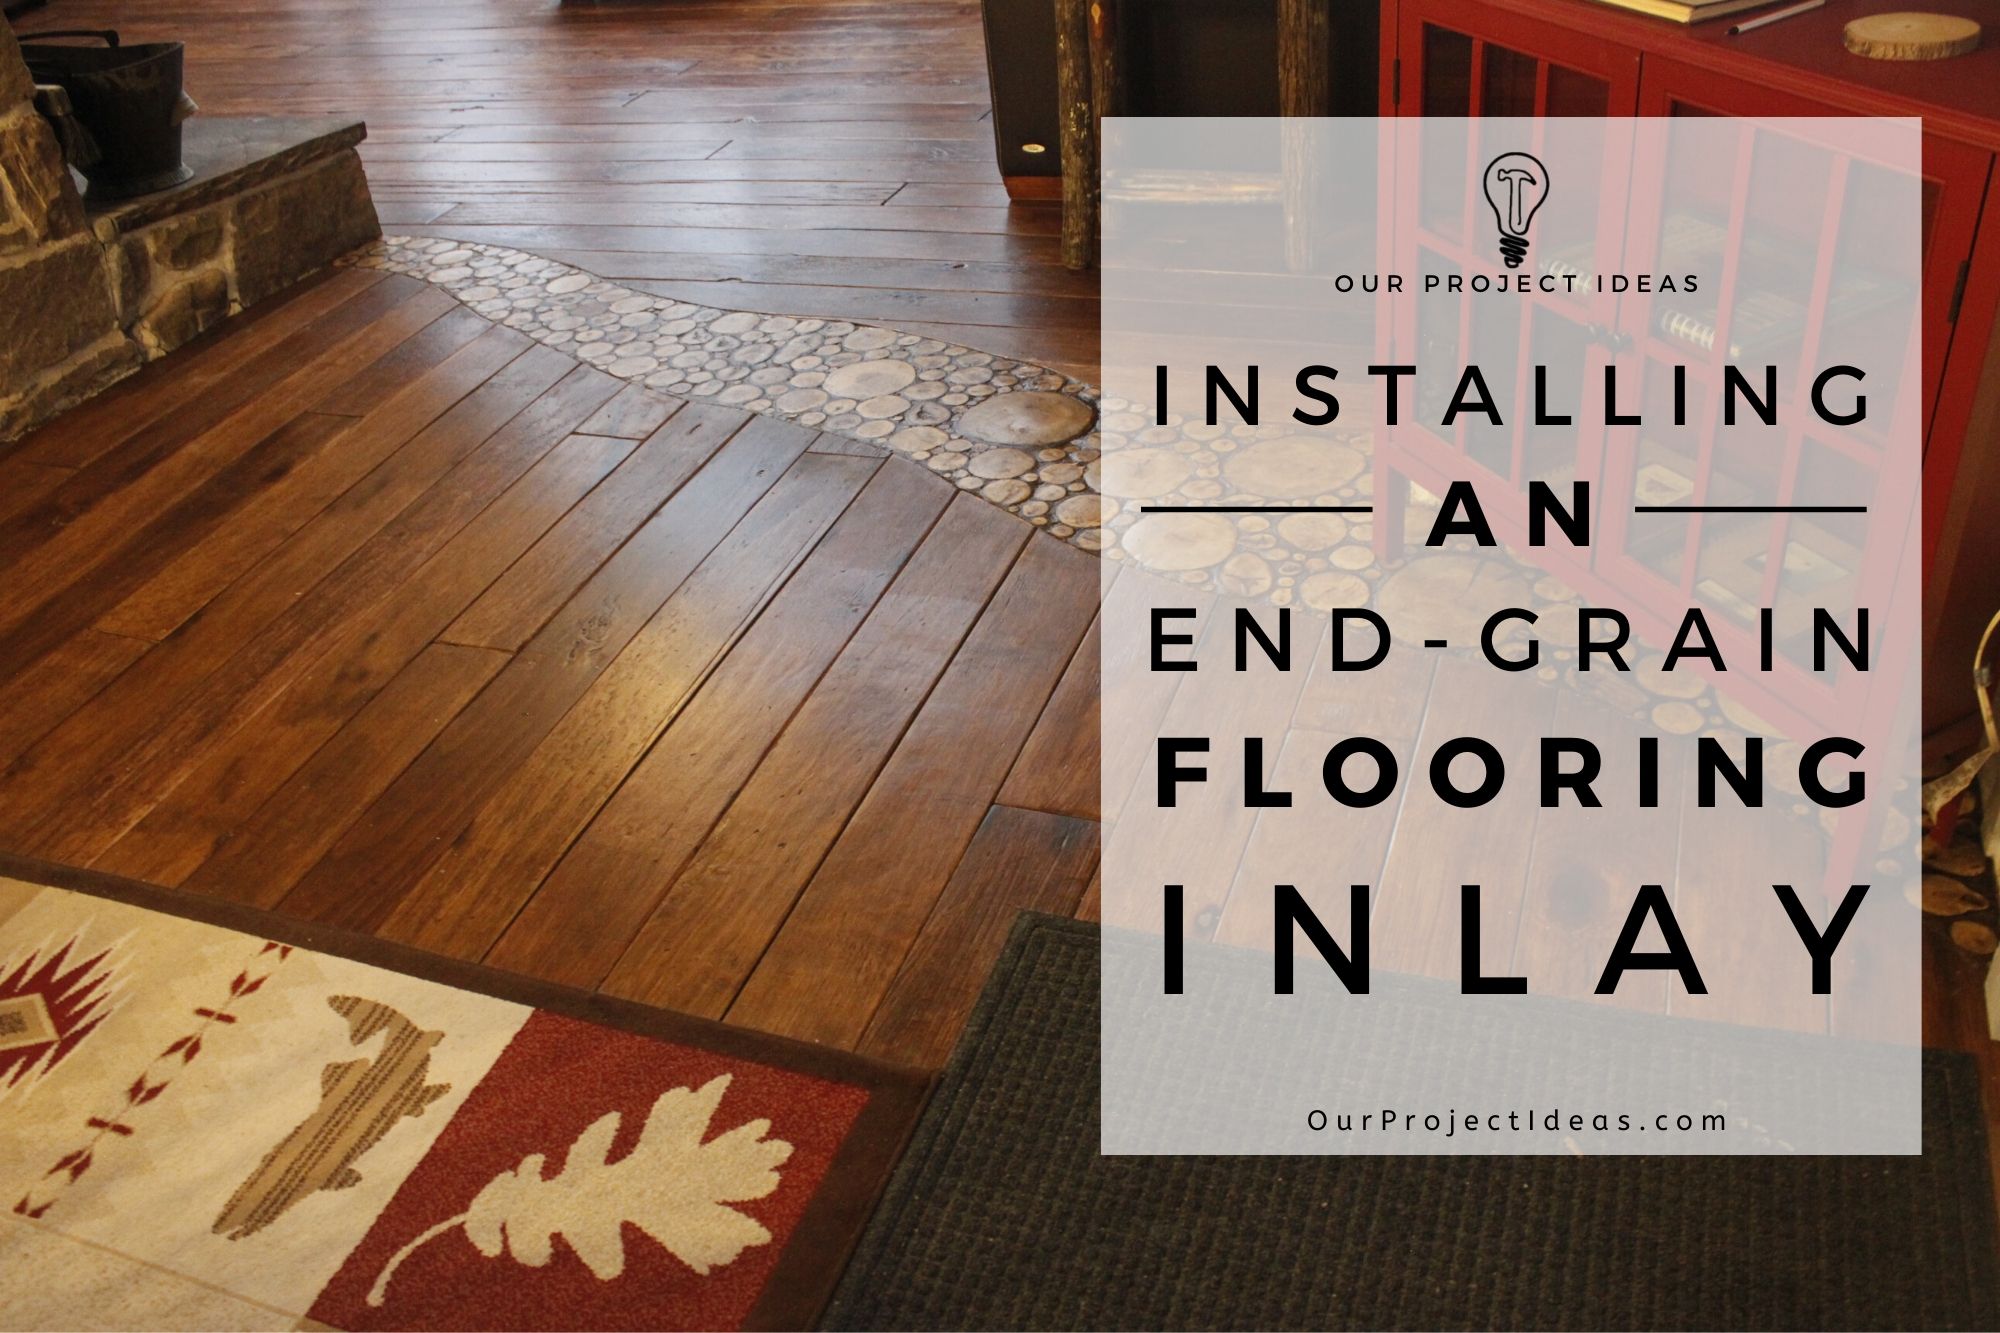
La creazione di un intarsio per pavimenti in grana fine era qualcosa che non vedevo l'ora di fare per mesi. We installed plywood wide plank flooring in the dining room and kitchen earlier this year and the living room was next on the list. Here’s a post with details on what we did with the living room floor.
The flooring in the dining room and living room were going to be laid in different directions and a regular threshold separating the two spaces was going to be – well pretty boring.
While initially doing my Pinterest research on flooring, I came across pins with different floor designs created using wood slices.
That gave me the idea of doing an end grain flooring as an inlay. It was the perfect solution!
I couldn’t wait to try this project.
Rivelazione: Alcuni dei link qui sotto sono link di affiliazione. Se si decide di acquistare uno di questi prodotti, guadagniamo una piccola commissione senza costi aggiuntivi per te. Si consiglia di questi prodotti solo perché abbiamo esperienza con loro e li usiamo per i nostri progetti. Come Amazon Associates, guadagniamo dagli acquisti idonei.
La lista della spesa
Lista Strumenti
Ecco un elenco degli strumenti che abbiamo usato in questo progetto.
Link di affiliazione di seguito può essere quella di oggetti simili quando gli elementi esatti non sono stati trovati on-line.
Lista Supplies
Queste sono le forniture utilizzati in questo progetto.
Link di affiliazione di seguito può essere quella di oggetti simili quando gli elementi esatti non sono stati trovati on-line.
Poluriratano modificato con olio a base d'acqua – we used 1 gallon
4″ Spazzola sintetica in poliestere – 4 pennelli per applicare il poly
Liquid Nails
Aggiornare: The end grain inlay has aged nicely. If you try one, the part we would stress most is sealing the wood slices before you grout and giving the finished inlay plenty of polyurethane. That is what keeps the sawdust grout and the end grain looking good for the long haul.
What Is End Grain Flooring?
End grain flooring is basically branches and logs cut into slices, then placed in a pattern, in our case, it’s the shape of a river. The slices are glued into place and grout is applied to fill in the spaces between the slices. Then a protective finish is applied and you have yourself an end grain floor!
I call it a wood river, but I’ve seen it called a bunch of different names. Wood slice flooring, pavimentazione fine del grano, log end flooring, cordwood floor and even cross-cut tree slice flooring to name a few.
Figuring Out The End Grain Flooring Inlay Layout
The beauty of doing a floor inlay is that there is no limit to the design you make. It can be as simple or ornate as you want.
Since our house is in the Poconos, in a wilderness setting, we figured a river made of wood would go with the house and its surrounding nature.
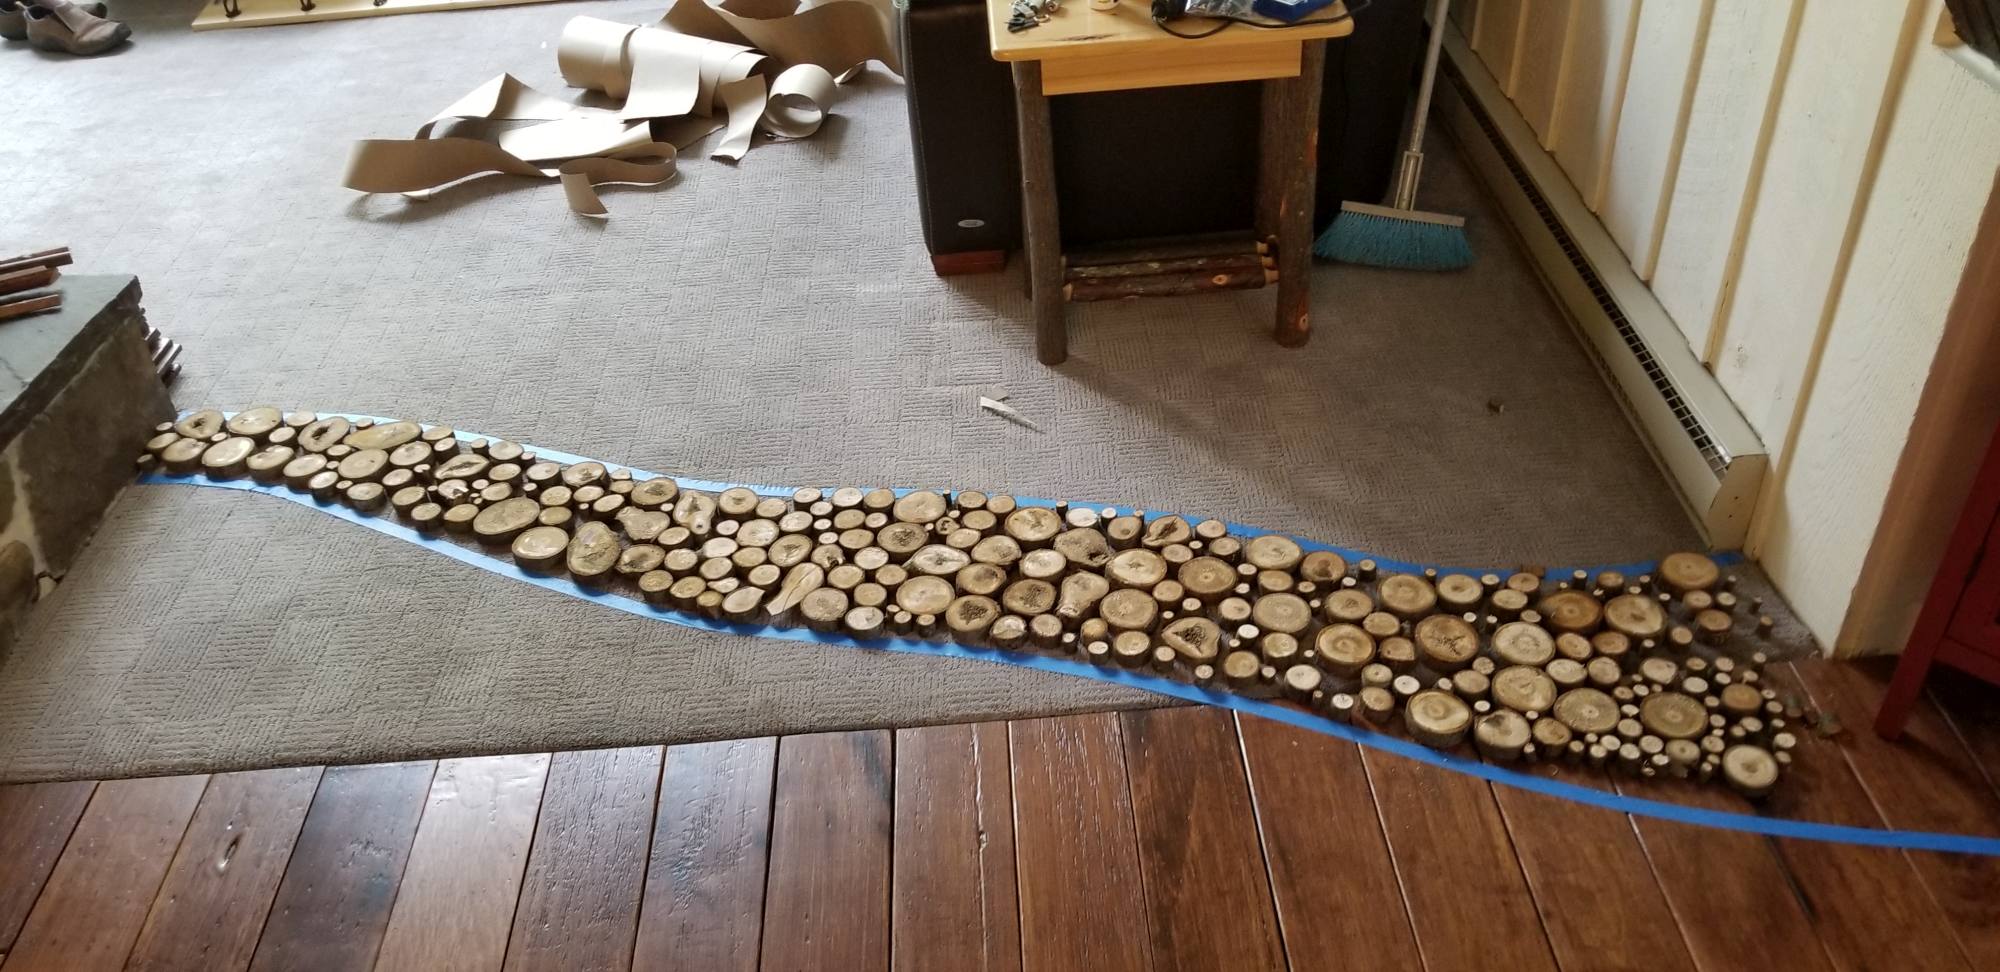
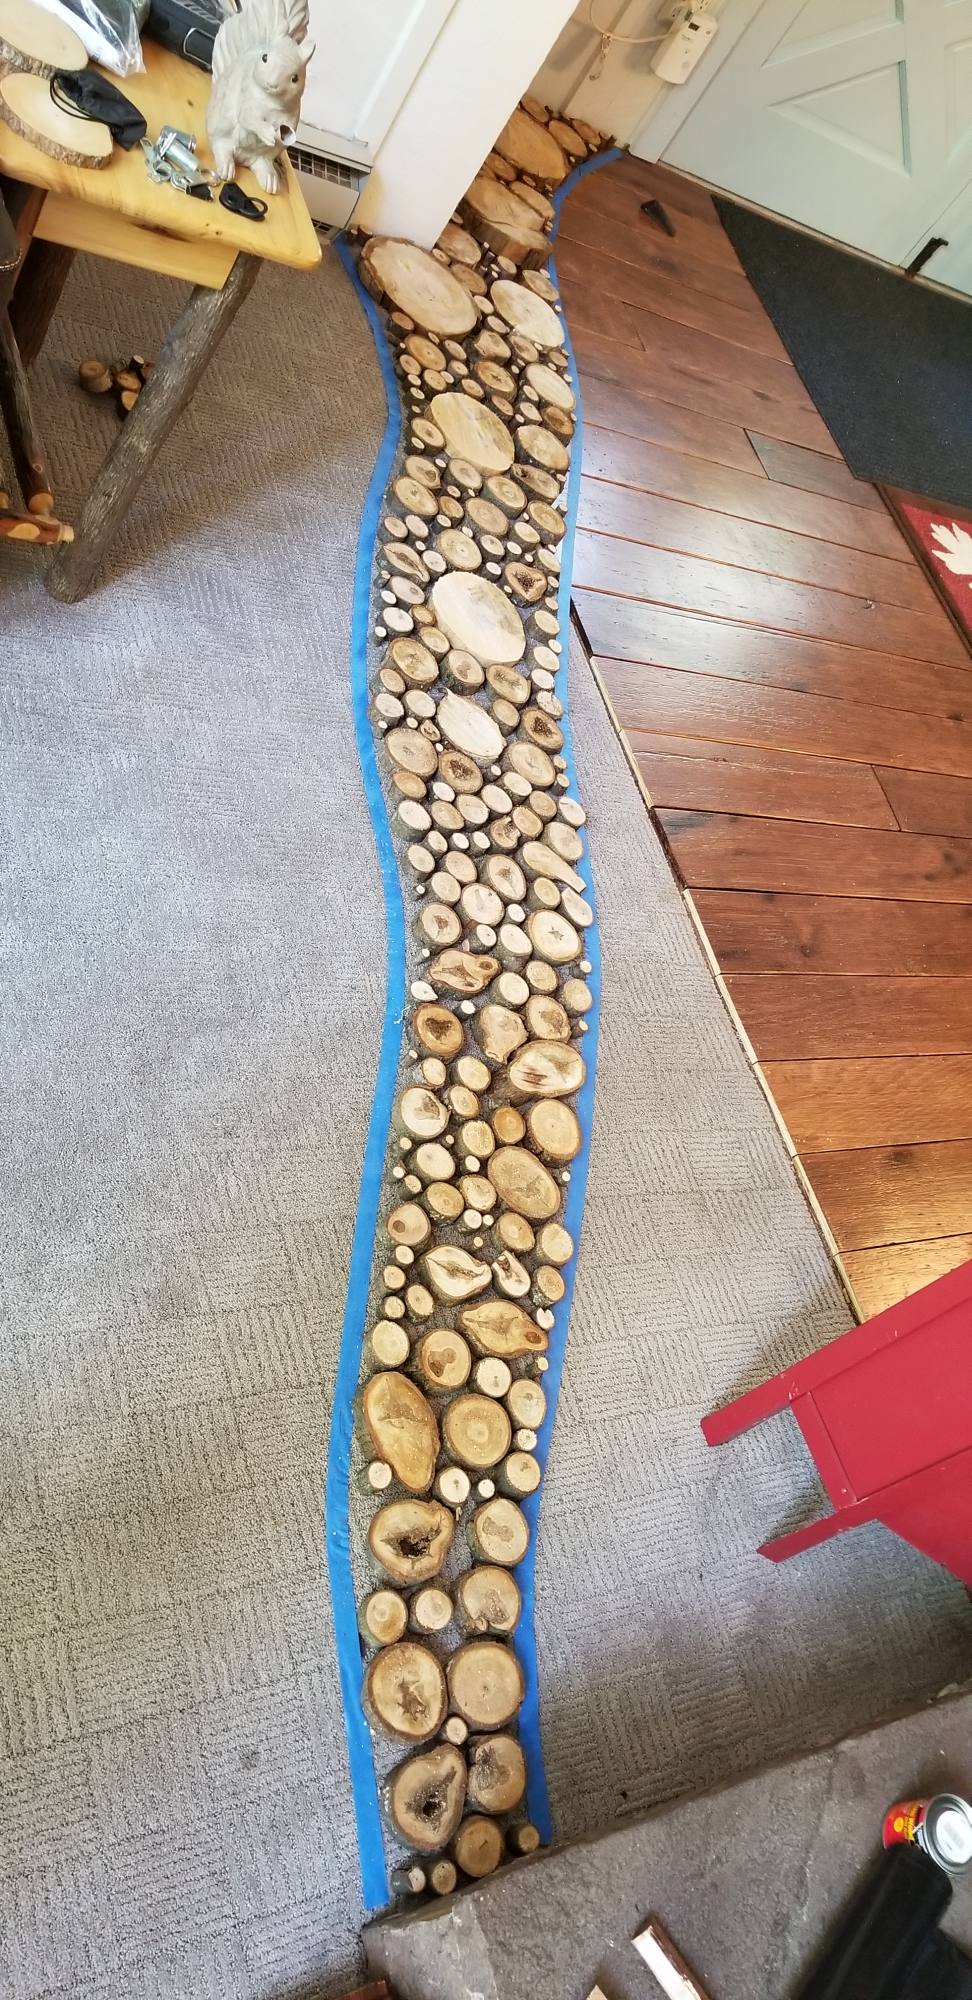
The end grain flooring inlay would separate the dining room from the living room. Starting in the corner of the dining room and making it’s way to the corner of the living room fireplace.
We wanted the flooring inlay to start off wider on one side and have it gently curving its way across the space.
We had the idea when we did the dining room earlier in the year and that’s also when I started cutting the wood slices for the river and traced out the shape of the wood slice flooring accent.
We were going to do the living room floors and the inlay a few months later, so that gave the wood slices time to dry.

Cutting The Wood Slices
Ora che la forma generale dell'intarsio del pavimento a grana fine era a posto, il passo successivo è stato riempirlo con fette di legno. Ho avuto un po 'di rami che erano caduti sulla nostra proprietà e ha iniziato tagliandoli alla larghezza ho pensato che avevo bisogno… ne riparleremo più avanti.
Ho tagliato abbastanza pezzi di legno per riempire l'intarsio, con un mazzo di vari spessori ramo. Li ho tagliati a maggio per farli asciugare fino a pochi mesi prima di installarli in autunno.
Il pavimento era 1/2″ spessa ed i pavimenti sono irregolari così taglio del legno fette un po 'più spessa… almeno questo è quello che ho pensato….è stato un grosso errore. E 'importante per loro tagliare alla giusta dimensione destra fuori del blocco.
Ho usato una sega per tagliare le fette, è andata piuttosto veloce considerando quanto sono stati necessari molti fette.
Tip importante: Quando si tagliano i pezzi di legno cercare di tagliarli il più vicino possibile allo spessore finale.
Non ho fatto che con questo progetto e mi ci sono voluti giorni per ottenere le fette fino alla giusta dimensione.
Ho tagliato le fette 3/4″ e la maggior parte delle fette di legno doveva essere circa 1/2″… un grosso errore.
Quel qualcosa in più 1/4″ era una lotta per rimuovere.

Drying The Wood Slices
Avevo tagliato la maggior parte delle fette di legno mesi fa, quindi erano asciutte quando ero pronto per installarle.
Ma immagino di essere riuscito a unire le fette di legno più strettamente mentre stavo effettivamente realizzando il progetto… quindi avevo bisogno di più fette di legno.
Ho trovato questo articolo sull'essiccazione delle fette di legno.
http://theplywood.com/drying-wood-in-oven
Usando il forno a fuoco basso (200 F), le fette di legno si sono asciugate in un paio d'ore, quindi ha funzionato davvero bene.
Taglio dell'intarsio del pavimento in grana fine nelle assi del pavimento
The original plan was to cut each floorboard individually using a rotozip. I was going to cut them outside since the rotozip causes a lot of dust.
Invece, I ended up cutting the floorboards in place using the Oscillating Multi-Tool. That worked really well and it didn’t make very much dust.
After the boards were cut I went over the cut with the belt sander to soften the curves and round off the edge of the boards. That way there aren’t splinters. 🙂


Placing The Wood Slices In The Inlay
When placing the slices inlay, make sure to mix up the different sizes. That way it looks more organic and natural.
I secured the wood pieces in place with liquid nails. It just takes a dollop on the back of each piece and applying a little pressure to get it to set.

Sigillare le fette di legno prima di applicare la malta
Ho sigillato le fette di legno prima di applicare lo stucco applicando uno strato di poliuretano. Altrimenti la malta scurirà le fette di legno. Levigherai tutto più tardi, ma sigillare le fette renderà più facile riportarle al colore più chiaro.
Mixing The Sawdust Grout
Ho trovato un articolo di Bob Villa che parla dello stucco che si può usare con le tramezze di legno. Si chiama malta di segatura.
https://www.bobvila.com/articles/quick-tip-sawdust-grout/
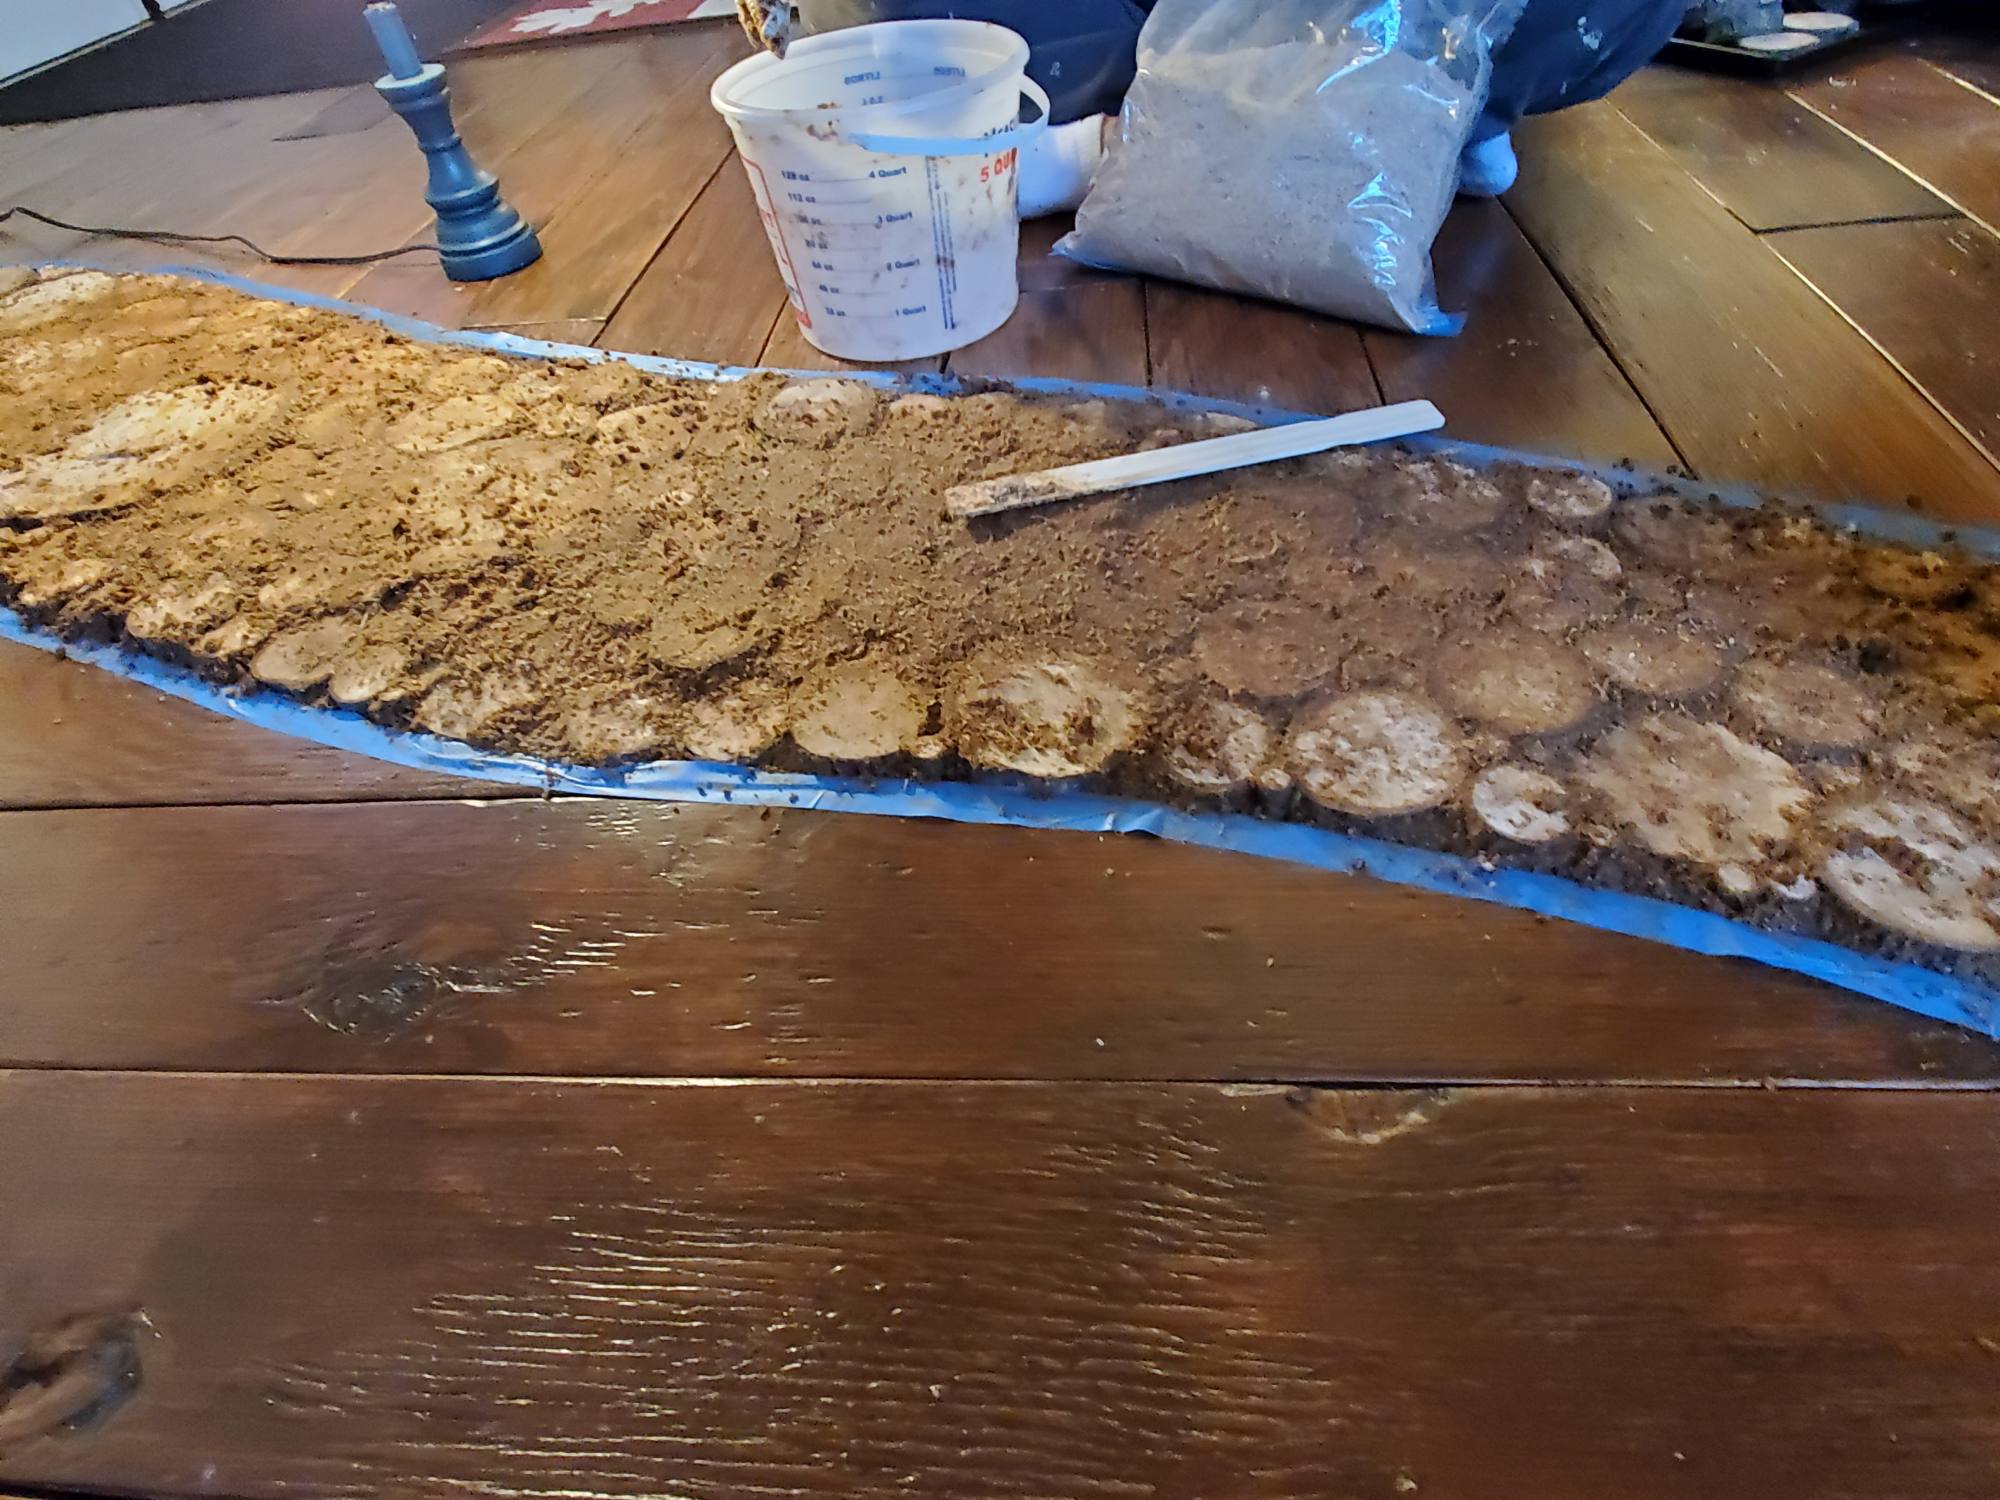
La malta per segatura è una combinazione di 2 parti di segatura e 1 parte di poliuretano.
Ho usato una base d'acqua, poliuretano modificato con olio a rapida essiccazione per l'impasto della malta di segatura e la finitura.
Il poliuretano si asciuga rapidamente ed è senza ordine.
It’s the same one we used on the plywood wide plank floor boards in the living dining room and kitchen.

Applying The Sawdust Grout
Using latex gloves grab a small glob of Grout and push it into the spaces between the wood slices.

Sanding The End Grain Flooring Inlay
I used a belt sander to sand down the wood pieces.
Ovviamente, that was only after I fixed my huge mistake of cutting the wood slices the wrong thickness.
The sand paper I used was 36 grit. I wanted something that gave the wood pieces a rough texture so they wouldn’t be slippery.
Because sanding is a pretty messy task, I tented off the area, that way the dust didn’t go all over the house.


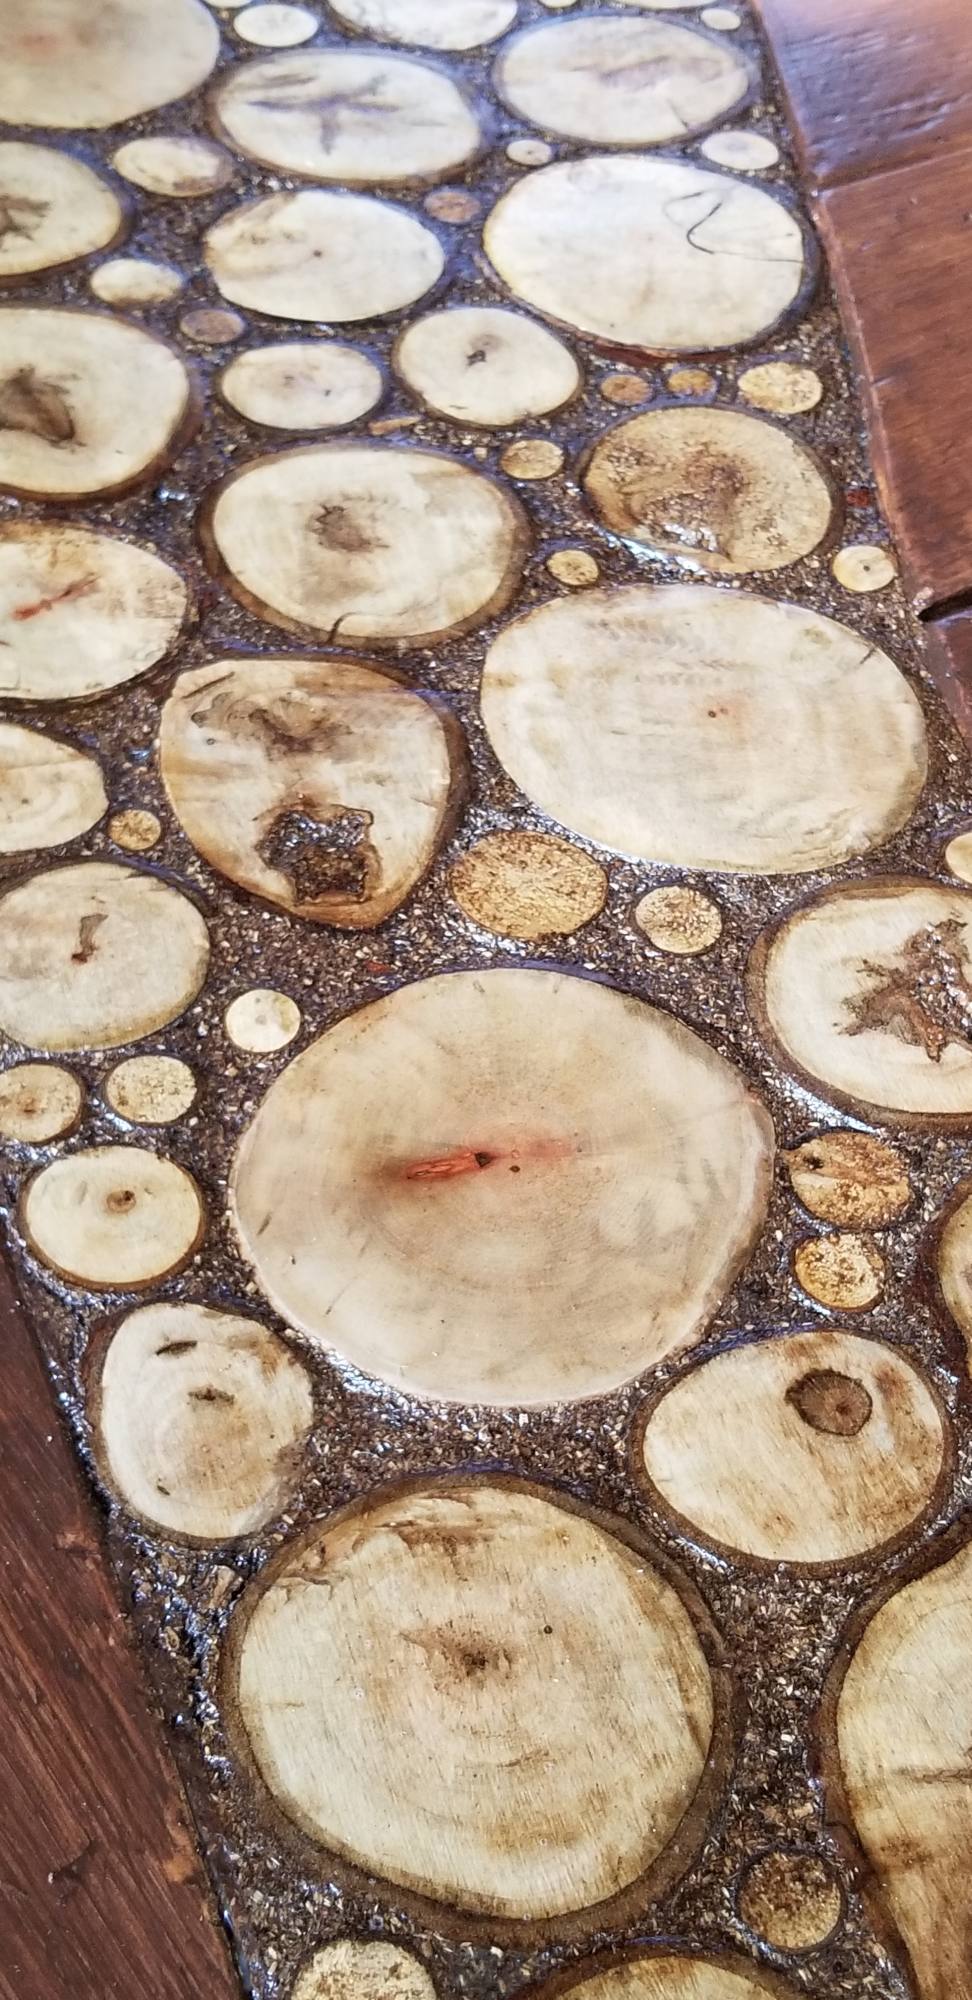
This is what the wood slices and the sawdust grout looked like after the sanding was done.
I sanded the wood slice inlay to the height of the flooring on either side of it. I also used the sander to knock off the edges of each of the wood slices, removing any hard edges that may be uncomfortable to walk on.

Adding The Polyurethane Finish
The polyurethane was the same one I used on the wood board flooring and in the sawdust grout mix.
I put three coats of finish on the end grain flooring inlay.
Although the poly is colorless, it did give the wood slices a little bit of a yellow tint.
The sawdust grout also darken quite a bit when I applied the poly on top of it.
[et_bloom_inline optin_id=”optin_7″]
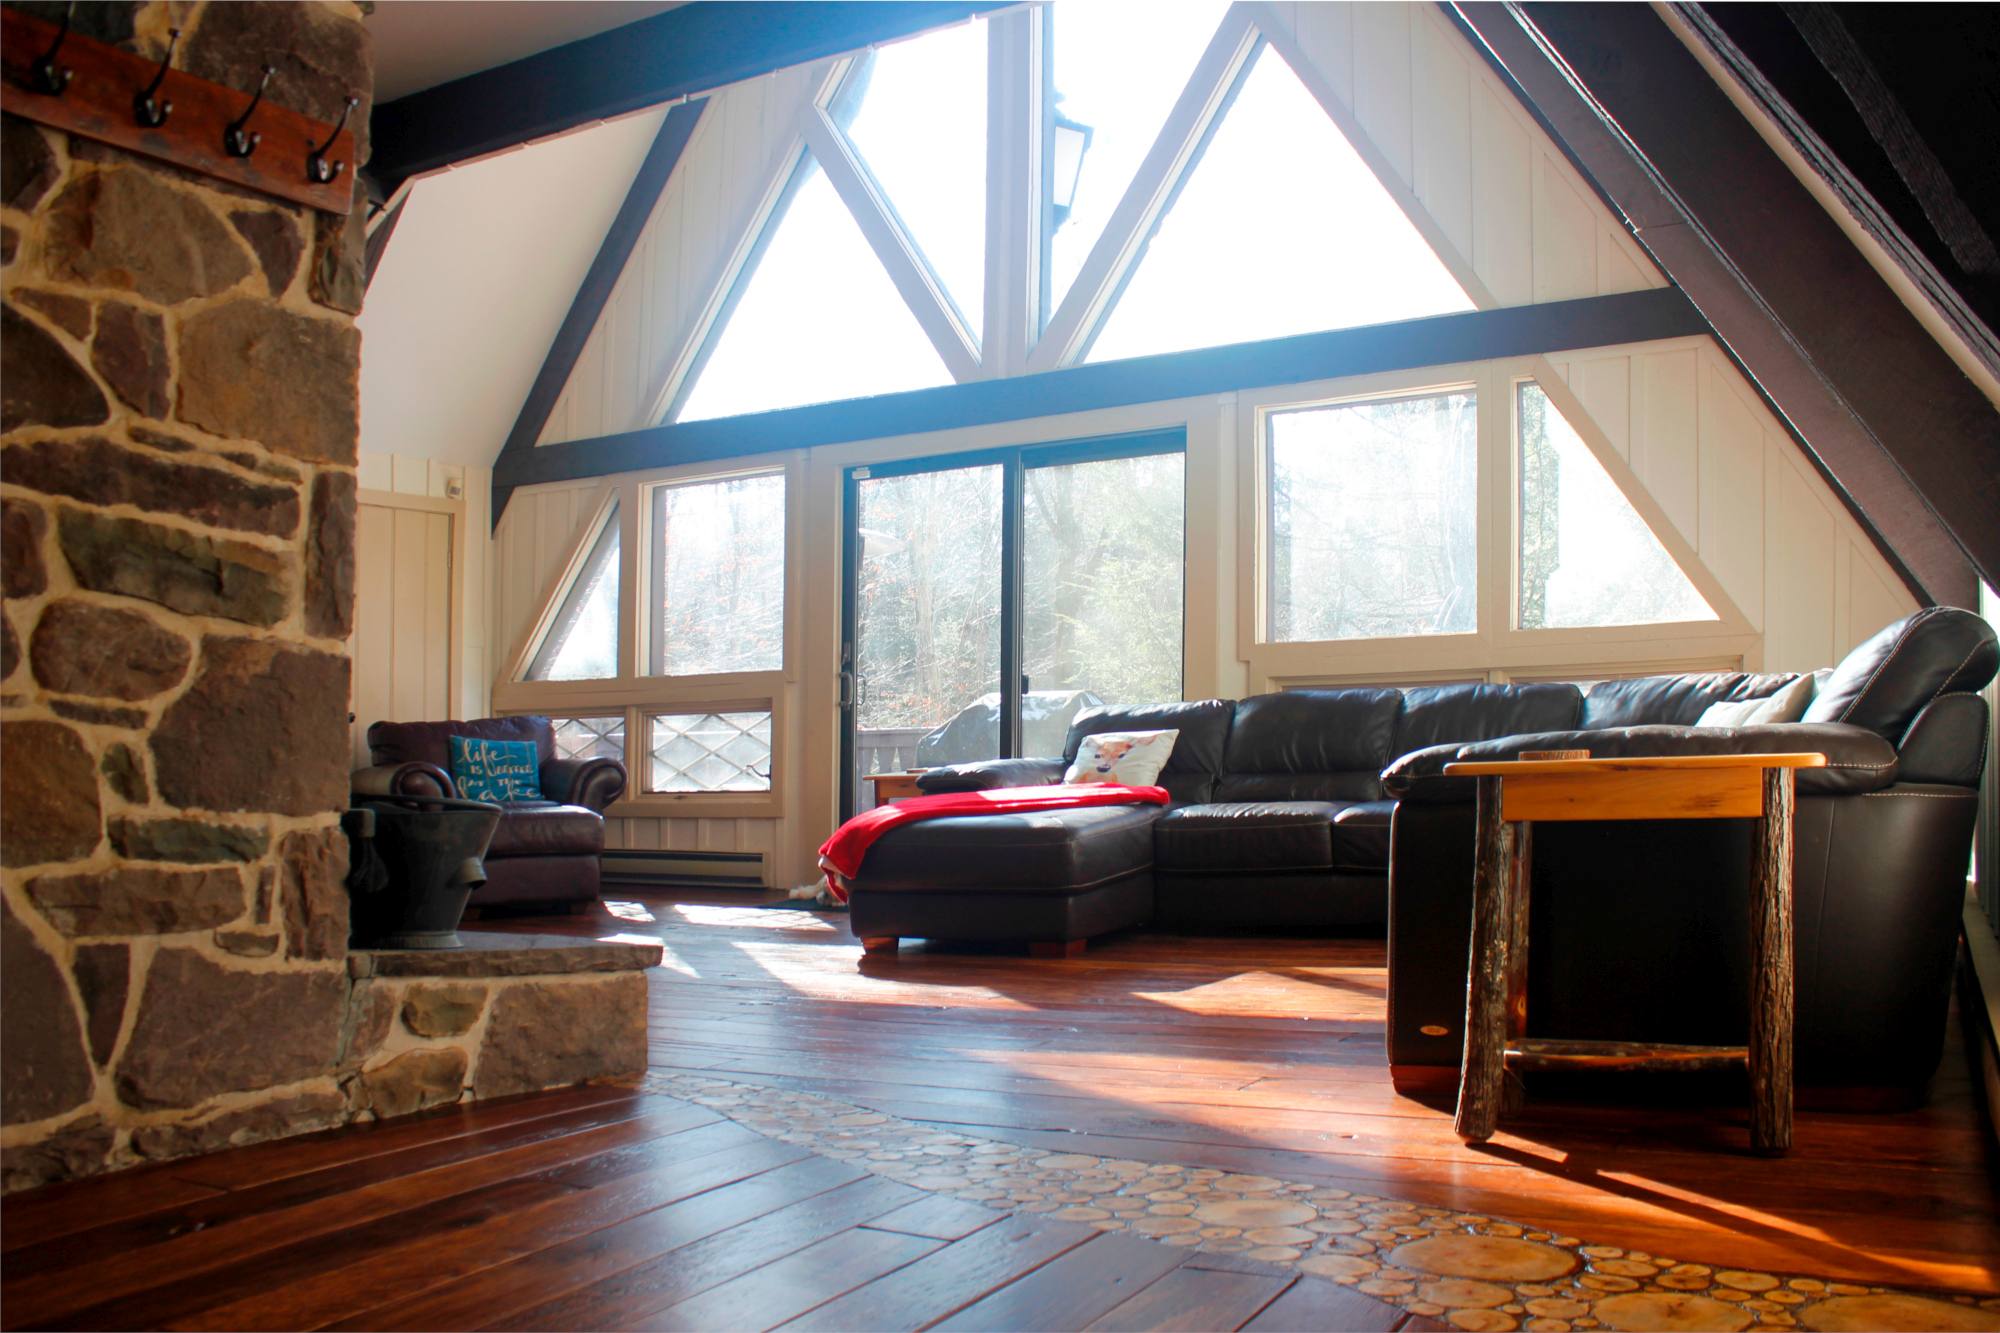
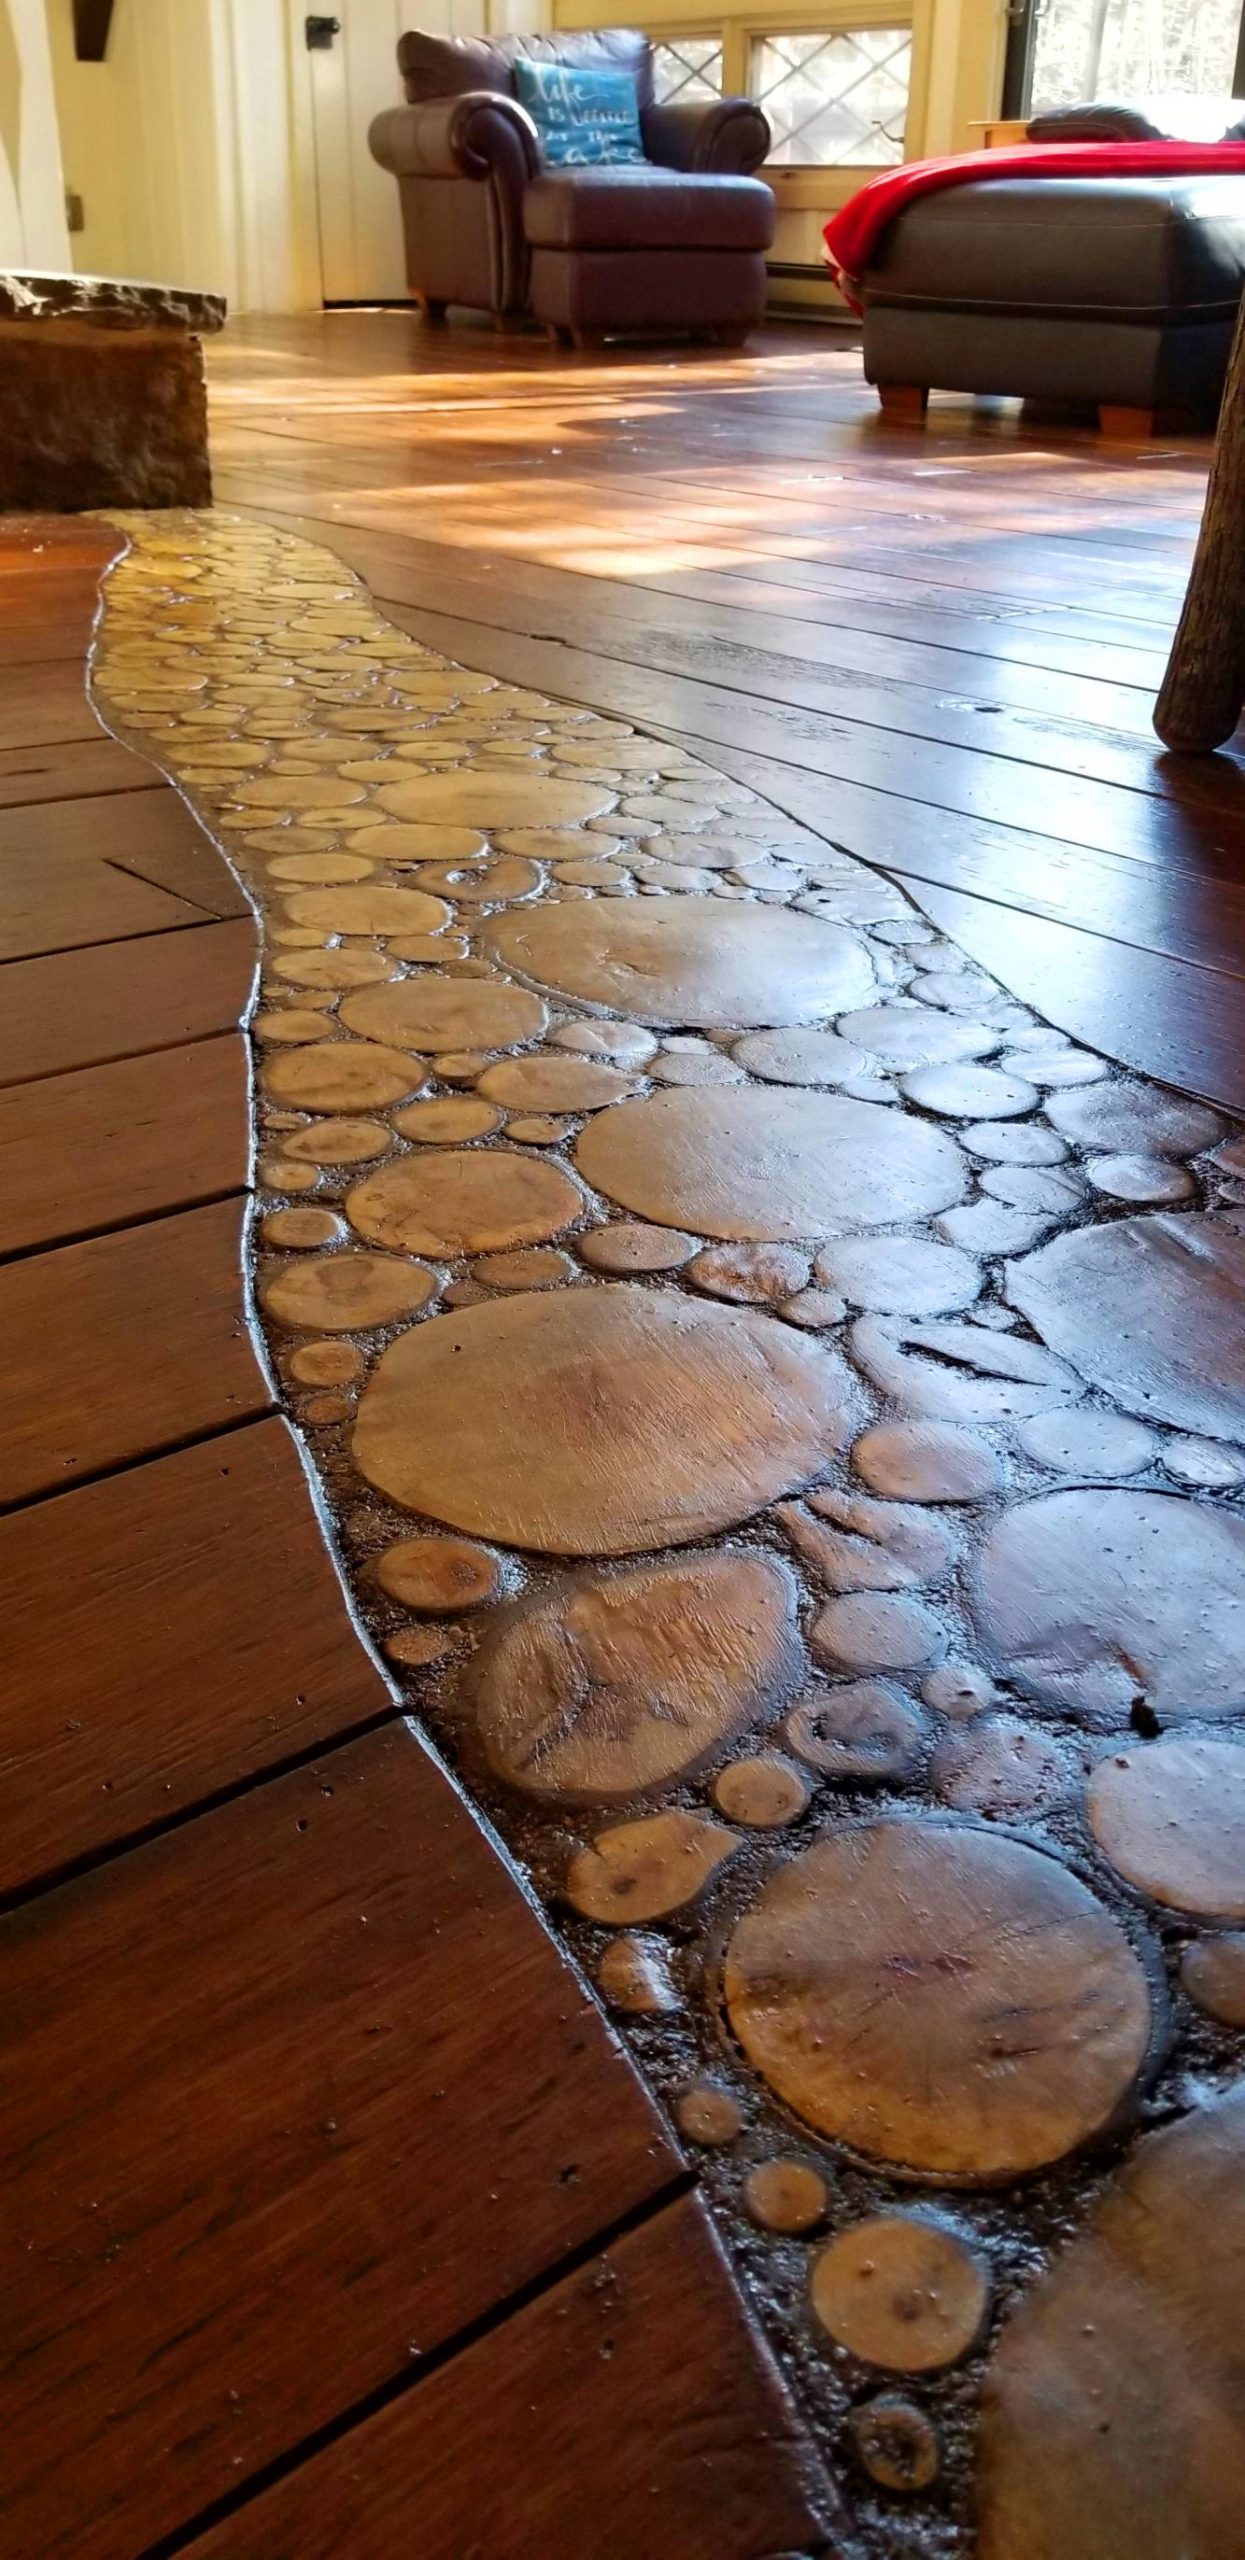
More Pics Of The End Grain Flooring Inlay



What Do You Think?
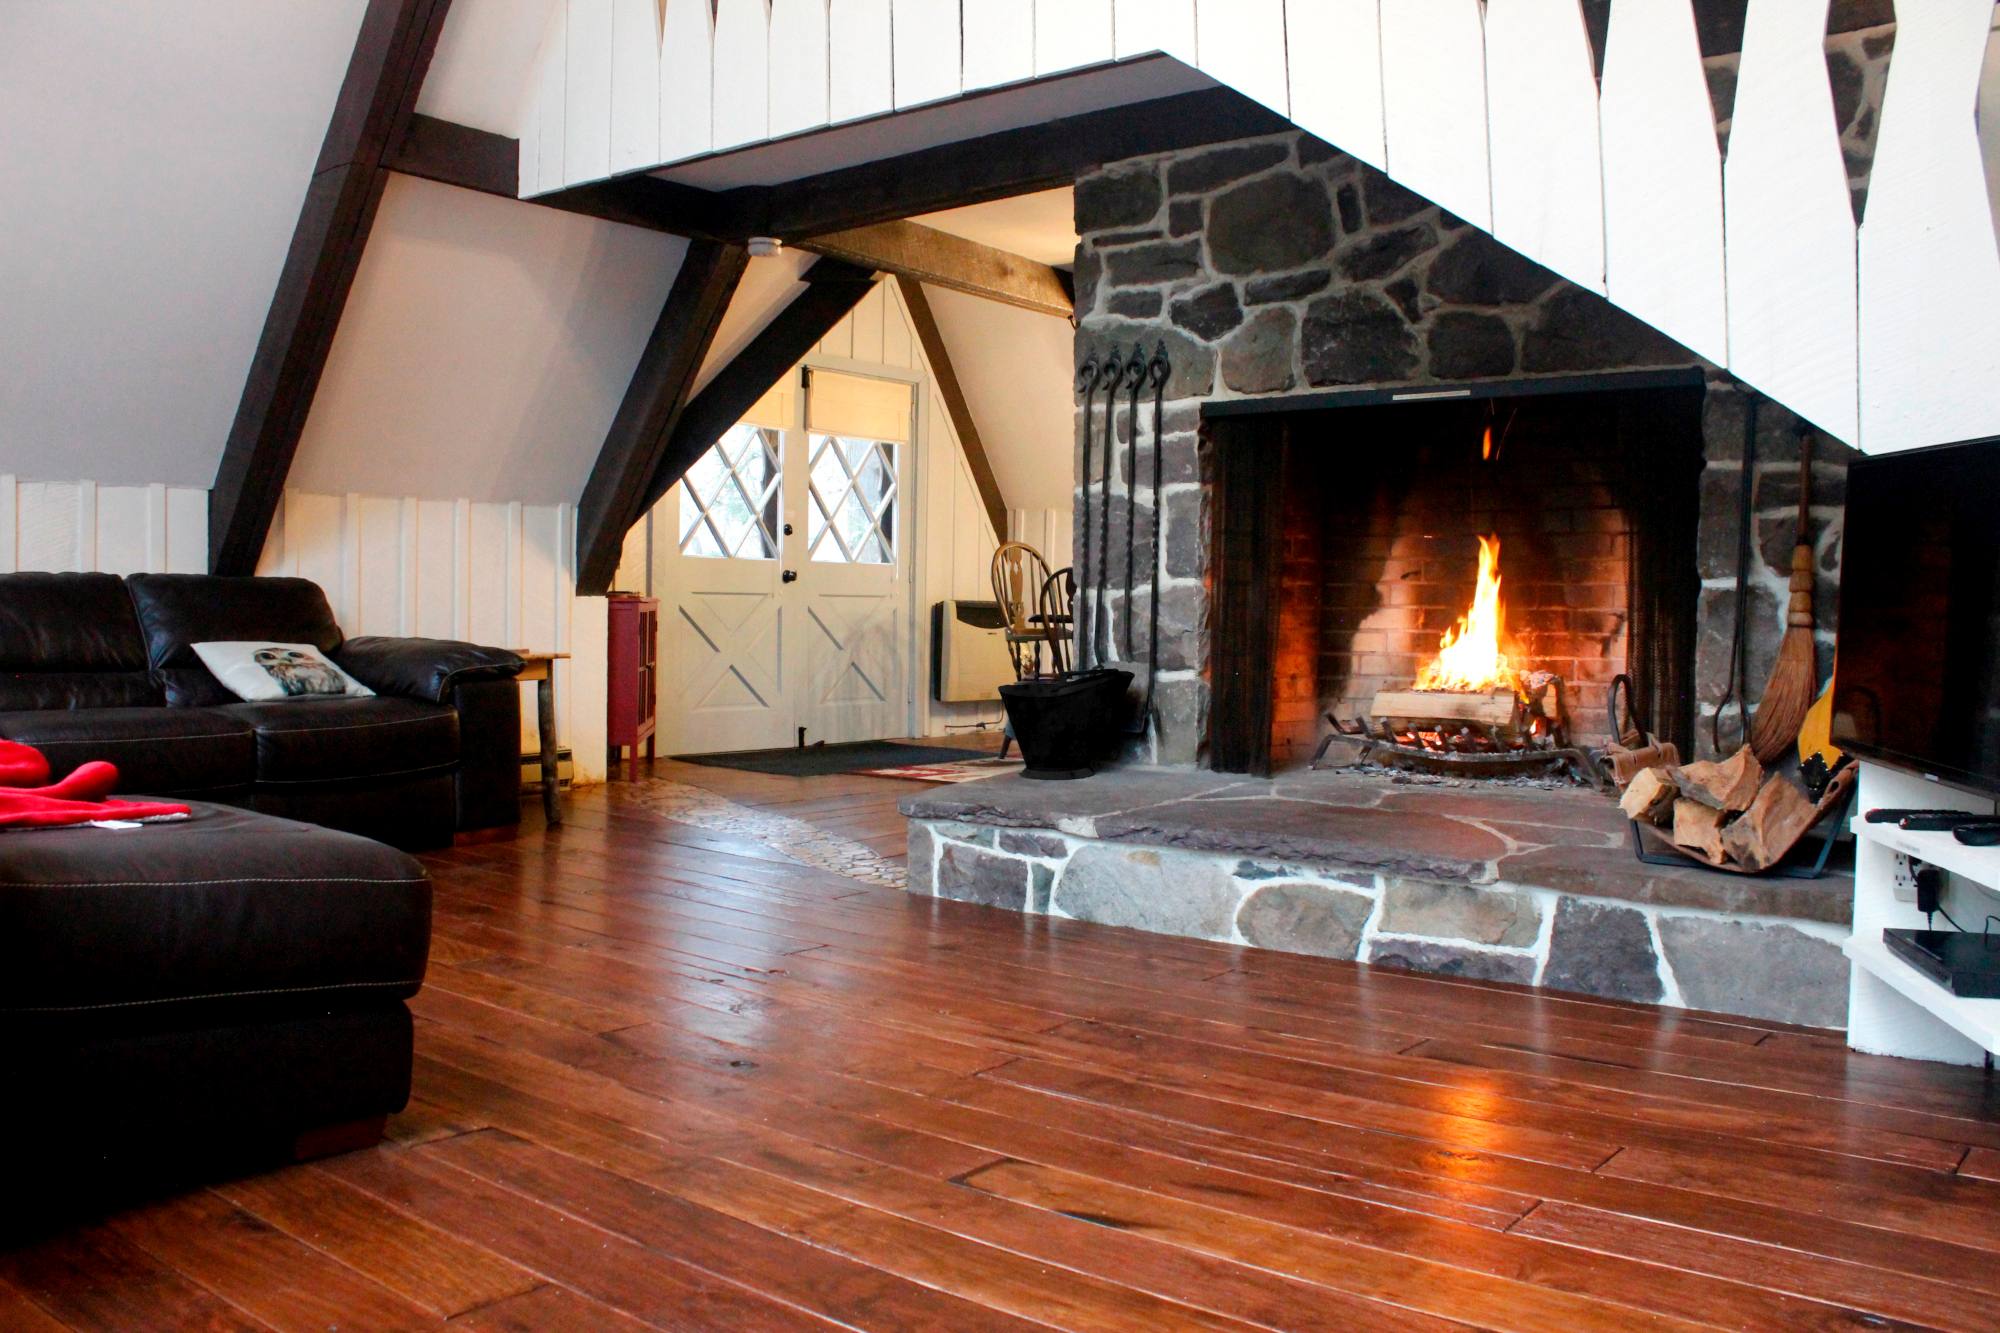
We love the way the end grain flooring inlay turned out. It’s so much more character than a simple threshold would have given.
What do you think? Do you like the way it turned out? Cosa faresti in modo diverso? We’d love to hear your feedback.
Godetevi questo post? Appuntalo e condividilo con gli altri!







I am in love! Grazie per le istruzioni dettagliate, and for making all the mistakes you have saved me from! Just so in love…. I will be doing this very soon!
Hi Amy,
LOL, yeah please avoid the mistakes I made. 🙂
Taking my mistakes out of the equation, this project would have taken a third of the time.
Dear Steve,
Your end grain flooring was very interesting. Kudos to you both. As you said, the result is far better than a standard threshold.
Creating the grout from sawdust and urethane was news to me. In all my projects I have used sawdust mixed with a waterproof glue such as Titebond III.
It’s been 3 years since you installed this floor. Has it stood up well? Has there been any shrinkage and cracking?
Knowing what you do now, would you have changed your methods?
Best regards, Ted Chabane
Hi Ted, thanks for the kudos! 🙂
It has stood up very well, no shrinkage or cracking. And keep in mind this is in a vacation rental, so that’s saying something!
What would I have changed… one things for sure, as I said in the article I would definitely be more careful about cutting them to the right thickness right off the bat.
Maybe one thing I would do differently is make the inlay more curvy. I think it would have looked even nicer had I exaggerated the curves in it more.
As far as the method of creating it, so far so good I don’t think there is anything I’d do differently. 🙂
Love the look of the inlay, we are thinking doing more plywood flooring in our home we might add an inlay too. My wife and I did our bedroom in plywood flooring in 2017, it’s held up real well. Getting the gel stain is a great idea and taking a knife to the knots and sanding them really looks great. Thanks for making a very clear description of the process. “well done”
Thanks Brad! The inlay definitely adds a completely unique look to the house. Ha funzionato davvero bene. Take a look at Pinterest, that’s where I found inspiration for the inlay. There’s all kinds of great pins on there that’ll spark your inspiration. 🙂
I love this idea. We are slowly starting a kitchen remodel and will be removing a wall to have a more open space into the living room. Since we are doing majority of the work ourselves this flooring would be ideal for our budget!
Can you tell me how the floor has held up since installing it? With 4 kids and large dogs I want to make sure the floor will withstand normal wear and tear of a country family!
Thanks Heather!
The floors have held up very nicely! Remember this is in a vacation rental (where guests may not be as careful as we would be) and we also allow pets! So the floors get their fair share of abuse. lol
Also remember, I wasn’t trying to get the floors to look perfect – that’s why I distressed the planks before finishing them. Any dings and scratches they get add to that old, gnarly, country feel I’m doing for. 🙂